Are you looking to generate more leads from your Divi website to bring you more clients and extra profits for your enterprise? When done right, a dedicated lead generation page enables you to do so much more than collect emails and contact information.
Sure, you can work really hard to promote your business, but if you aren’t doing something to get and capture targeted leads, you will never grow your business as you intended to.
Again, the power of Divi is here to rescue the day. The Divi theme is one of the most powerful WP themes on the marketplace, and it offers heaps of features that can help you get the most out of your lead generation efforts.
One of those features is the Divi Contact Form module, an incredibly powerful contact form tool that comes standard with the Theme! For that purpose, in this article, after we outline some of the basics, we’ll focus on how to create a lead generation page using Divi’s Contact Form module, like a pro.
Table of Contents
- What Is a Lead Generation Page?
- The Elements of a Perfect Lead Generation Page
- Creating a Lead Generation Page with The Divi Contact Form Module
- Customizing Your Lead Generation Page Further
- Lead Generation Page Best Practices
- How Can DiviMode Help
- FAQs About Lead Generation Pages
- Over to You
What Is a Lead Generation Page?
A lead generation page represents a dedicated landing page where people can sign up for your newsletter, download a resource, get more product information, purchase the product, and more.
To motivate website visitors and get their contact information, you need to provide value for them on your lead generation page, such as a free trial, discount, or an eBook. Besides offering value for users, the other aspects that you need to consider before creating your lead generation page are:
- Asking for the necessary details.
- Writing a compelling message.
- Adding an emphasized CTA.
- Building trust with site visitors.
The Elements of a Perfect Lead Generation Page
The best lead generation pages are renowned for their simplicity and captivating elements. They attract people’s attention to the CTA and provide them with the knowledge necessary to make a decision.
Let’s make a quick outline of the elements that make a powerful lead generation page:
- Headlines & Headings: The headline is the first place that page visitors will look at, and that is why it’s of critical importance. Headlines and headings should be concise and engaging.
- Images and Videos: Make sure to always use high-quality images or videos on your lead generation pages, which will make your page look professional.
- Advantages and Offers: It’s what will make visitors provide you with their details and become customers. The benefits and the offer must be truthful and clear on the page.
- Calls to Action: Everything you provide on your lead generation page leads visitors to the CTA, which must be clearly labeled and visible as soon as the visitor opens the page.
- Social Proof: From ratings to testimonials, every social proof material can be used to build trust statements, guarantees, and any other material to build trust and credibility.
Now that you know what a lead generation page is and what are the key aspects you need to consider, let’s explore how the Divi Contact Form Module can help you create one.
Creating a Lead Generation Page with The Divi Contact Form Module
As we’ve mentioned before, the Divi Contact For module is an incredibly powerful Divi feature that provides more functionalities than any other free or paid plugin. Best of all, it comes as standard with the purchase of the Divi theme.
Watch the following video from Elegant Themes to see just how easy it is to work with the module:
To learn more about how the Divi Contact Form Module works, visit Elegant Theme’s documentation page as well. Now, let’s proceed with creating our lead generation page.
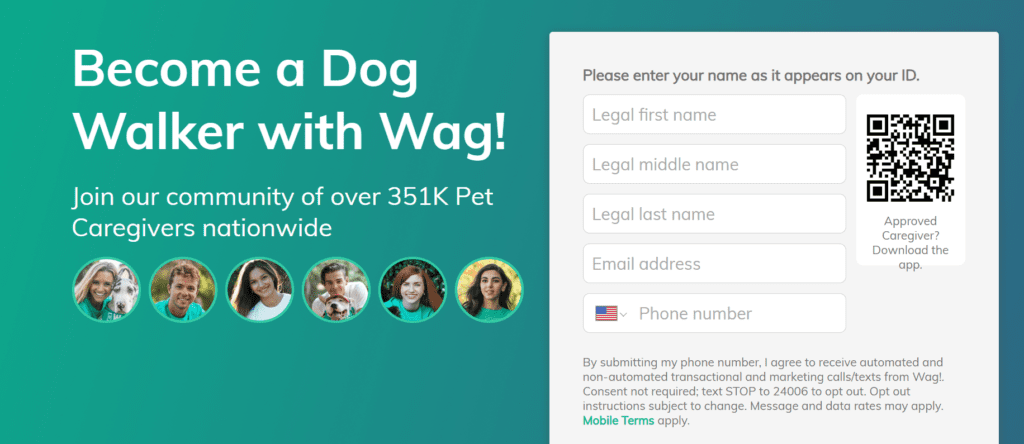
Step 1: Create Your Hero Section
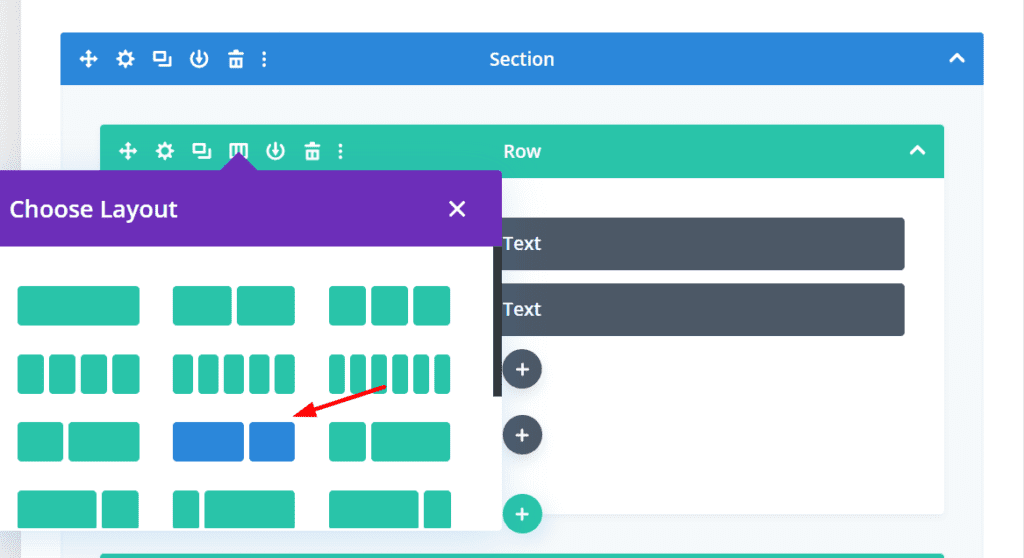
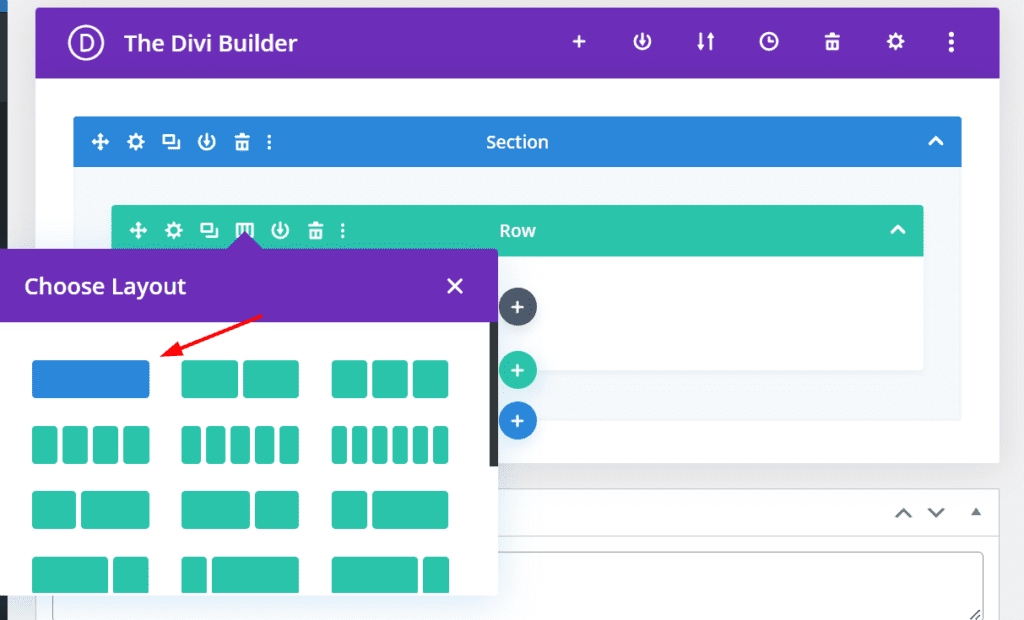
Let’s begin with our hero area! First, add a row section with one single column, and then, below it, add another row with two columns.

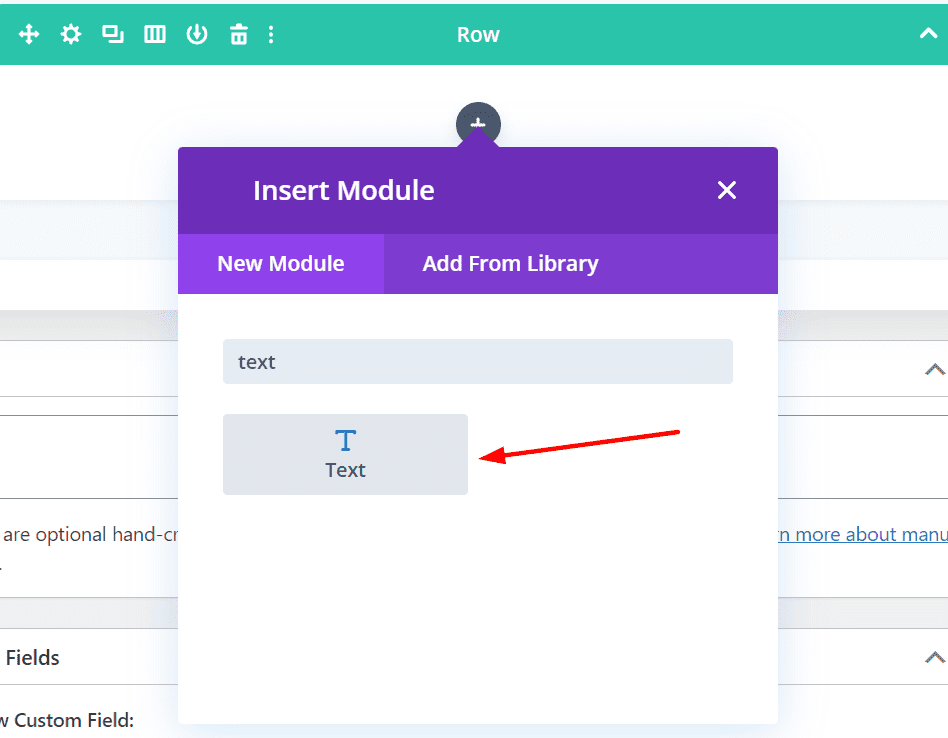
In the first row, insert the ‘Text’ module where you’ll add your main Title.
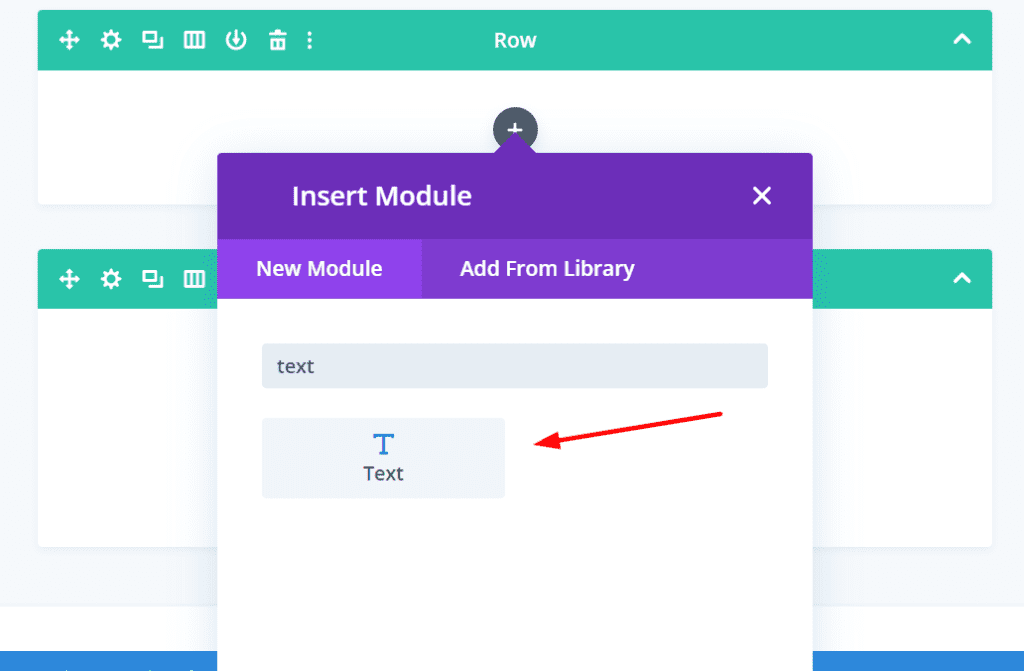
Then, insert another text module where your supporting hero copy would be.

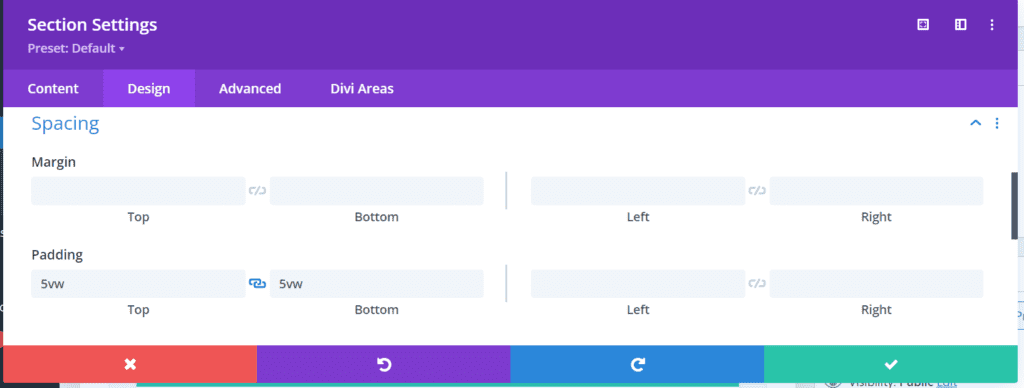
Next up, open your Section Settings and add padding to the top and the bottom of the section. Navigate to ‘Design’, then ‘Spacing’, and fix the padding (4-6vw for the top and bottom would be ideal).
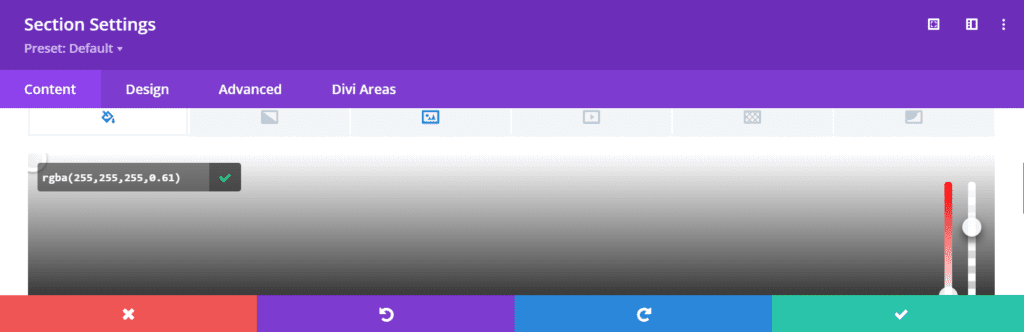
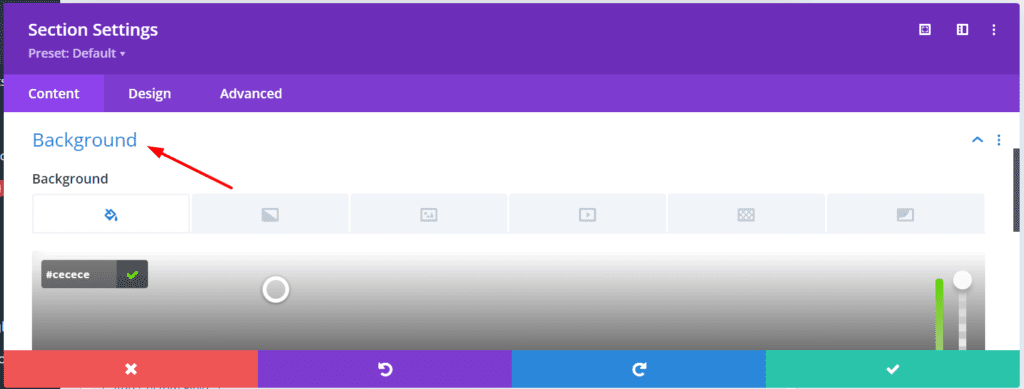
Open the Section Settings again and go to ‘Content’ -> ‘Background’, where the option for inserting an image is. Choose an appropriate stock media that is aligned with your target market.
If your background image is too light and you fear that neither the text nor the form will be visible to potential customers, you can change the text color and borders or darken the image with a filter.
Step 2: Insert Your Contact Form
Now, everything is ready for inserting our Contact Form. For this purpose, we’ll divide the hero section according to the 2/3 – 1/3 column format and place the contact form to the right.
To separate the right column from the left column, go to the ‘Row Settings’ and find the 2nd column settings:
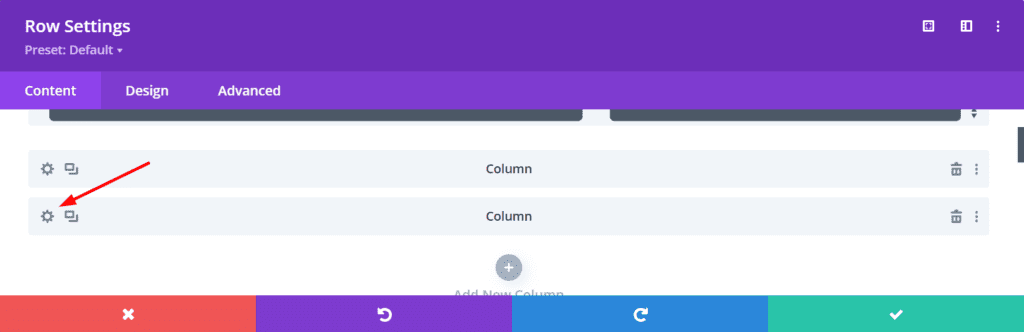
Then, set the column background color to fit the form, as well as the rest of the elements:
Furthermore, navigate to the Design settings of the second column, and choose your preferred padding. When you complete that, click on ‘Save Changes’.
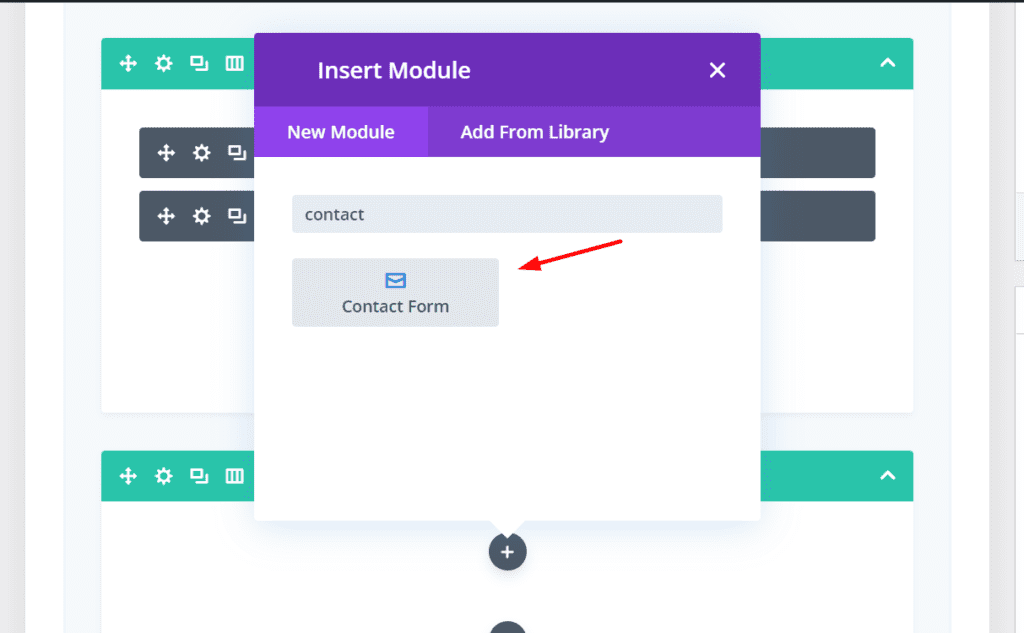
Now, we’re ready to create our first form. Click on the 2nd column and insert the Contact Form element. Then, select the fields that you want to be included in the form:
Enter the form texts and the email address where you will receive the sign-ups.
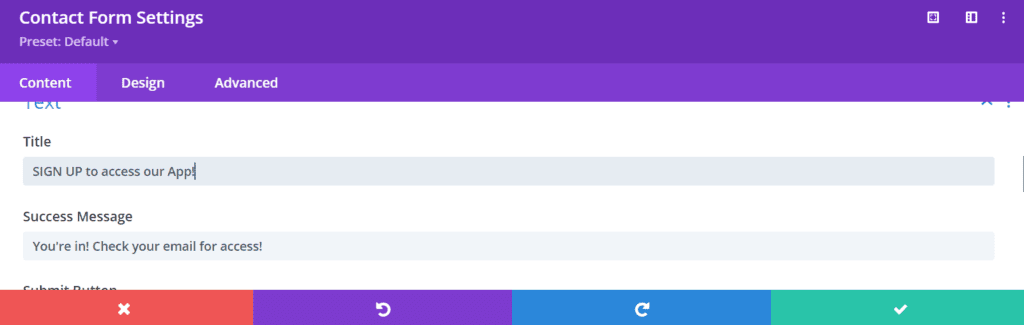
When you’re certain that everything within the form is configured according to your preferences, click on ‘Save Changes’, save the page draft, and preview the page.
Now, we assume that the landing page won’t look as good as you imagined it to be on the first go.
Do not panic! Everything is customizable in Divi, including the Contact Form module.
Step 3: Include the Product Benefits
As we noted before, there are other significant elements that you must include, such as social proof, testimonials, and the product benefits.
Thus, we proceed by creating a new single-column section below our hero section that will contain new page elements:
Next, we select a ‘Text’ module where we want to add a teaser about our benefits:
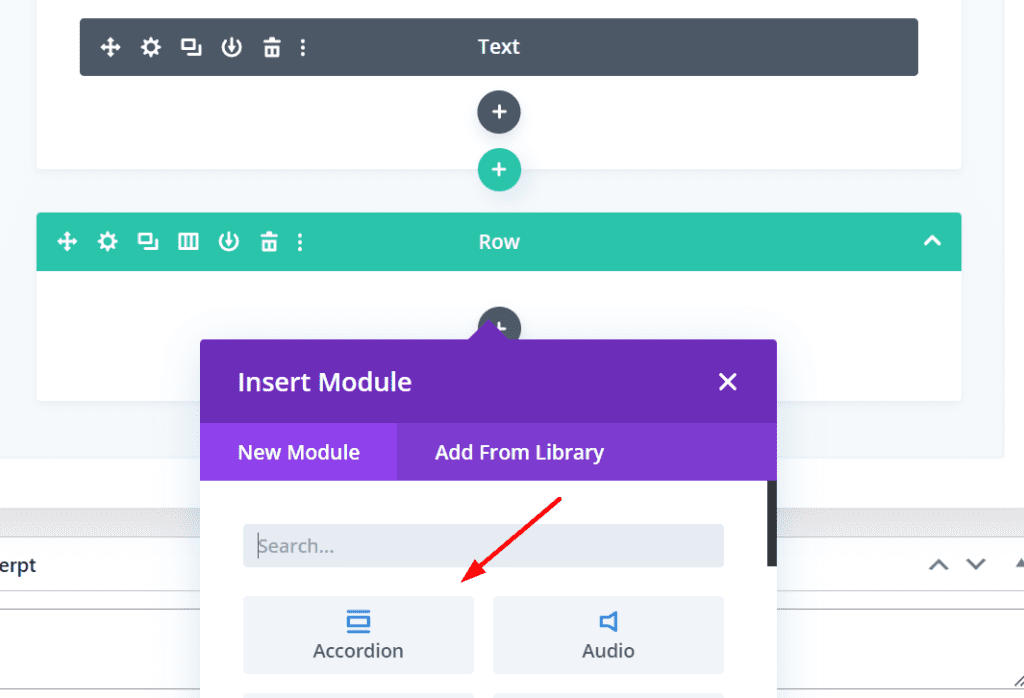
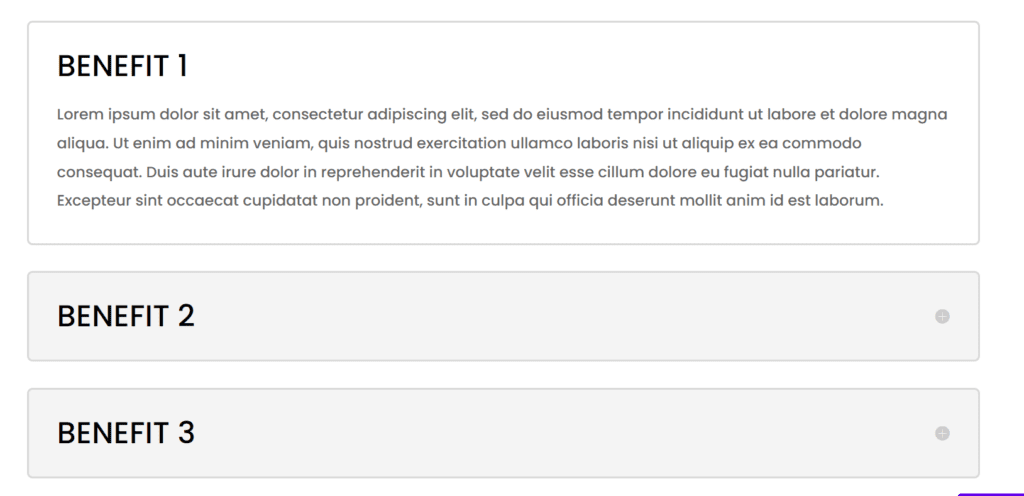
Below your text element, you can create a new section to list all the product benefits. Instead of using a simple list, we suggest an interactive element such as the ‘Accordion’ module.
Continue by customizing the accordion element according to your preferences. Then, after you’re satisfied with the initial look of your accordion element, duplicate it to as many as you need and alter each of the accordions afterwards.
To learn more about Divi Accordions and how to customize them, visit the official documentation page.
Step 4: Add Social Proof
For our next section, you’ll want to add some social proof that can form trust with your potential customers, such as testimonials.
Start by inserting a new ‘Section’ and changing your background, so it differs slightly from the other sections of your lead generation page.
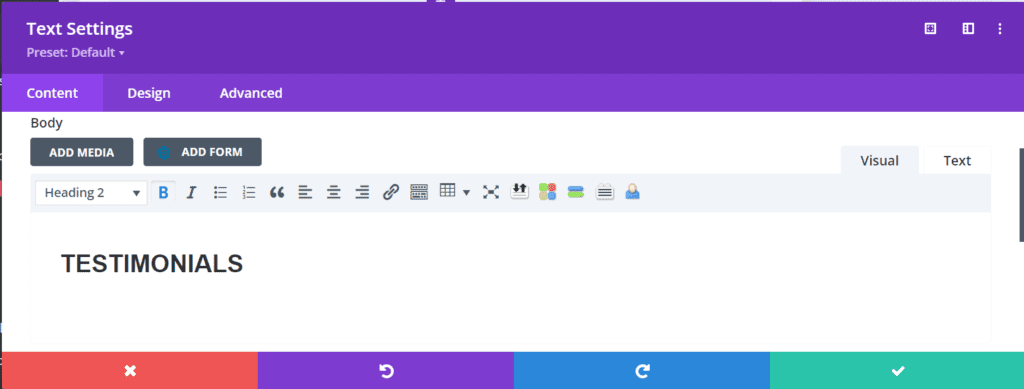
After you’ve set the background, it’s time to start adding elements to the new section. Start with a single column row and insert the title introducing your social proof:
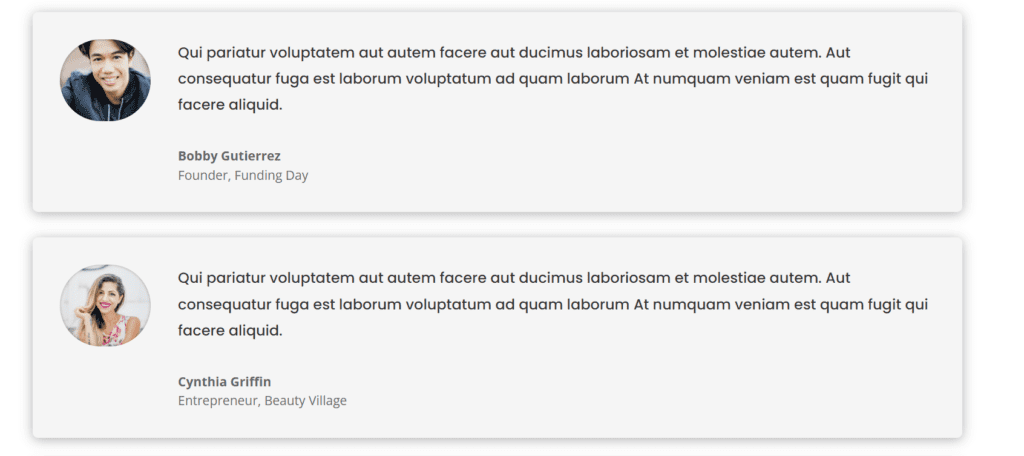
Add another single-column row below, and insert a ‘Testimonial’ module:
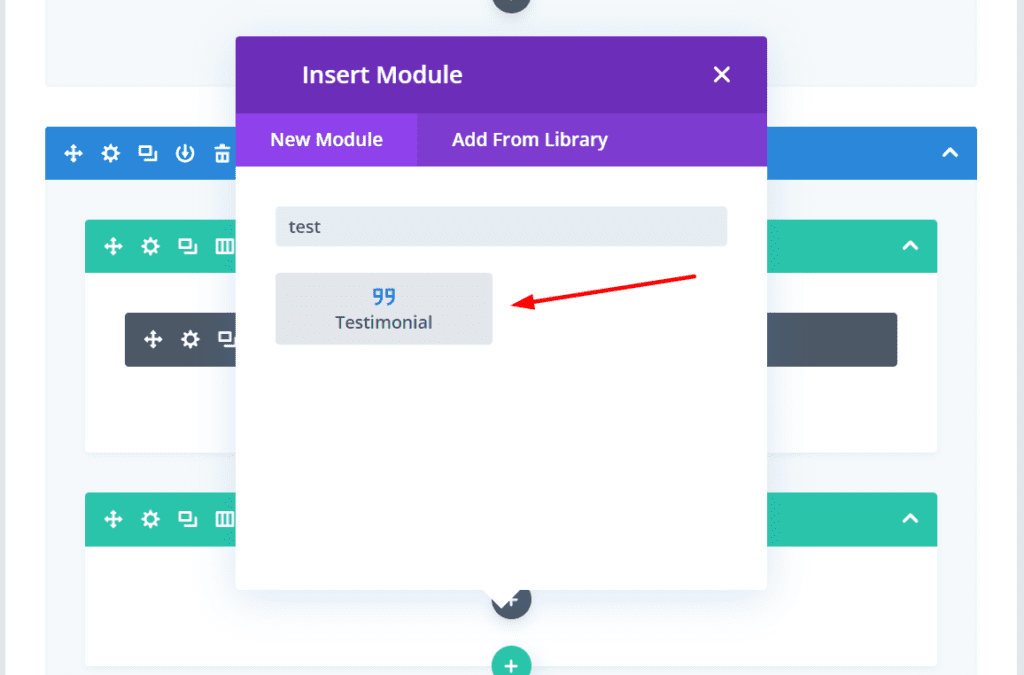
Add the necessary elements (text, image, title) within the Testimonial, and duplicate for the rest of the testimonials to save yourself some time creating the page. Customizing is effortless.
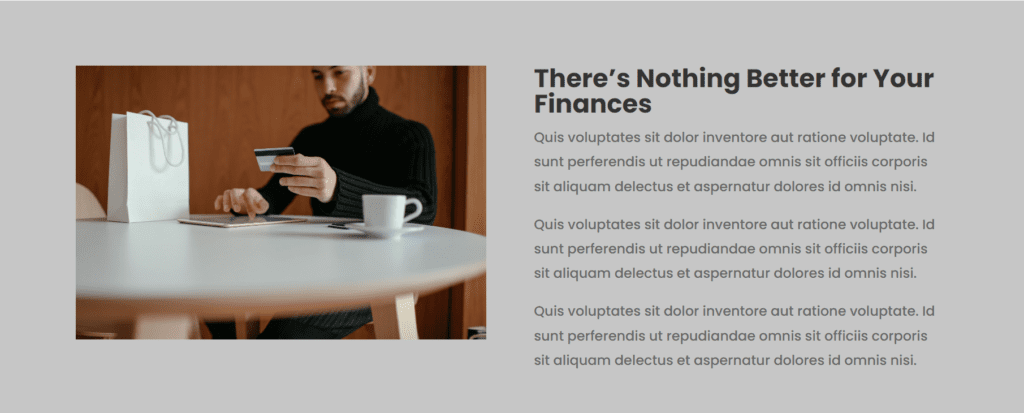
Next up, you can also add a section with a media and paragraphs that announces the main benefits that are included in the accordion elements, right above your Testimonials section.
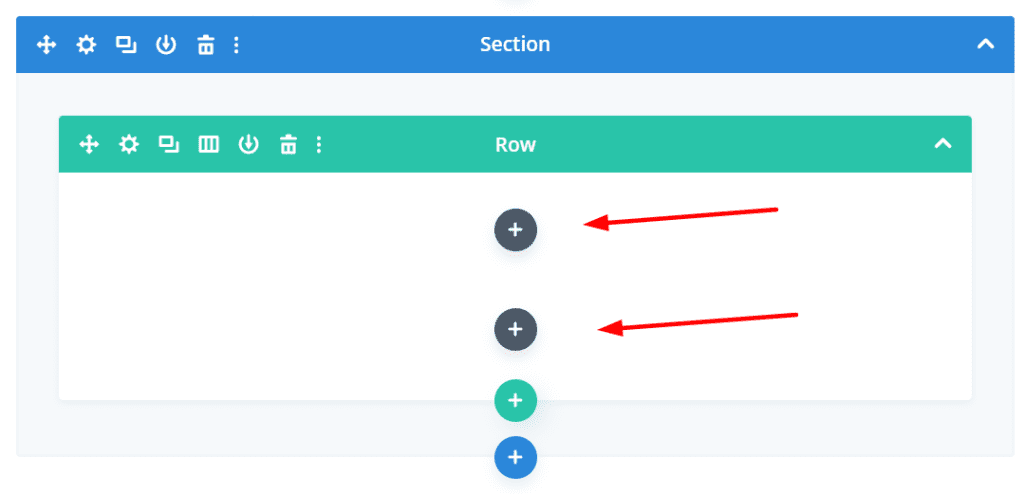
Start by adding a new section with a two-column row and place it above the Testimonials section.
Choose your Section background and insert an ‘Image’ module in one of columns, and a text in the other where you’ll emphasize the benefits with a supporting information about the product.
Customizing Your Lead Generation Page Further
Every single aspect of your Divi lead generation page can be edited using Divi’s powerful builder, as well as the plethora of modules. You don’t need any coding skills to achieve this.
Divi provides you with powerful modules to build your lead generation page further, such as the Animated Headlines, Countdown Timer, Social Follow, and more.
Moreover, Divi also boasts WooCommerce-specific capabilities that allow you to introduce ‘Add to Cart’ and ‘Checkout’ buttons and sell your product directly from your lead generation page.
Keep in mind that generating leads is an ongoing effort, and you will need to keep track of your KPIs and see where you need to make the improvements.
Before you publish your lead generation page, click the Preview button and ensure that everything you’ve integrated in the page works by clicking on each of the elements. Don’t forget to preview the page for mobile devices as well.
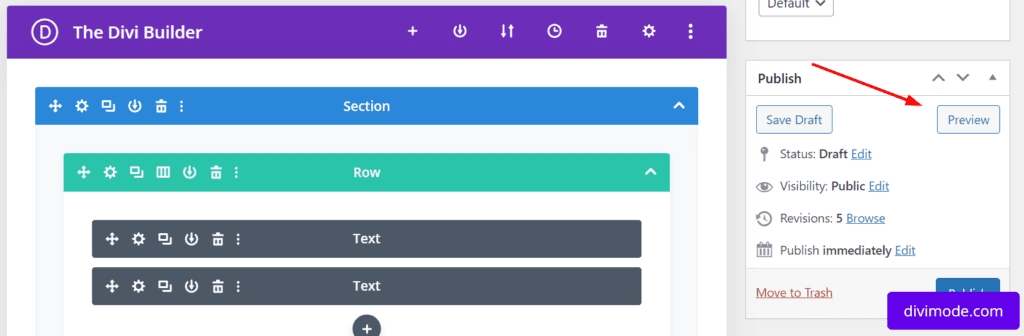
Only when you’re 100% certain that everything is done according to your preferences, Save the page draft and click the Publish button.
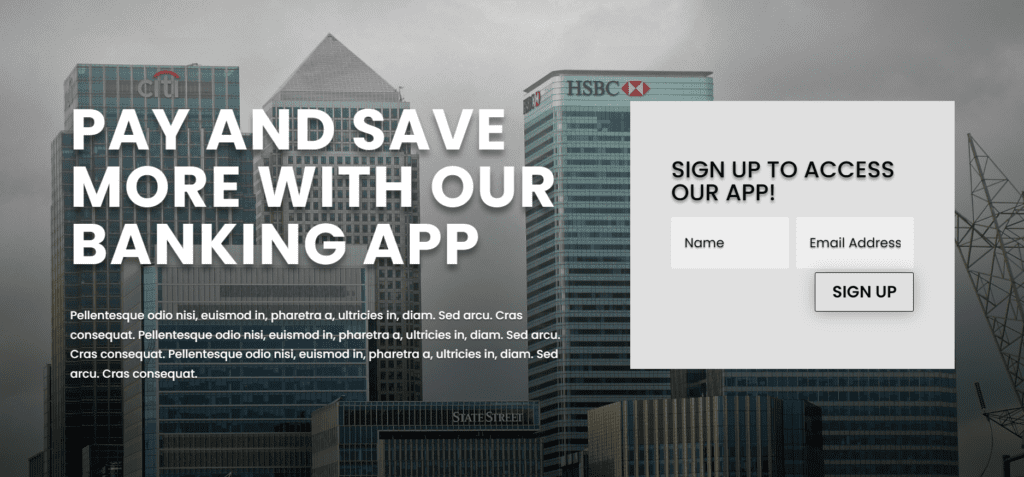
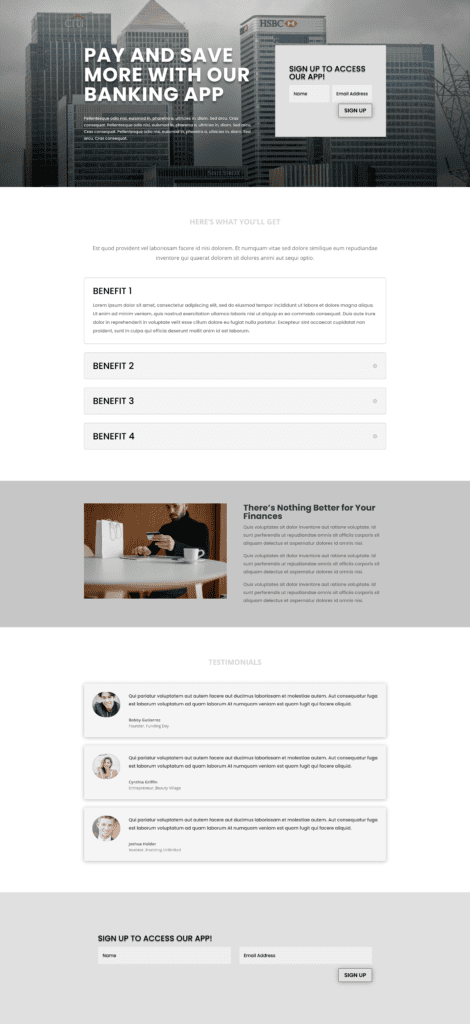
And voilà, with that, you’ve created an amazing lead generation page in Divi to help you reach your target audience:
Lead Generation Page Best Practices

Creating an effective lead generation landing page is crucial for capturing valuable leads and maximizing conversions. To help you optimize your Divi lead generation landing pages, consider implementing the following best practices:
1. Clear and Compelling Headlines:
The headline is the first element visitors see, so make it attention-grabbing, concise, and directly related to your offer. Use action-oriented language that communicates the value of what visitors will receive by providing their information.
2. Consistent Branding:
Maintain consistent branding elements, such as logo, color scheme, and typography, to reassure visitors that they’re in the right place. Brand consistency builds trust and credibility.
3. Minimal Distractions:
Keep the landing page focused on a single offer or goal. Remove unnecessary navigation menus, links, or distractions that can divert visitors’ attention away from the primary call to action (CTA).
4. Compelling Visuals:
Incorporate high-quality images or videos that are relevant to your offer and resonate with your target audience. Visuals can enhance the appeal and clarity of your message.
5. Clear and Concise Copy:
Use clear, concise, and persuasive copy that highlights the benefits of your offer. Explain what visitors will gain by taking action and keep paragraphs and sentences brief.
6. Emphasize the Value Proposition:
Clearly communicate the unique value proposition of your offer. Explain why it’s valuable and how it addresses the needs or pain points of your audience.
7. Trust Signals:
Include trust-building elements such as customer testimonials, ratings, reviews, awards, certifications, or security badges. These signals reassure visitors that their information is safe, and your offer is credible.
8. Mobile Responsiveness:
Ensure your landing page is fully responsive and mobile-friendly. A significant portion of web traffic comes from mobile devices, and a poor mobile experience can lead to high bounce rates.
9. Progressive Profiling:
If you require multiple pieces of information from leads, consider implementing progressive profiling. Start with essential details like email and name, and gather additional information progressively over time.
10. A/B Testing:
Regularly conduct A/B tests to experiment with different variations of your landing page elements. Test headlines, CTAs, visuals, and form fields to identify what resonates best with your audience.
11. Urgency and Scarcity:
Create a sense of urgency or scarcity to encourage immediate action. Limited-time offers or countdown timers can motivate visitors to take the desired action sooner.
12. Privacy and Compliance:
Clearly communicate your privacy policy and compliance with data protection regulations like GDPR. Assure visitors that their data will be handled securely and transparently.
13. Social Sharing Options:
Include social sharing buttons or options for visitors to share your offer with their network. This can help extend the reach of your landing page and generate additional leads.
14. Thank You Page:
After a visitor completes the desired action, redirect them to a thank-you page that confirms their submission and provides next steps or additional resources. It’s also an opportunity to encourage further engagement.
15. Analytics and Tracking:
Implement robust analytics and tracking tools to monitor the performance of your landing page. Track conversion rates, user behavior, and other key metrics to make data-driven improvements.
By following these best practices, you can create lead generation landing pages in Divi that not only capture more leads but also provide a positive user experience.
Remember that continuous testing, optimization, and adapting to your audience’s preferences are key to long-term success in lead generation.
How Can DiviMode Help
Do you want to create opt-in form that generate leads and look excellent on mobile and desktop devices?
Luckily, creating and optimizing opt-in forms is easy with Divi Areas Pro!
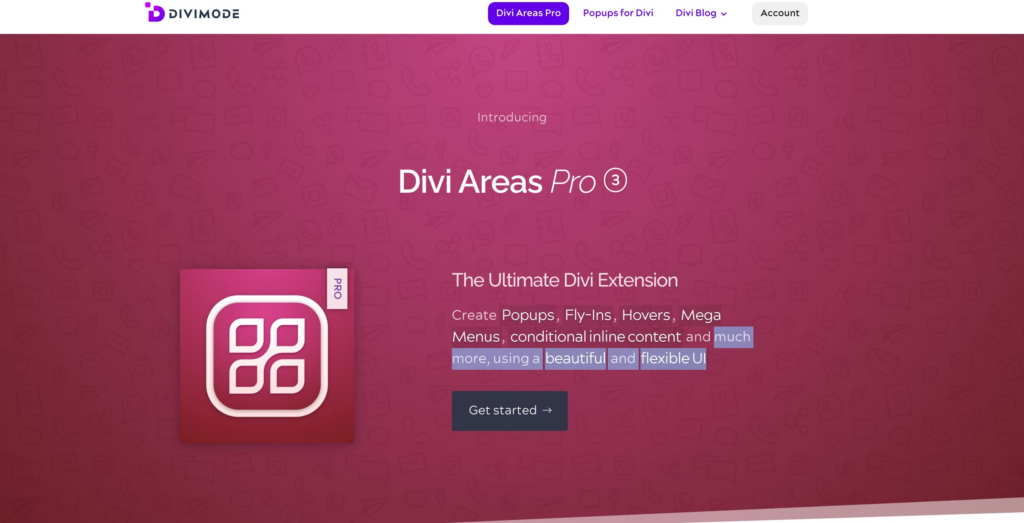
Divi Areas Pro comes with plenty of customization settings, and allows you to build and customize campaigns with only a few clicks, through popups, fly-ins, hovers, mega menus, and conditional inline content, even if you’re a novice Divi user!
The lead generation possibilities are limitless with Divi Areas Pro. See for yourself!
Get Started With Divi Areas Pro Today!
BONUS: Get a LIFETIME Access to Divi Areas Pro ($199 value) with 1-time payment and priority private support and live chat from our developers for maximum results – 14-day money-back guarantee! Click here to get started →
FAQs About Lead Generation Pages
What types of offers work well on lead generation pages?
Various types of offers can work well on lead generation pages, depending on your audience and objectives. Some popular options include:
- Ebooks, guides, or whitepapers
- Webinars or online courses
- Templates or checklists
- Exclusive discounts or promotions
- Free trials or demos
- Access to gated content or resources
Choose an offer that aligns with your target audience’s needs and provides value, motivating them to provide their contact information in exchange.
How can I drive traffic to my lead generation page?
To drive traffic to your lead generation page:
- Promote it on your website: Place prominent calls-to-action and banners on relevant pages of your website, directing visitors to the lead generation page.
- Utilize social media: Share compelling content related to your offer on social media platforms with a clear call-to-action leading to the lead generation page.
- Email marketing: Include links or dedicated email campaigns to promote the offer and drive subscribers to the lead generation page.
- Paid advertising: Use online advertising platforms, such as Google Ads or social media ads, to target and drive relevant traffic to your lead generation page.
- Content marketing: Create blog posts, videos, or podcasts that align with your offer and include links to the lead generation page within the content.
Over to You
We hope you’ve found this article useful for creating lead generation page with the Divi Contact Form module like a pro.
For the next steps, we’d recommend following our blog where you can find our latest tutorials, as well as Elegant Themes’ resources where the details about each of Divi’s modules can be found, including the Contact Module.
Try Divi Areas Pro today
Sounds interesting? Learn more about Divi Areas Pro and download your copy now!
Many pre-designed layouts. Automated triggers. No coding.
Click here for more details
More Articles You Will Like