Divi’s built-in sticky settings enable you to keep an element fixed on the screen as you scroll down the page. By combining this feature with other non-sticky elements, you can create a captivating and interactive layout that elevates your website design. In this tutorial, we will demonstrate how to add a sticky map module to your Divi page. We will make the map module stay fixed while including relevant information that scrolls alongside it.
Without further ado, let’s get started!
Table of Contents
How to Add a Sticky Map Module to Your Divi Page
Create a New Page or Edit a Current Page
You have the option to either create a new page and include a map module, or edit an existing contact page (or any other page) to add a sticky map module.
On your newly created or existing page, you will customize and design the page to align with your brand. As a final step, we will incorporate the map module.
Design Tips For A Contact Page With A Sticky Map

When designing a contact page with a sticky map, there are several tips to keep in mind to ensure a user-friendly and visually appealing page design.
Here are some design tips for your Divi contact page:
- Keep it simple: A clutter-free design is essential for a contact page. Avoid overwhelming the user with too much information or unnecessary elements. Focus on the key details such as address, phone number, and email.
- Place the map prominently: The sticky map should be one of the main focal points on the contact page. Position it at the top or center of the page to grab the user’s attention. Make sure it is large enough to be easily visible and interactive.
- Use a responsive design: Ensure that your contact page and sticky map are mobile-friendly and responsive. This will allow users to access and interact with the map seamlessly across different devices and screen sizes.
- Provide clear directions: Include a text-based description or step-by-step instructions on how to reach your location. This can be placed alongside or below the sticky map. Make sure the directions are concise and easy to understand.
- Add markers or pins: Use markers or pins on the map to indicate your location accurately. This helps users quickly identify where they are located and plan their route accordingly. Consider using custom icons or colors to make the markers stand out.
- Incorporate contact form: Alongside the sticky map, include a contact form where users can fill in their details and send inquiries directly from the contact page. This provides an additional means of communication and makes it convenient for users to get in touch.
- Optimize loading speed: Ensure that the contact page and sticky map load quickly. Large file sizes or complex map integrations can slow down the page, leading to a poor user experience. Optimize images and code to improve loading times.
- Maintain consistent branding: Keep the design of the contact page consistent with the overall branding of your website. Use the same color scheme, fonts, and visual elements to create a cohesive look and feel.
The goal of a contact page with a sticky map is to make it easy for users to find your location and get in touch.
Why Add A Sticky Map To Your Contact Page?
Now, you may be wondering, why should you actually add a sticky map module to your contact page on your new website. Well, a sticky map can have a lot of benefits when it comes to user experience and brand credibility.
A sticky map can help you with the following:
- Enhanced user experience: A sticky map allows visitors to easily locate your business’s physical location without having to scroll back up to the top of the page. It provides a convenient and intuitive way for users to interact with the map.
- Improved navigation: By keeping the map visible at all times, users can quickly reference it while browsing other sections of your contact page. This can help them better understand the proximity of your business to other landmarks or areas of interest.
- Increased credibility: Including a sticky map on your contact page can add a sense of legitimacy and professionalism to your website. It shows that you are transparent about your location and are willing to provide clear directions to potential customers.
- Mobile-friendly design: With the increasing use of mobile devices, having a sticky map ensures that users can easily access and interact with the map regardless of their screen size. This is particularly important for users who are on the go and need quick access to your location.
*Related Article – How To Control Divi Column Stacking Order On Mobile
Add the Sticky Map Module
Now that your layout has been modified, you can place the sticky map module anywhere on your page.
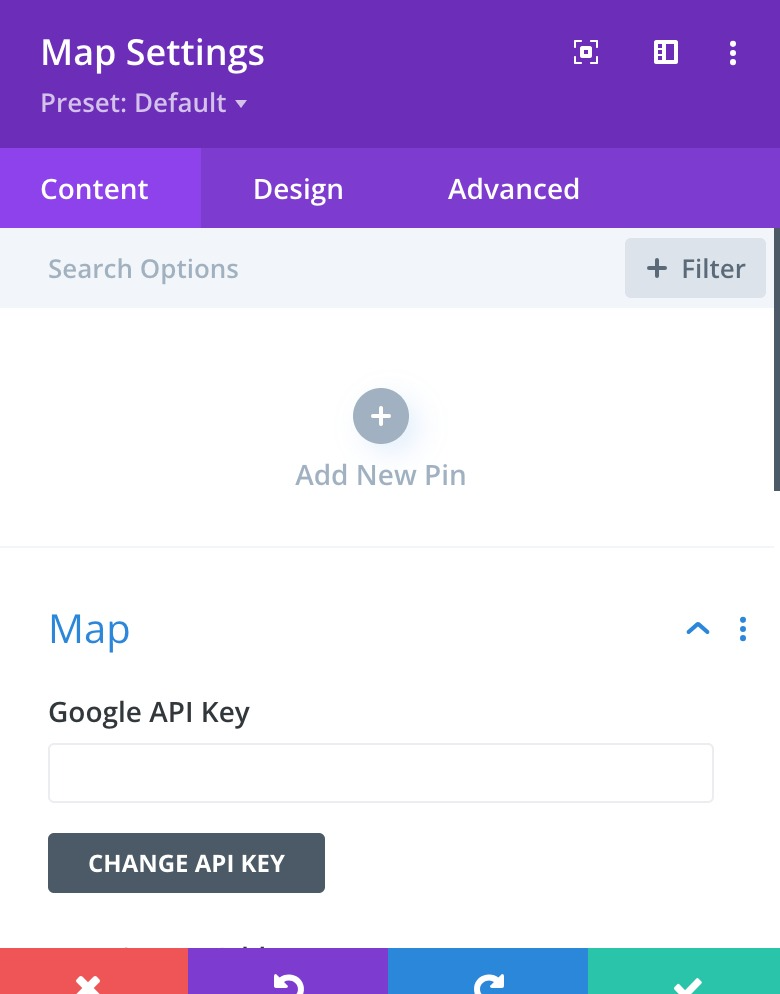
To add a map module, first, select the desired row. Add a map module, and access the map settings. Then, input your business address. Finally, place a pin on the map so your address can stand out.
Map Design
Under the design tab, open the map design settings. You can use these settings to completely customize the way your map appears on your website. This way you can make sure that your map fits in with the rest of your web design and brand.
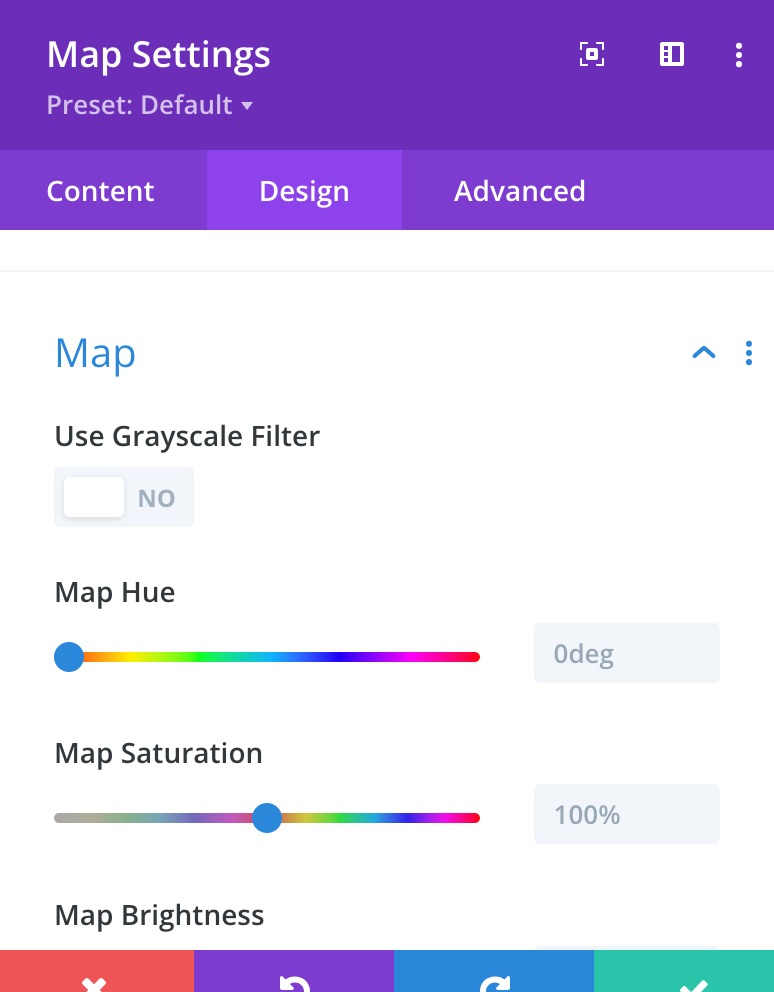
Next, you can open the border settings and customize the border of your map, if you like. You can also open the Box Shadow settings and add a shadow to the map module.
Sticky Settings
Now it is time to add the sticky settings so the map sticks in place while you scroll. Move over to the Advanced tab and open the Scroll Effects Settings. You can also use the Divi responsive options to modify the sticky position settings, as the map will not be sticky on mobile devices.
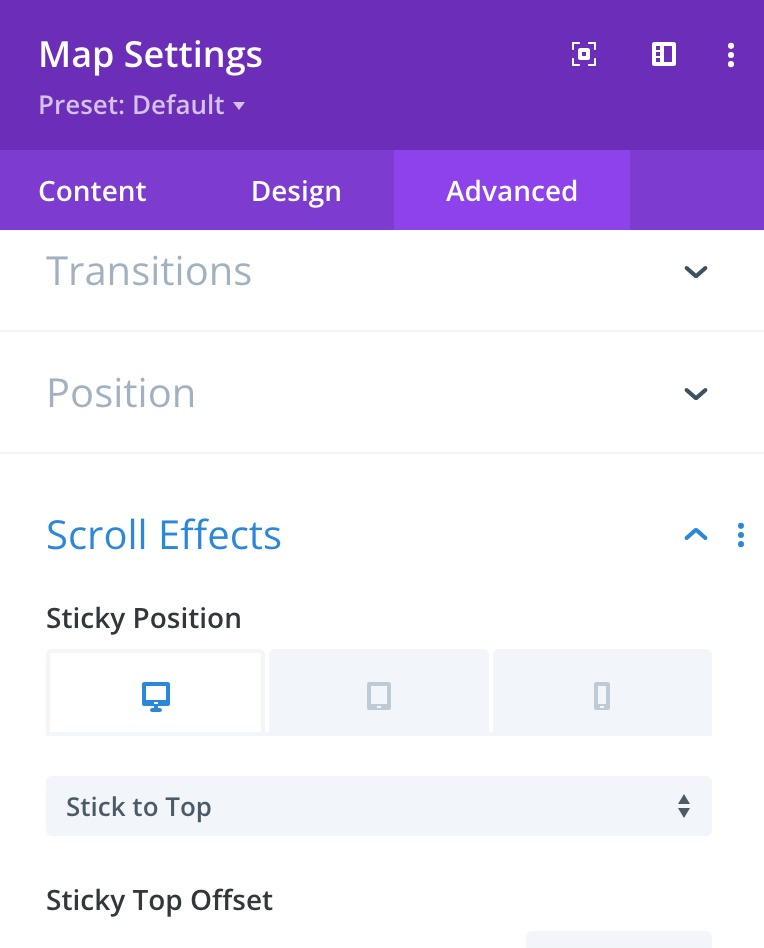
This is an example of how you want your sticky map settings to appear:
- Sticky Position Desktop: Stick to Top
- Sticky Position Tablet and Mobile: Do Not Stick
- Sticky Top Offset: 20px
- Bottom Sticky Limit: Section
Now go back to the Design tab and open the sizing settings. We want the map height to increase when it is in a sticky state. Use the sticky settings to set a different height.
- Height when Sticky: 600px
Finally, use the responsive settings to change the map size on tablet and mobile.
- Height Tablet and Mobile: 350px
Final Thoughts
Divi’s sticky settings enable you to create captivating website layouts that grab attention. With numerous customization options at your disposal, you can easily make any element on your website sticky and tailor the design to fit your brand. By applying the sticky feature to the map module in this particular design, we emphasize the location information and introduce a distinctive design element to the page. This will help your business be found by the right people.
Try Divi Areas Pro today
Sounds interesting? Learn more about Divi Areas Pro and download your copy now!
Many pre-designed layouts. Automated triggers. No coding.
Click here for more details
More Articles You Will Like