The Divi Areas Pro Plugin makes it easy for you to build beautiful websites. In many cases, you want or need some more features that can sometimes be hard to put in place. With the Divi Areas Pro Plugin, this task has never been easier. Now, the question is, how do you purchase and install the Divi Areas Pro Plugin on your website? Well, let’s show you step by step. We will even add some screenshots! 😉
Table of Contents
Purchasing the Plugin
To start with, you can find the Divi Areas Pro plugin on our website. You can find it by navigating to the right page.
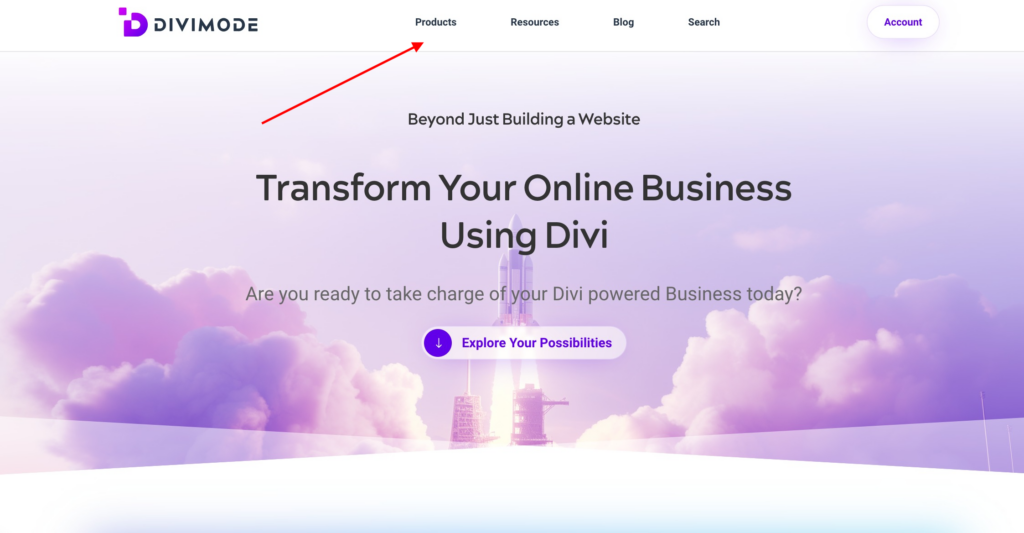
After you navigate to the Divi Areas Pro page from the menu items, you can click the “Get started” button.
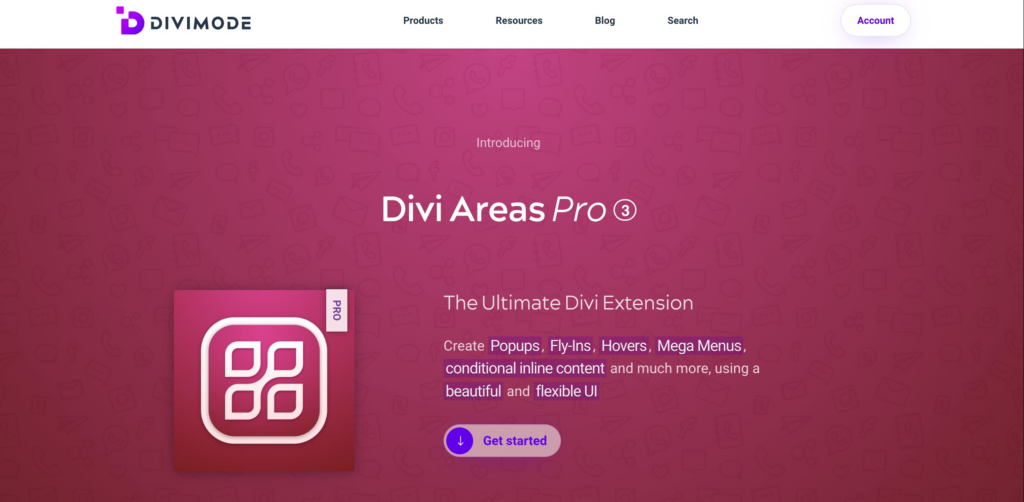
The button will take you to the pricing section where you can choose which option to buy.
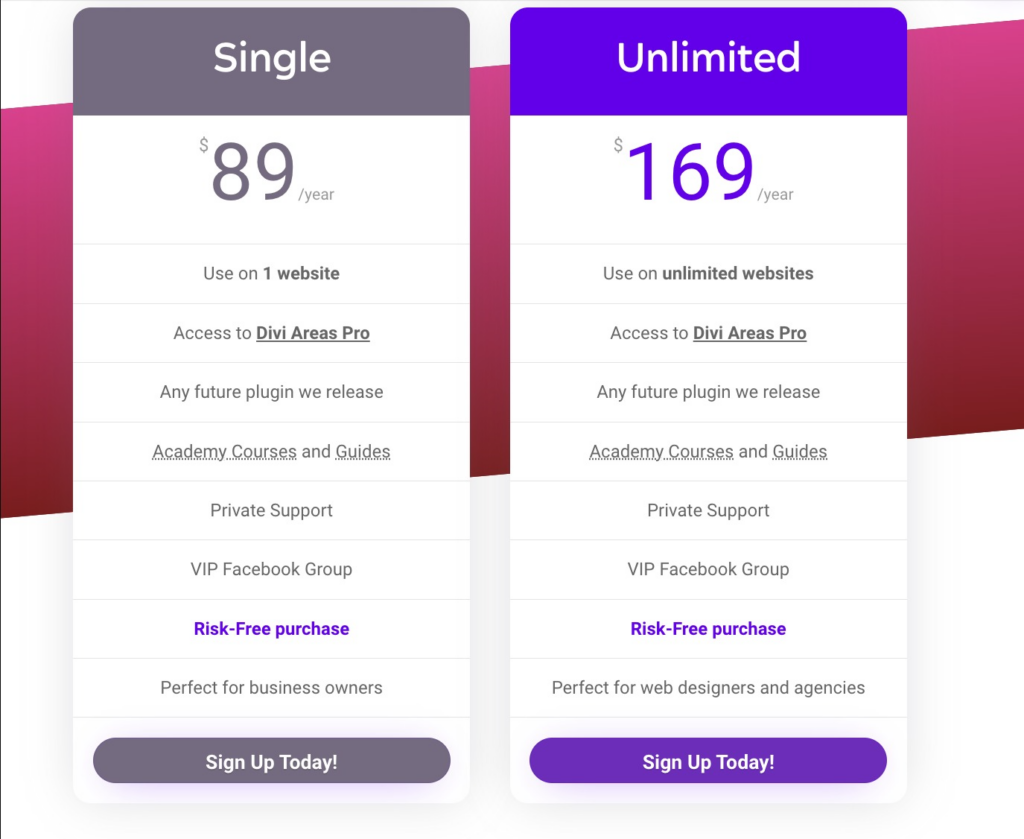
You can choose whether you would like a single website subscription or an unlimited website subscription.
Installing the Plugin
After you have chosen your subscription fee, you will be redirected to the checkout page to add your payment details and approve your purchase. Once you approve your purchase, your Divi Areas Pro plugin will be sent to you and you will be able to start using it on your website. Before you can start using it though, you need to upload it onto your website and install it in order for it to work.

After you install the Divi Areas Pro plugin, you can start creating amazing interactive sections on your WordPress website.
Try Divi Areas Pro today
Sounds interesting? Learn more about Divi Areas Pro and download your copy now!
Many pre-designed layouts. Automated triggers. No coding.
Click here for more details
More Articles You Will Like


