The Bloom Plugin by Elegant Themes is one of the best list-building plugins for WordPress available on the market today. In this article, we do an in-depth Bloom plugin review and list all of the Bloom plugin features.
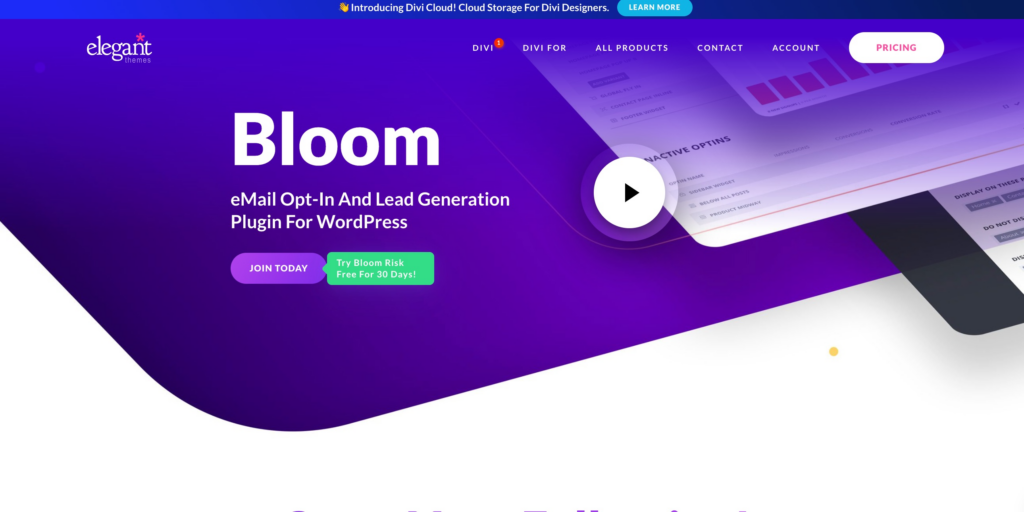
Table of Contents
- A Bloom Plugin Review by Divimode
- Bloom Review: A Detailed Look at the Features
- How To Create An Optin Form With the Bloom Plugin
- Bloom Pricing: How Much Will It Cost?
- Final Thoughts on the Bloom Plugin
A Bloom Plugin Review by Divimode
Pros
- The Bloom Plugin has over 115 different templates to choose from and gives you a huge range of options
- Six types of opt-in forms, let you grow your list in multiple ways
- A beautifully intuitive interface is super easy to use
- Extensive customization, A/B testing, and analytics
Cons
- No exit intent trigger
- No drag-and-drop builder
- Can’t be purchased separately
Bloom Review: A Detailed Look at the Features
The Bloom Plugin offers great features for your WordPress website. Let’s take a deeper look at the Bloom Plugin features.
Six Different Types of Opt-in Forms
With the Bloom Plugin, you get six different types of Optin Forms to choose from. They include the following types:
- Popup
- Fly-in
- Below post
- Inline
- Locked content
- Widget
Unique Triggers and Targeting Rules
The Bloom Plugin offers unique triggers and targeting rules that you can use with your optin forms.
You can customize your optin form behavior with the following trigger options:
- Time
- Scroll depth
- Click
- After comment
- After purchasing
You can choose to:
- Set a limit for the number of times an opt-in display per session
- Hide opt-in forms for visitors on mobile devices
You can target by content type – for example:
- Sitewide
- Homepage
- Blog page
- Archives
- Categories
- Tags
- Posts
- Pages
You can also target specific:
- Categories
- Pages
- Posts
Integrations With Different Email Marketing Services
The Bloom Plugin allows you to integrate with the following email marketing software providers:
- ActiveCampaign
- AWeber
- CampaignMonitor
- Constant Contact
- ConvertKit
- Emma
- Feedblitz
- GetResponse
- HubSpot
- iContact
- Infusionsoft
- MadMimi
- MailChimp
- MailerLite
- MailPoet
- Mailster
- Ontraport
- SalesForce
- Brevo
*Related Article – The 10 Best Email Marketing Software Tools to Consider Investing in Today
Choose From Pre-Made Templates to Design Your Optin Forms
The one downside of the Bloom Plugin is that it does not allow you to build your opt-in form from scratch using drag-and-drop. You need to choose a template from the pre-made template that Bloom offers. The upside is that you can customize them to fit your brand.
You’ll be able to customize all the:
- Text
- Images
- Colors
- Borders
- Animations
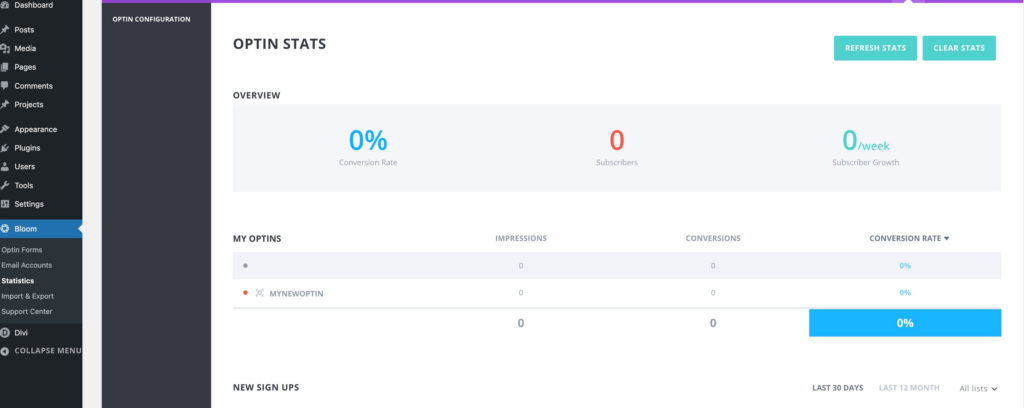
In-Dashboard Statistics Area to Track Performance
The Bloom Plugin has a dedicated statistics area that allows you to track the performance of your opt-in forms. This way you can easily see how your email list grows.
How To Create An Optin Form With the Bloom Plugin
Below we give you a step-by-step guide on how to create an optin form with the Bloom Plugin.
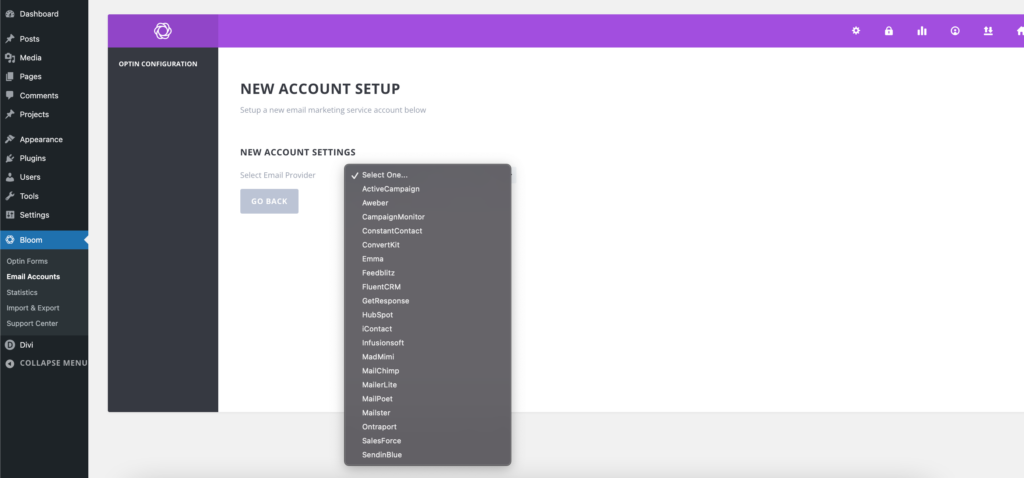
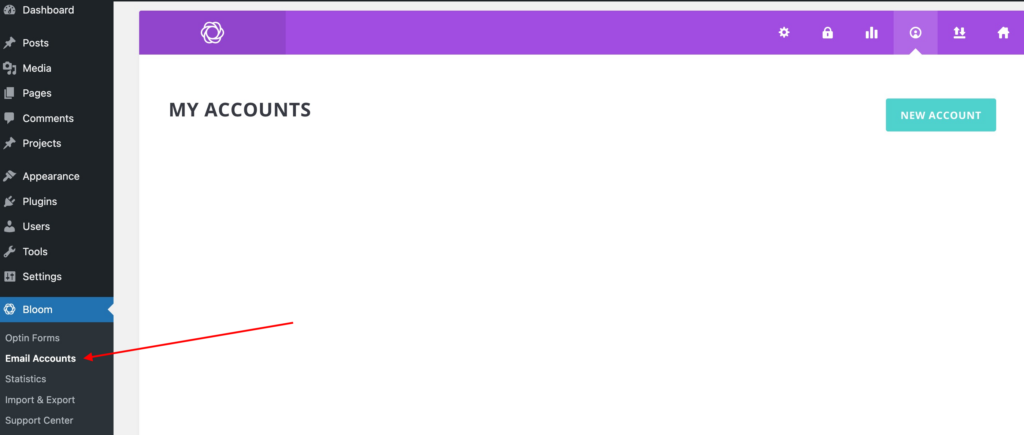
Step 1: Connect to Your Email Marketing Service
To add and connect your email account, head to the Bloom plugin options and then the Email Accounts option as shown below.
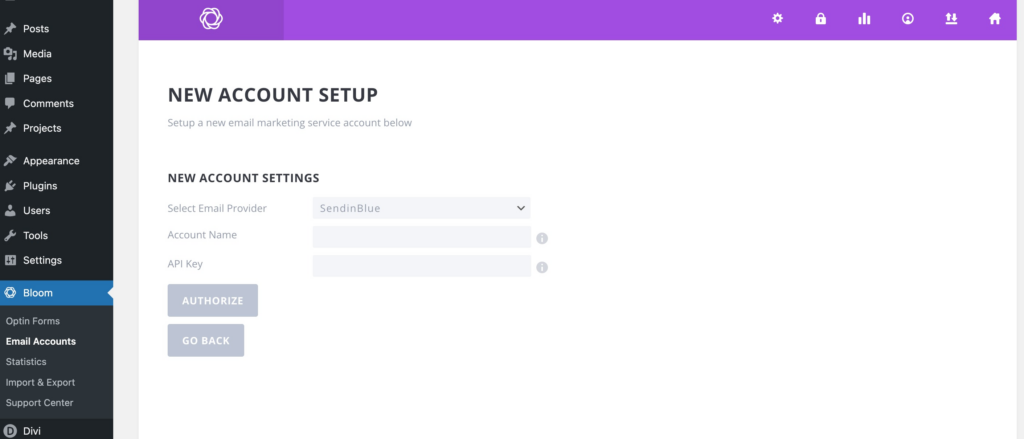
You can choose from the list of email providers that we mentioned above. After you have chosen your email service provider, you will need to add your API information to connect your account.
Step 2: Create Your First Email Optin
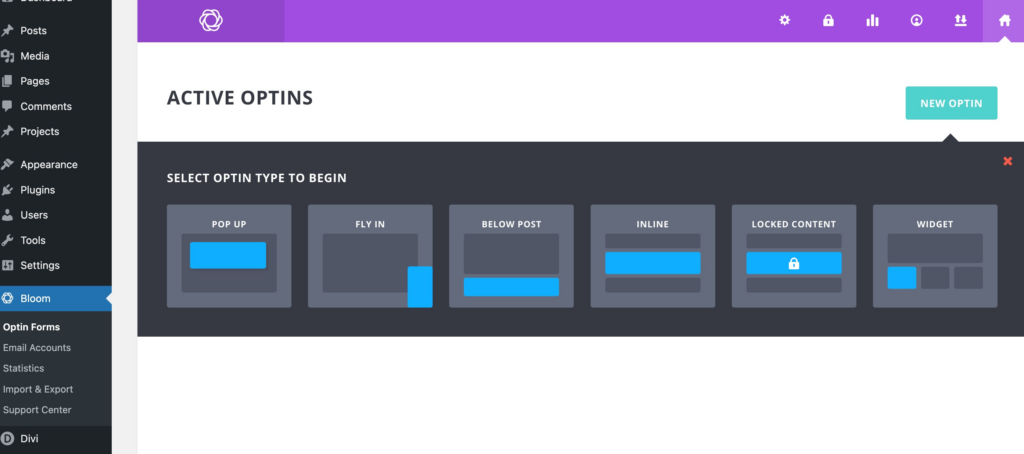
After you have set up and connected your email account with the Bloom plugin, you can start to create your first email opt-in form. To do this, navigate to the Optin Forms option from the Bloom settings to activate your Optin Forms.
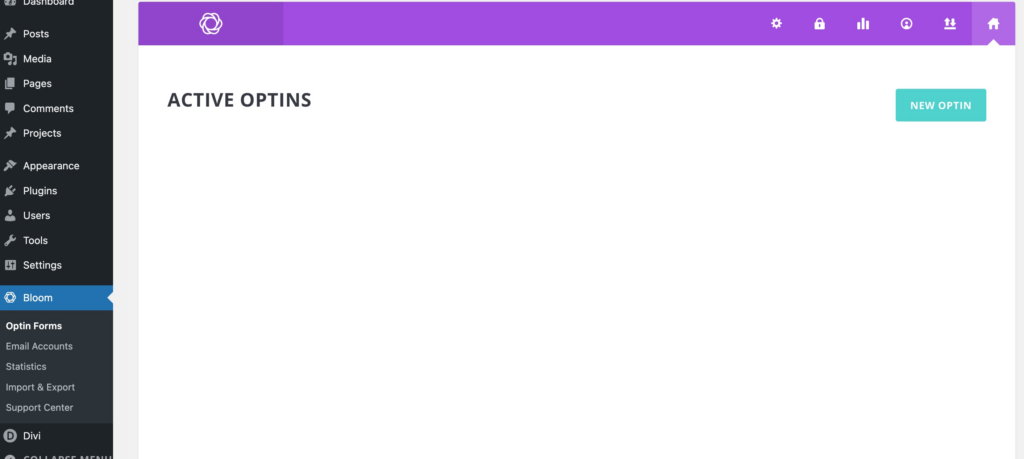
Click on the “New Optin” button and choose from the list. You can start by selecting your opt-in type.
Related Article – 5 Captivating Lead Generation Popup Examples
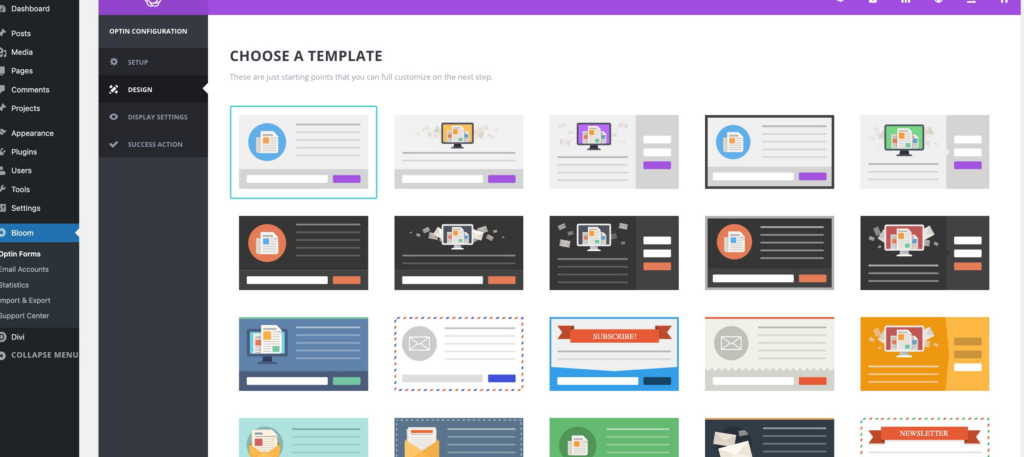
Step 3: Design Your Optin Form
The next step will be to design your opt-in form. To do this, you need to choose an optin form template from the template list. You will then have the option to customize your opt-in form as you wish.
Step 4: Configure Display Settings
After you design and customize your opt-in form, you need to edit your display settings. You have various options and can choose when your opt-in form needs to be displayed, etc.

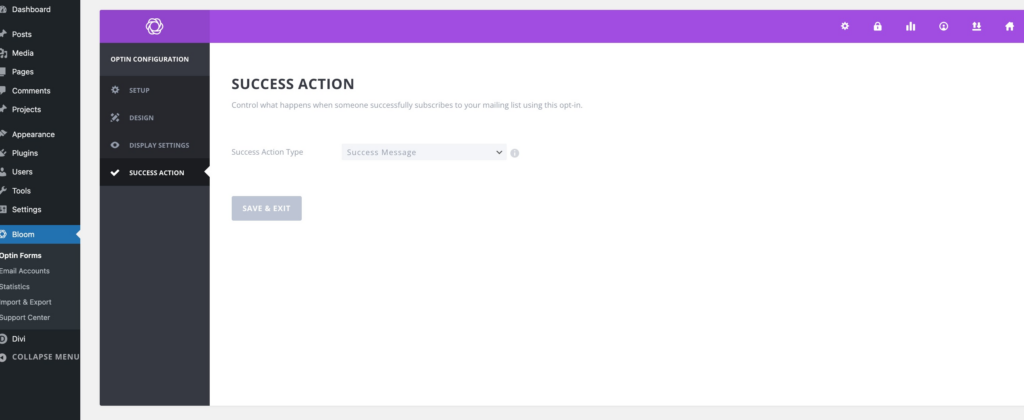
Step 5: Choose What Happens After a User Submits the Form
In the final step in your optin form creation, you must choose what happens after a user submits the form. This is called the “success message”.
Bloom Pricing: How Much Will It Cost?
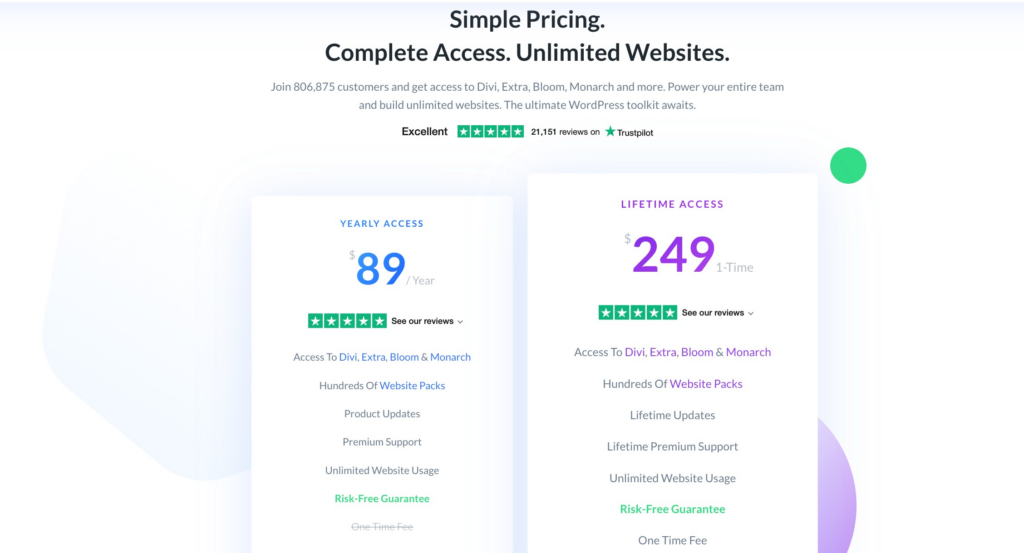
So by now, you must be wondering, how much will the Bloom Plugin cost you. Well, the Bloom Plugin is an Elegant Themes product and is only available as part of the Elegant Themes membership.
Elegant Themes Pricing:
- $89 For access and one year of support/updates.
- $249 For access and lifetime support/updates.
Final Thoughts on the Bloom Plugin
The Bloom Plugin is a well-known quality WordPress list-building plugin. The Bloom interface is well-designed and makes it easy for anyone to create opt-in forms. The plugin offers great templates, triggers, and targeting rules to integrate into your forms. The built-in statistics area makes it easy to analyze and optimize your opt-in forms. The only downside to the Bloom Plugin is its lack of a drag-and-drop builder.
Try Divi Areas Pro today
Sounds interesting? Learn more about Divi Areas Pro and download your copy now!
Many pre-designed layouts. Automated triggers. No coding.
Click here for more details
More Articles You Will Like