
Divi’s Fullwidth Header Module includes many different image style options allowing Divi users to create unique banners and headers on their websites. You can style your header image in many different ways. This post will look at how to style an image in your Divi Fullwidth Header Module. Let’s get started!
Table of Contents
- Add an Image to Your Fullwidth Header
- Fullwidth Header Image Example
- Final Thoughts
- Frequently Asked Questions
Add an Image to Your Fullwidth Header
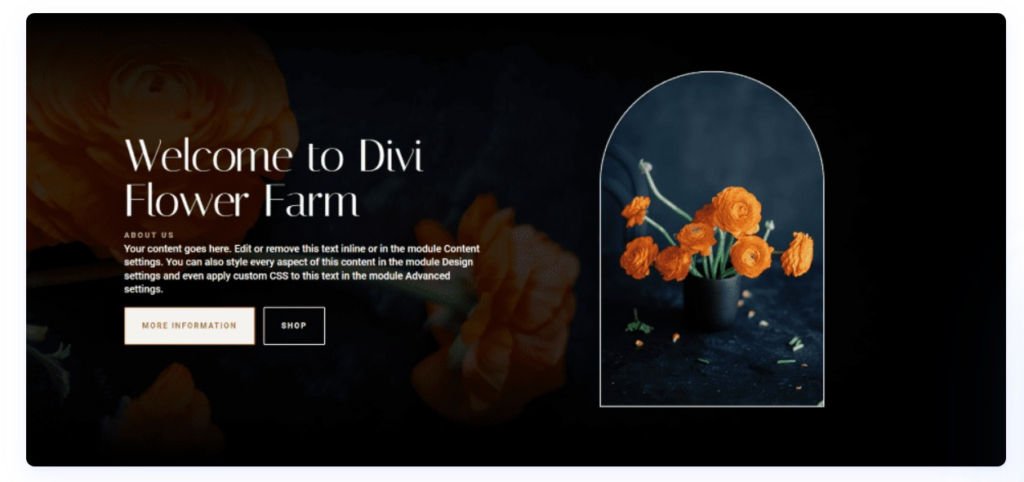
We will use this as our example header in this Divi Fullwidth Header Module Tutorial. We will start by building our full-width header.
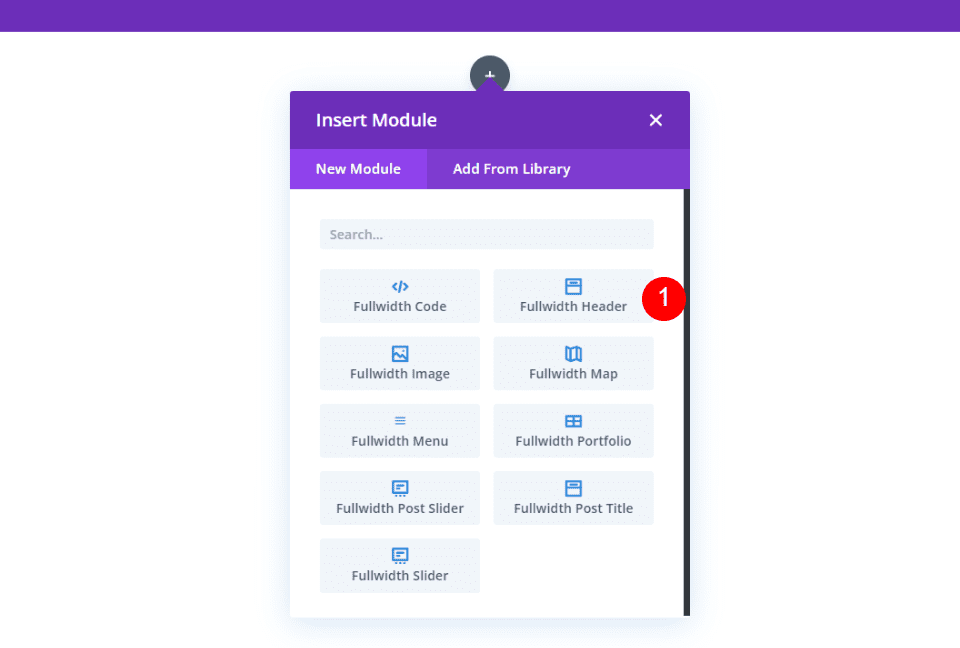
To add the Divi Fullwidth Header module to your page, you’ll need to add a new section container with a one-column row to your page. Once you have that, add the Fullwidth Header Module to your row’s column.
Insert Your Fullwidth Header Text
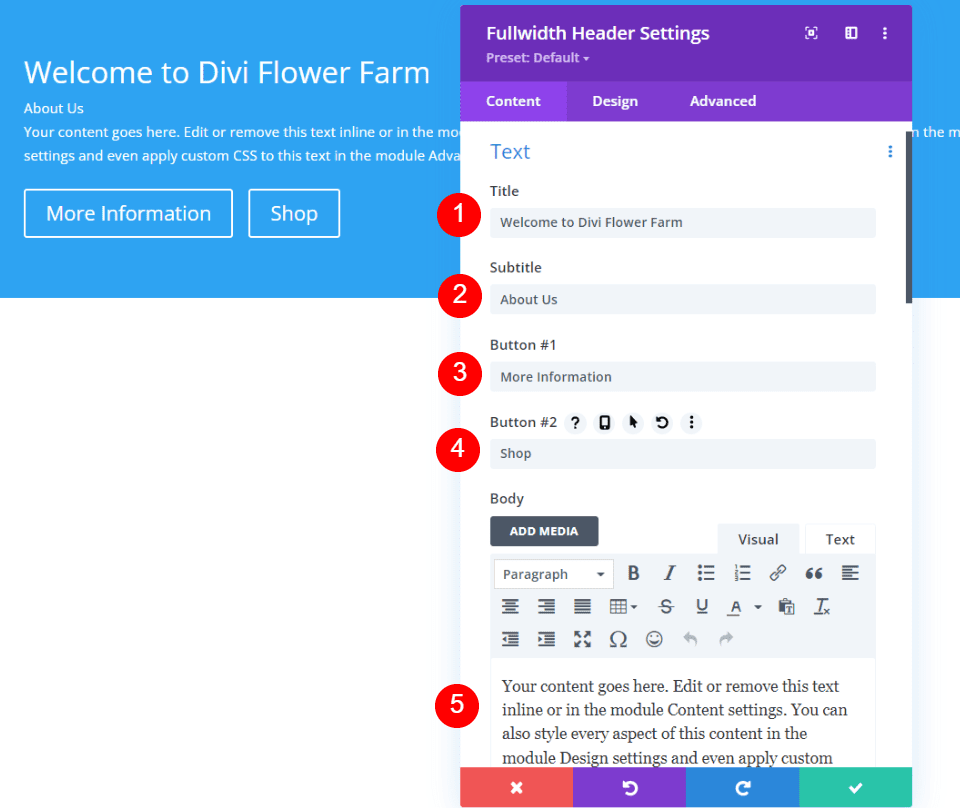
Next, add your Title, Subtitle, Button One text, Button Two text, and Content.
Title: Welcome to Divi Flower Farm
Subtitle: About Us
Button One: More Information
Button Two: Shop
Content: your text
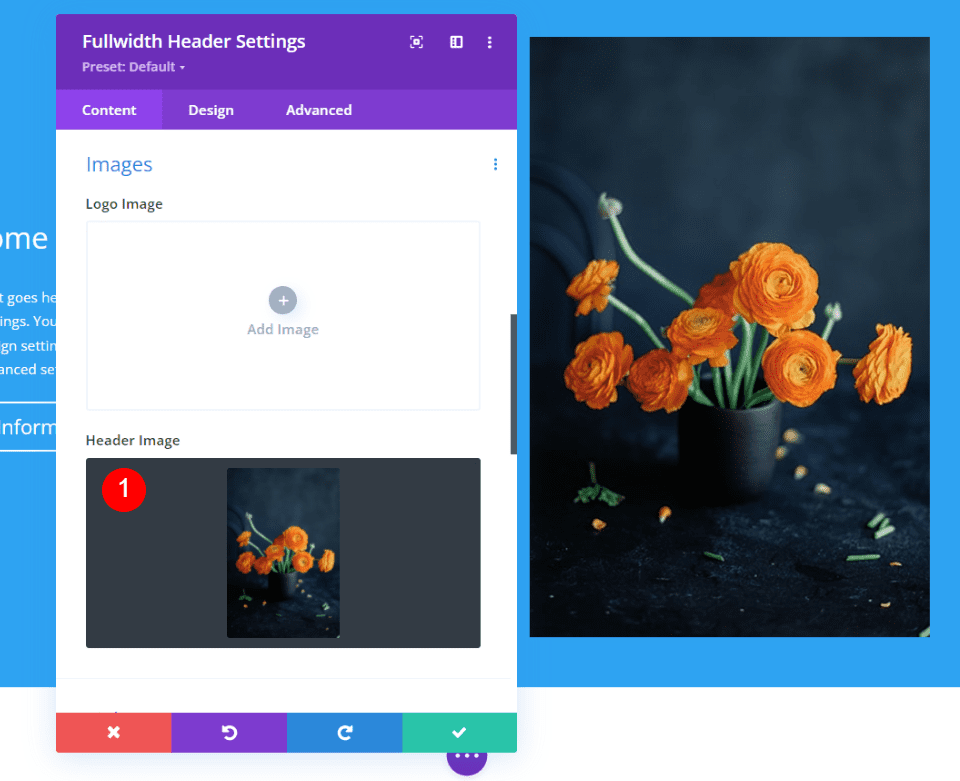
Insert Your Header Image
Scroll down to Images, choose Header Image, and add the image you want to use.
Style Your Header Background
Next, scroll down to Background, select the Gradient tab, and add four Gradient Stops:
Gradient Stop 1: 0%, #000000
Stop 2: 25%, rgba(0,0,0,0.8)
Gradient 3: 75%, rgba(0,0,0,0.8)
Gradient 4: 100%, #000000
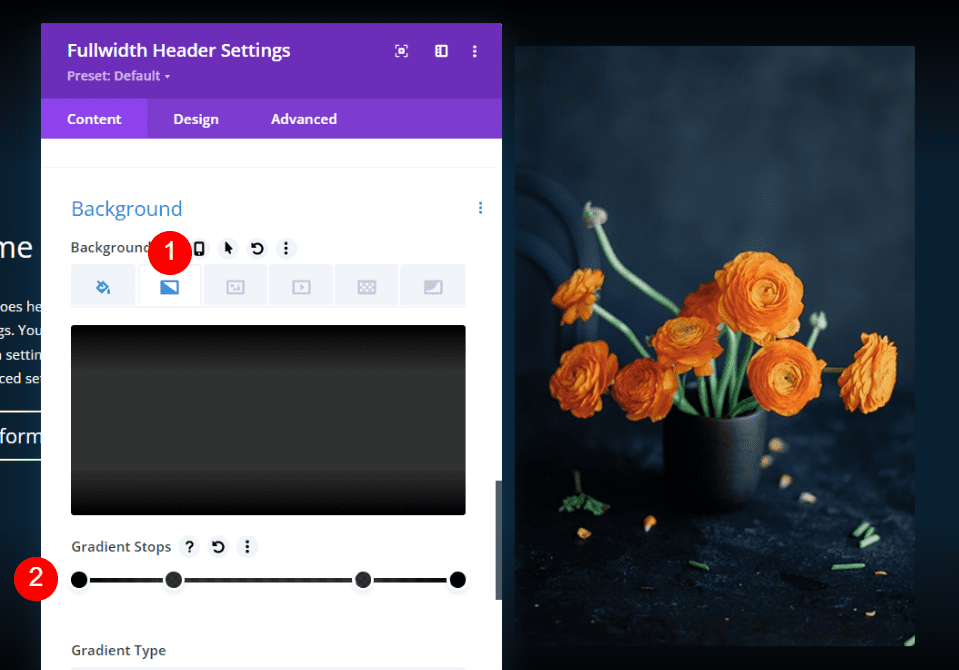
Next, enable the Place Gradient Above Background Image Option. Leave the other settings at their defaults.
Place Gradient Above Background Image: Yes
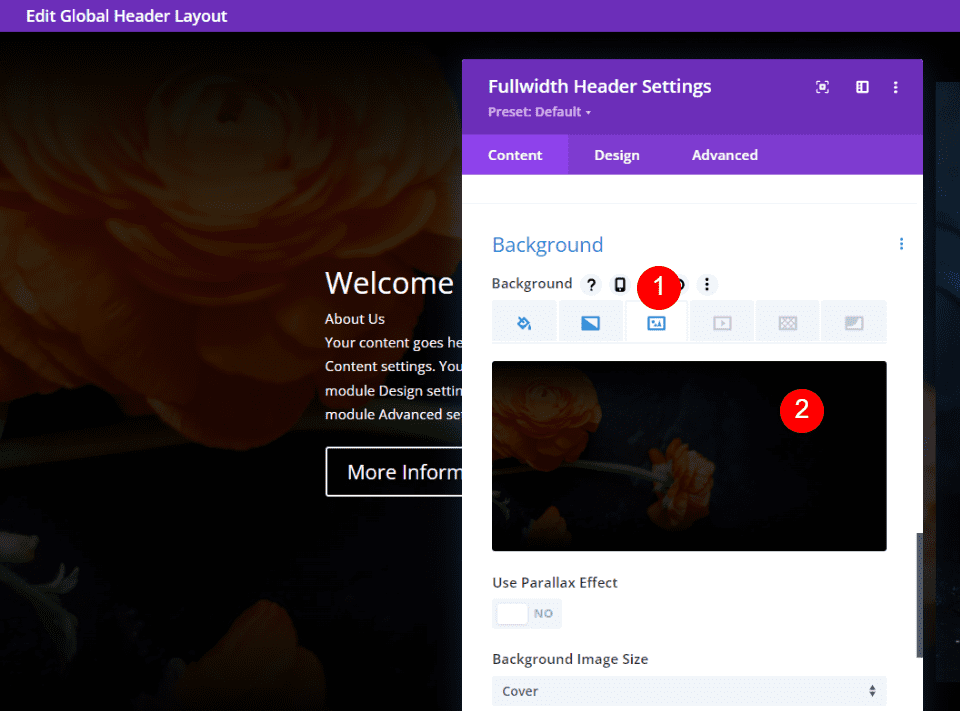
After that, Select the Background Image tab and add your image. After this, we’ll style the full-width header Module.
Style Your Title Text
Select the Design tab and scroll down to Title Text. Select H1 and choose Italiana for the Font. Set the Alignment to the Left and choose white for the Color.
Heading Level: H1
Font: Italiana
Alignment: Left
Color: #ffffff
Fullwidth Header Image Example
For our full-width header Image example, we’ll create a rounded top with a border. Go to the Design tab and scroll down to Image. Un-sync the Values and change the Top Border to 400px.
Top Right and Left Border: 400px
Bottom Right and Left Border: 0px
Change the Border Width to 2px and the Border Color to white.
Width: 2px
Color: #ffffff
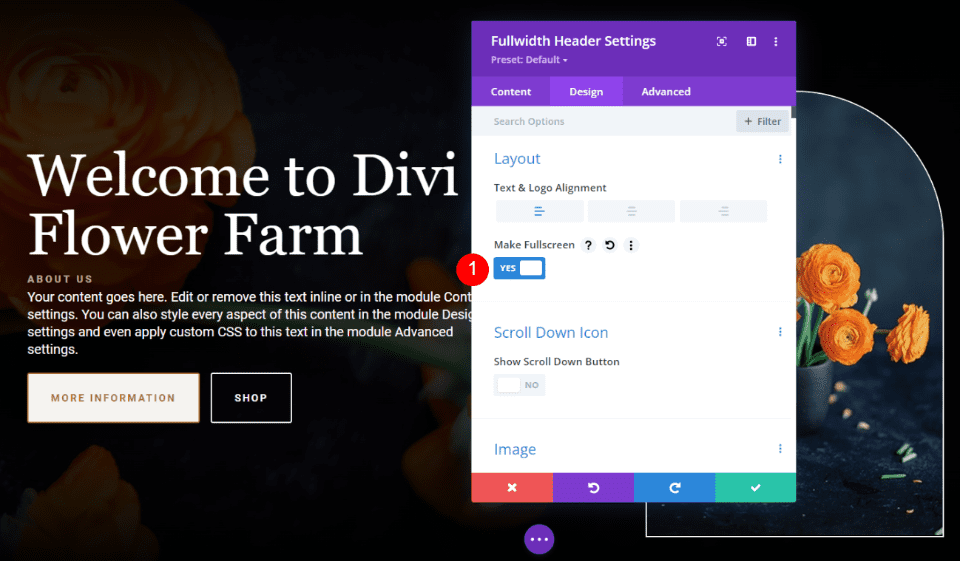
Next, we’ll adjust the Alignment of the text and image to adjust their placement on the screen. For this example, we’ll leave the image and text in their current positions, but we’ll change the vertical alignment for the text and buttons. Selecting Fullscreen opens an option for Vertical Text Alignment in the Text options.
First, go to the Design tab. Under Layout, set the Text Alignment to the right and enable Make Fullscreen.

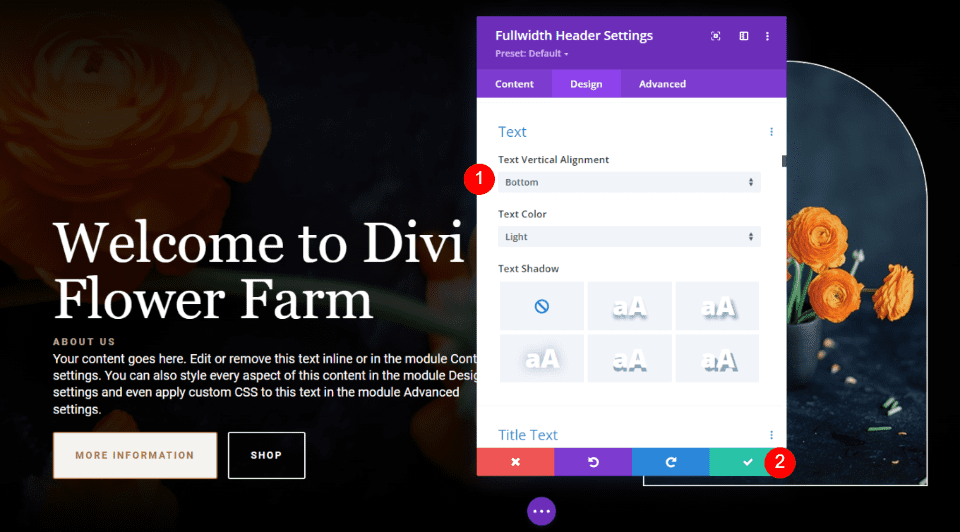
Lastly, scroll down to Text. You’ll now see an option labeled Text Vertical Alignment. Set it to the Bottom. Close the module and save your settings.
Final Thoughts
That’s our look at how to style your Divi Fullwidth Header Module. The image is easy to style, and it can be placed in several locations within the module. The module’s various layout options give you lots of design possibilities. Be sure to test your designs on all screen sizes to ensure the best user experience.
You can view the full Tutorial on how to style an image in your Divi Fullwidth Header Module on the Elegant Themes website.
Frequently Asked Questions
When Should You Use the Divi Fullwidth Header Module?
You can use this module in a page template for posts, projects, and pages to display a dynamic post title.
Try Divi Areas Pro today
Sounds interesting? Learn more about Divi Areas Pro and download your copy now!
Many pre-designed layouts. Automated triggers. No coding.
Click here for more details
More Articles You Will Like


