The real secret to getting your images optimized perfectly isn't found in a plugin setting—it's all about the prep work you do before a single file touches your WordPress media library. If you get the sizing, format, and initial compression right from the start, you're laying the foundation for a lightning-fast Divi or WooCommerce site. Any automated tool you use after that will be dramatically more effective.
Mastering Image Prep Before You Upload
The single most common mistake I see Divi users make is uploading massive, high-resolution photos straight from a camera or a stock photo site. A stunning 5000px wide, 8 MB hero image might look great in your folder, but it forces WordPress and your server to do all the heavy lifting. This eats up resources and slows everything down before an optimization plugin even has a chance to work.
Think of image prep as a proactive strategy. By resizing and compressing images on your computer first, you ensure the files entering your Media Library are already lean. This simple discipline prevents server bloat and gives your optimization plugins a much cleaner, more efficient starting point.
Choosing the Right Image Format
Your first decision is picking the right file type for the job. Each format has a specific strength, and using the right one is a fundamental step in optimizing images for the web.
- JPEG (or JPG): This is your workhorse for photographs and complex images with lots of colors and gradients. It uses lossy compression, which cleverly discards a tiny bit of data to shrink the file size. For photos, you'll rarely ever notice the difference.
- PNG: Use this format for anything that needs a transparent background, like logos, icons, or illustrations. PNGs use lossless compression, meaning no data is lost, which results in higher quality but often larger file sizes than JPEGs.
- WebP: Developed by Google, WebP is a modern format that delivers incredible compression for both photos and graphics. A WebP file can be 25-34% smaller than a comparable JPEG and still supports transparency. Most good optimization plugins will convert your JPEGs and PNGs to WebP automatically on the server.
- AVIF: This is the newest kid on the block, offering even better compression than WebP. While support is growing fast, it’s not quite as universal yet. It's an amazing choice for performance-obsessed sites where every single kilobyte counts.
So, for a big hero image in a Divi section, a JPEG is perfect. But for your company logo layered on top of it? You'll need a PNG to keep that background transparent.
Sizing Images for Their Containers
Never upload an image that's wider than it will ever need to be. If your Divi column has a maximum width of 800 pixels, there is zero benefit to uploading a 3000-pixel-wide image to fill that space. You’re just forcing the user's browser to work overtime scaling it down.
A solid rule of thumb is to size your image to about 1.5x to 2x the dimensions of its largest possible container. This gives you plenty of resolution to look crisp on high-density displays (like Retina screens) without being overkill. For that 800px column, an image between 1200px and 1600px wide is the sweet spot. For a full-width hero image on a big desktop monitor, 2560px is a safe maximum.
Pro Tip: Use your browser's "Inspect" tool to check the actual rendered size of an image container in your Divi layout. This takes all the guesswork out of figuring out the perfect dimensions and is a key skill for manual optimization.
Pre-Compressing Images with Free Tools
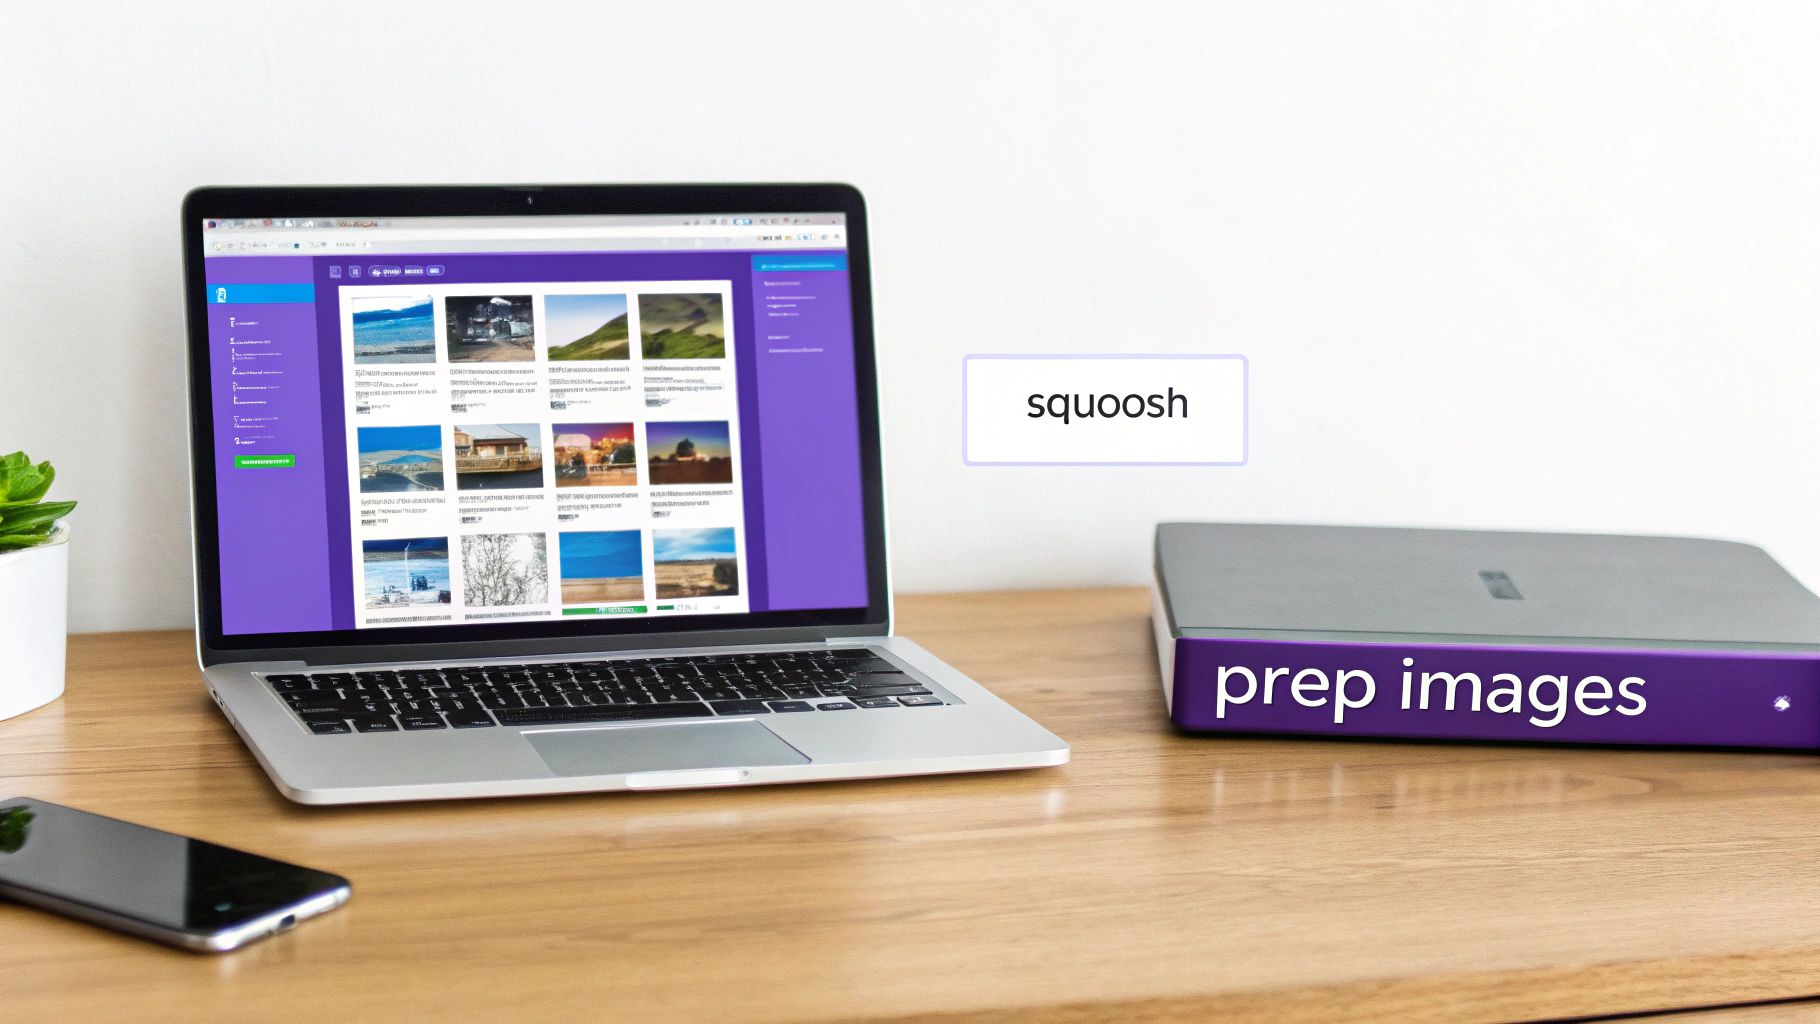
The final step before uploading is a quick pre-compression pass. This is where you shrink the file size down without making it look pixelated. While there are tons of ways to do this, our guide on https://divimode.com/how-to-compress-images-for-web/ is a fantastic place to start. Thankfully, online tools make this process dead simple.
One of my favorite free, browser-based tools is Squoosh.app. Just drag your resized image into Squoosh, and you can see a real-time preview of different compression levels. For a typical JPEG, aiming for a quality setting between 70-85 usually hits the perfect balance of small file size and visual clarity.
Beyond your own site's prep, it's also helpful to have a broad awareness of different workflows by understanding other image upload processes used across various web platforms.
Choosing the Right Automation Plugin
Manually prepping every single image is a great way to start, but let's be realistic—it doesn't scale. Once you're managing a busy Divi site or a growing WooCommerce store, you need an automated workflow that handles optimization in the background. This is where a dedicated WordPress plugin becomes your best friend, ensuring every new upload is perfectly compressed without you having to think about it.
The plugin market is crowded, but a few key players consistently rise to the top for their reliability and deep feature sets. These aren't just simple tools; platforms like ShortPixel, Imagify, and Optimole process billions of images every year, routinely cutting file sizes by 30–70% with no visible drop in quality. For anyone managing multiple sites, this kind of automation is a lifesaver. If you really want to dive into the technical weeds, check out this in-depth guide on WordPress speed optimization.
First, Understand Compression Levels
Before you pick a plugin, you have to get your head around the different types of compression they offer. Your choice here is a direct trade-off between file size and image quality.
Lossless: This method is like putting your image in a ZIP file. It reduces the file size without throwing away any data, so the quality remains identical to the original. You’ll see modest savings, usually around 10-30%. It’s the go-to for photographers or any site where pristine, pixel-perfect images are a must.
Lossy: This is where the magic happens for most websites. Lossy compression gets aggressive, intelligently removing bits of data your eyes are least likely to notice. This leads to massive file size reductions, often over 50%. For almost any Divi or WooCommerce site, a well-tuned lossy setting hits the sweet spot between performance and quality.
Glossy: Some plugins, most notably ShortPixel, offer this middle-ground option. It's designed for photographers who want more compression than lossless can offer but are hesitant to go full lossy. It's a nice balance if you're on the fence.
For the vast majority of people, starting with a standard lossy compression setting will give you the biggest performance win right out of the gate. You can always dial it back if you spot any issues.
Top Plugin Contenders for Divi and WooCommerce
While there are dozens of options out there, a few stand out because they just work, especially with complex tools like Divi and WooCommerce. Here’s a quick look at the leaders.
ShortPixel
This one is a powerhouse, known for its incredible compression algorithms and a pretty generous free plan to get you started. It integrates directly into the WordPress Media Library and has no problem finding and crunching images tucked away in Divi modules or WooCommerce product galleries.
Imagify
Coming from the same crew that built the legendary WP Rocket caching plugin, Imagify is all about a clean, beautiful user interface and dead-simple setup. It gives you three straightforward compression levels (Normal, Aggressive, and Ultra) and has a reputation for playing nicely with even the most complicated site builds.
Optimole
Optimole takes a completely different approach that's pretty slick. It’s not just an optimizer; it's a full-on image CDN. It processes your images in the cloud, serves them from a global network, and—here's the killer feature—delivers the perfectly sized version for each user's specific screen. It’s an amazing all-in-one solution that simplifies your whole performance stack.
A quick pro tip: Whatever plugin you choose, make sure it has a non-destructive mode. This means the plugin saves a backup of your original, uncompressed images. If you decide the compression is too much or you want to switch plugins later, you can restore your originals with a single click. It’s a huge safety net.
So, which plugin is best? It really boils down to what you need. If you're a control freak who loves tweaking settings, ShortPixel is your jam. If you just want something that works beautifully with minimal fuss, go with Imagify. And if you want an all-in-one, set-it-and-forget-it solution with a CDN, Optimole is fantastic. Most offer free credits to test the waters, so I highly recommend trying one or two out to see which one fits your workflow best.
Comparison of Top Image Optimization Plugins
To help you decide, I've put together a table comparing the key features of the top contenders. This should give you a quick, at-a-glance view of how they stack up against each other, focusing on what really matters for a Divi or WooCommerce site.
| Feature | ShortPixel | Imagify | EWWW Image Optimizer | Optimole |
|---|---|---|---|---|
| Compression Quality | Excellent (Lossy, Glossy, Lossless). Known for great quality-to-size ratio. | Very Good (Normal, Aggressive, Ultra). Aggressive is a strong default. | Good. Offers pixel-perfect optimization but can be less aggressive. | Excellent. Cloud-based processing with perceptual quality algorithms. |
| Key Feature | "Glossy" mode for photographers. PDF optimization. | Simple UI, direct integration with WP Rocket. | No file size limits on their servers. Unlimited images with paid API. | All-in-one Image CDN and real-time, device-aware optimization. |
| Free Plan | 100 images/month (recurring). | 20MB of images/month (approx. 200 images, recurring). | Free version with local server compression. API credits are extra. | 5,000 visits/month. Images served via CDN. |
| WebP Conversion | Yes, included. | Yes, included. | Yes, included with their Easy IO CDN or paid plans. | Yes, automatic and included by default. |
| Backups | Yes, one-click restore for original images. | Yes, one-click restore. | Yes, stores originals for 30 days. | Yes, originals are stored in the cloud. |
| Best For | Users who want granular control and top-tier compression quality. | Simplicity and ease of use, especially for WP Rocket users. | Users on a tight budget needing local optimization or unlimited images. | Hands-off automation and an all-in-one CDN solution for best performance. |
Ultimately, you can't go wrong with any of these four. They are all battle-tested and well-supported. The choice comes down to your budget, technical comfort level, and whether you prefer an integrated solution like Optimole or a more traditional, in-place optimizer like ShortPixel or Imagify.
Implementing Responsive Images and Lazy Loading in Divi
Getting your image file sizes down is a huge win, but it's only half the battle. To really nail mobile performance, you have to make sure every device downloads the right-sized image—not some massive desktop version it has to shrink down.
This is where responsive images and lazy loading become your secret weapons, especially when you're working in a dynamic builder like Divi.
WordPress is actually pretty smart about this right out of the box. When you upload an image, it automatically creates several smaller versions (like thumbnail, medium, and large). It then uses an HTML attribute called srcset to give the browser a menu of these sizes. The browser gets to pick the most efficient one based on the user's screen resolution and viewport. Smart, right?
The goal is to pair this intelligent delivery with the right compression level for each image.
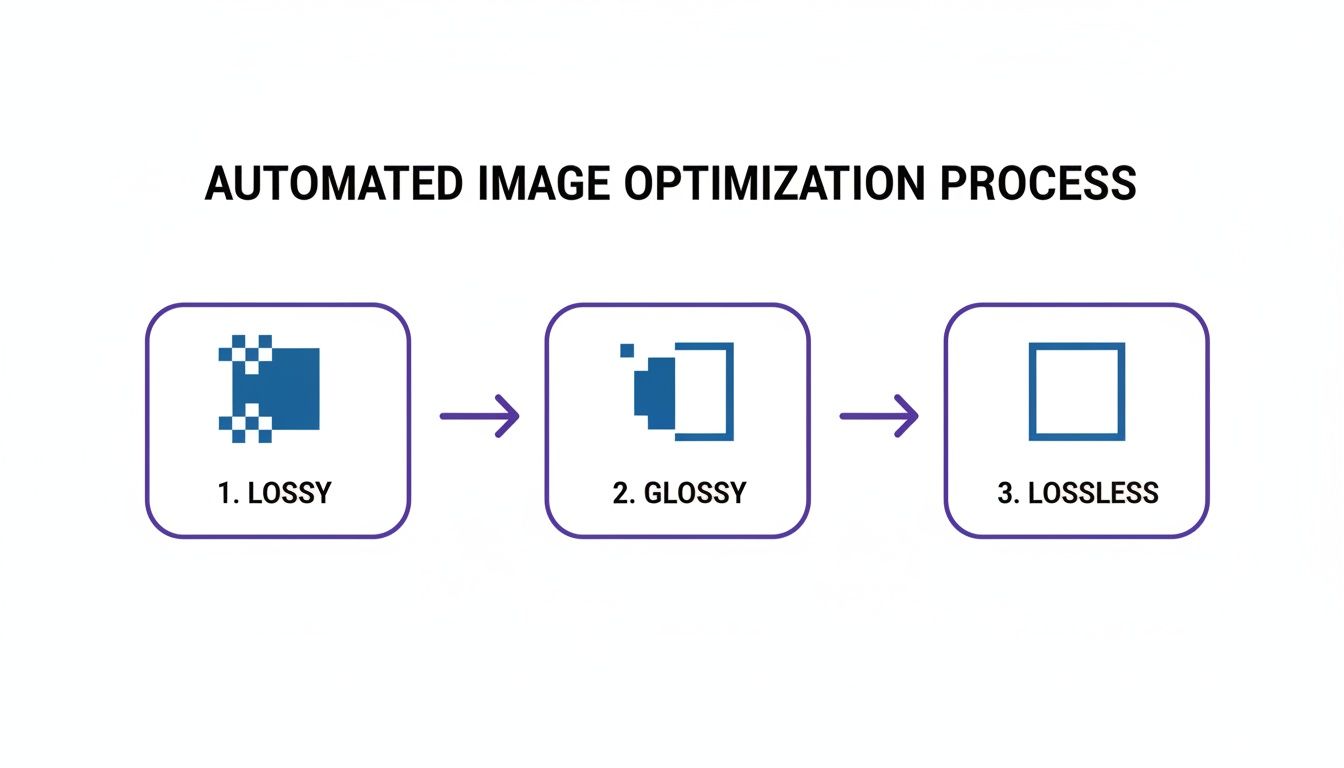
As this shows, lossy compression gives you the smallest file by discarding some data, while lossless is all about perfect quality. "Glossy" is that happy medium. By combining smart compression with smart delivery, your site gets a serious speed boost.
Making Responsive Images Work in Divi
While WordPress handles the srcset generation on the backend, you need to make sure Divi is playing along. For standard Divi Image modules, this usually just works. No problem there.
The real headache comes from images used as backgrounds in sections, rows, or columns. Divi often applies these with CSS, and CSS background images simply don't support the srcset attribute. This means that beautiful, high-res background you chose for desktops is often the exact same file being forced onto mobile devices, which can absolutely crush your load times.
Here’s how to get around that limitation:
- Lean on Divi's Built-in Responsive Settings: Dive into your module settings and head to the "Advanced" tab. You'll find options to set different background images for Tablet and Phone. Take advantage of this! Create and upload smaller, mobile-specific versions of your backgrounds here.
- Prioritize the Image Module: Whenever an image is a key piece of content and not just decorative flair, use an actual Image Module instead of a background. This is the surest way to get the full benefit of WordPress's native
srcsetfunctionality.
For a much deeper dive into the nuances of handling images in the builder, our complete guide on using images with Divi covers even more specific strategies.
Implementing Lazy Loading the Smart Way
Lazy loading is a fantastic trick. It tells the browser not to load any images "below the fold" until the user actually scrolls down to them. This makes the initial page load feel lightning-fast because you're not downloading everything at once. WordPress has had this as a native feature since version 5.5, but a good plugin will give you much more control.
There is one golden rule here: never lazy load above-the-fold images.
This means your logo, any key images in your navigation, and especially your main hero image should always be excluded. These are the first things people see. Delaying them creates a jarring experience and can wreck your Largest Contentful Paint (LCP) score, a critical Core Web Vital.
Key Takeaway: A fast LCP is everything for user experience and SEO. Making a visitor wait for your hero image to pop in because it was lazy-loaded is a surefire way to increase your bounce rate.
Most top-tier optimization plugins like ShortPixel or caching plugins like WP Rocket make it easy to exclude images from lazy loading. You can usually just add an image's filename or a specific CSS class to an exclusion list in the settings.
Special Considerations for Divi and WooCommerce
When you're building an e-commerce site with Divi and WooCommerce, image optimization becomes mission-critical. Product grids, galleries, and carousels can easily dump dozens of images onto a single page, bringing your site to a crawl if you're not careful.
Here's a quick checklist for Divi/WooCommerce sites:
- Exclude the Main Product Image: On a single product page, the main gallery image is always above the fold. Always. Make sure it's excluded from lazy loading.
- Test Your Galleries and Sliders: See how lazy loading interacts with Divi's Gallery and Slider modules, as well as WooCommerce product modules. Occasionally, lazy loading can mess with how these modules calculate their dimensions, causing layout shifts or preventing images from appearing at all.
- Crush Those Thumbnails: Your main shop page is a sea of thumbnails. Each one adds to the page weight. Make sure they are all being compressed properly and are set to lazy load.
By thoughtfully implementing responsive images and fine-tuning your lazy loading to protect critical content, you can ensure your Divi site delivers a fast, seamless experience on any device.
Integrating a CDN for Faster Image Delivery
Even after you’ve perfectly prepped and compressed your images, you’re still at the mercy of one major bottleneck: the physical location of your web server.
Let's say your server is in Dallas. If a customer from Berlin visits your WooCommerce store, every single image has to travel halfway across the world to get to them. That physical distance, known as latency, adds precious milliseconds—or even full seconds—to your load times.
To deliver a truly elite user experience, your optimization strategy has to go global. This is where a Content Delivery Network (CDN) becomes an absolute necessity. A CDN is a massive, geographically distributed network of servers that caches (stores copies of) your static content, like images. It then serves those images from the server closest to each visitor.
Suddenly, that image doesn't have to travel from Dallas to Berlin. Instead, it’s served from a server in Frankfurt, just a short hop away. The difference is night and day, resulting in a much faster, snappier experience for your international shoppers.
How a CDN Supercharges Your Divi Site
Think of a CDN as creating dozens of mini-clones of your image library all around the world. When a visitor’s browser requests an image, the CDN intelligently routes that request to the nearest server, often called an "edge location." This ensures the fastest possible delivery.
For a visually rich Divi site filled with high-resolution backgrounds, stunning portfolio galleries, and detailed product photos, this is a total game-changer. The speed improvement isn't just theoretical; it’s the tangible difference between a user happily browsing your services and one bouncing away in frustration.
Choosing and Setting Up Your CDN
The good news is that integrating a CDN with WordPress is simpler than it's ever been. Many of the best image optimization and caching plugins offer either their own built-in CDN services or seamless integrations with top-tier providers. Two of my go-to choices are Cloudflare and Bunny.net (formerly BunnyCDN).
- Cloudflare: A hugely popular choice that offers a very generous free plan. It functions as a reverse proxy, meaning it sits in front of your site, handling traffic and automatically caching static content. It's an incredibly powerful all-in-one solution for both performance and security.
- Bunny.net: This is a more specialized, performance-obsessed CDN known for its incredible speed and affordable, pay-as-you-go pricing. It’s a favorite among developers who want fine-tuned control and blazing-fast delivery without breaking the bank.
Most modern caching plugins, like WP Rocket, make the setup a breeze. They usually have a dedicated field where you just pop in your CDN's URL. The plugin then takes care of the rest, automatically rewriting your image URLs so they are served from the CDN instead of your origin server.
Important Takeaway: Using a CDN is non-negotiable for any business with a national, let alone global, audience. Industry studies have consistently shown that a mere 1-second delay in page load time can cause a 7% reduction in conversions. A CDN is one of the most effective tools you have to close that gap.
Avoiding Common Conflicts and Ensuring Harmony
Now, the real challenge isn’t just setting up a CDN; it’s making sure all your performance tools play nicely together. A classic pitfall I see all the time is having a caching plugin, an image optimization plugin, and a CDN all trying to do the same job. This can lead to conflicts, broken images, and a lot of headaches.
Here’s a quick checklist I run through to ensure a smooth, cohesive setup:
- Pick One Tool for WebP Delivery: If your image plugin (like ShortPixel) and your CDN (like Cloudflare) can both serve WebP images, choose one to handle the job and disable the feature on the other. Having both active is a recipe for conflict.
- Verify Caching Plugin Integration: Double-check that your caching plugin (e.g., WP Rocket) is correctly configured with your CDN's details. This is what tells WordPress to rewrite asset URLs, pointing them to the CDN's servers.
- Check for URL Path Issues: Some Divi modules might use relative URLs for things like background images (
/wp-content/...), which can sometimes confuse CDNs. Your setup needs to correctly translate these paths into the full, absolute CDN URL. - Purge All Caches After Changes: This is crucial. Whenever you make significant changes to your images or site design, remember to purge the cache at all levels: your WordPress caching plugin and your CDN's cache. This ensures visitors always see the latest versions of your files.
By carefully configuring these elements, you create a powerful, unified system. Your perfectly compressed images get served from a global network in milliseconds, giving every single user the fast, high-quality experience they expect, no matter where they are in the world.
How to Measure and Troubleshoot Image Performance
Optimizing your images is a great first step, but how do you actually know it made a difference? Without hard data, you’re just guessing. Measuring your site's performance before and after optimization is the only way to confirm your efforts are paying off and to hunt down any stubborn issues that remain.
This process is what turns tweaking settings into making smart, data-driven decisions. The real goal here is to see tangible improvements in your site’s speed metrics, which has a direct impact on user experience and, you guessed it, your search engine rankings.
Using Performance Tools to Get a Baseline
Before you can pop the champagne, you need a starting point. This is where tools like Google PageSpeed Insights and GTmetrix become your best friends. They scan your site and spit out a detailed report card on its performance, including key metrics that are directly tied to your images.
When you run a test, try to ignore the big flashy overall score for a moment and zoom in on one metric in particular: the Largest Contentful Paint (LCP). This Core Web Vital measures how long it takes for the largest image or text block to become visible on the screen. More often than not, the LCP element is a hero image or a main product photo, making it a perfect proxy for your image performance.
Your mission is to find out what this LCP element is and then watch its loading time shrink as you work your magic. A good LCP score is anything under 2.5 seconds. Every millisecond you can shave off that time is a solid win.
For a deeper dive into your options, check out our guide on website performance monitoring tools.
Building Your Divi Troubleshooting Checklist
Even with the best tools and intentions, things can go sideways—especially in a complex environment like Divi. Blurry images, broken layouts, and frustrating plugin conflicts are all common bumps in the road.
Here’s a practical checklist I've used time and again to diagnose and fix the most frequent image optimization problems.
Problem: Blurry Images After Compression
This is almost always the result of overly aggressive lossy compression. Your optimization plugin got a little too excited and threw away too much visual data.- Solution: Jump into your plugin’s settings and dial back the compression level. Switch from an "Ultra" or "Aggressive" setting to something more moderate like "Glossy" or even "Lossless." After you've done that, be sure to regenerate the thumbnails for the affected images.
Problem: Lazy Loading Breaks Sliders or Galleries
You might notice images in a Divi slider or a WooCommerce product gallery don't show up until you interact with them, or worse, they cause the whole layout to jump around.- Solution: This usually happens because the lazy loading script is clashing with the JavaScript that powers the slider. The easiest fix is to tell your plugin to leave those specific images alone. Look for a setting to exclude images by their filename, path, or a specific CSS class (like
.et_pb_slider).
- Solution: This usually happens because the lazy loading script is clashing with the JavaScript that powers the slider. The easiest fix is to tell your plugin to leave those specific images alone. Look for a setting to exclude images by their filename, path, or a specific CSS class (like
Problem: Background Images Aren’t Being Optimized
You’ve run your entire media library through an optimizer, but PageSpeed Insights is still flagging your Divi section background as a massive, uncompressed file. What gives?- Solution: Most optimization plugins are blind to CSS background images. The best way around this is to leverage Divi's built-in responsive settings. Manually create a smaller, pre-compressed version of that background image specifically for tablet and mobile, then upload it in the section's responsive background image settings.
Across the web, images are consistently the single largest performance bottleneck. It's reported that images can make up about 60% of a site’s total page weight, and just optimizing them properly can improve site speed by up to 30%. For Divi sites loaded with image-heavy hero sections and portfolios, this is a non-negotiable.
This kind of systematic troubleshooting helps you isolate problems quickly without playing the frustrating game of randomly deactivating plugins. And remember, learning how to improve page load speed as a whole goes hand-in-hand with image optimization. By measuring your results and methodically squashing issues as they pop up, you can confidently build a faster, more reliable Divi website for every single visitor.
Common Image Optimization Questions
Diving into image optimization brings up a ton of questions, especially when you're trying to get Divi's builder and a WooCommerce shop to play nicely together. Let's walk through some of the most common hurdles I see people run into when they try to WP optimize images.
Getting these details right is the key to building a workflow that actually works. A simple misunderstanding about compression or file types can lead to frustrating results that slow your whole site down.
Should I Use WebP or AVIF for My Divi Website Images?
This is a hot topic right now, and the honest answer is about balancing bleeding-edge performance with real-world compatibility. For the vast majority of Divi sites, WebP is the current sweet spot.
It’s the perfect blend of quality and file size reduction, usually shaving 25-35% off a similar JPEG without anyone noticing the difference. More importantly, every major browser supports it, so you get a huge performance win without leaving any visitors behind.
AVIF is the powerful new kid on the block. It can shrink files even further, but its browser support just isn't universal yet.
The smartest strategy? Use a plugin that can serve WebP to everyone by default but also deliver the even smaller AVIF files to browsers that can handle them. This "smart delivery" approach ensures you're always using the best format for every single user, automatically.
How Do I Fix Blurry Images After Optimization?
There's nothing more frustrating than seeing your beautiful, crisp product shots turn into a blurry mess. This is an incredibly common side effect of getting a little too aggressive with your optimization settings. It almost always comes down to a "lossy" compression level being pushed too far, which causes the tool to throw away too much visual data.
Thankfully, the fix is usually straightforward. Just head into your optimization plugin’s dashboard and dial back the intensity.
- Adjust the Compression Level: Look for a setting like "Aggressive" or "Ultra" and switch it to a more moderate option like "Glossy" or even "Lossless."
- Check Original Dimensions: Make sure you're uploading an image that's big enough for the space it's in. For a sharp look on high-resolution "Retina" screens, your image needs to be at least 1.5x to 2x the size it will be displayed. If a container is 500px wide, upload a 1000px wide image to keep it looking crisp.
Can I Optimize Images Without a Plugin?
You absolutely can, but it requires some serious discipline. You can manually resize, compress, and even convert images to WebP using fantastic free online tools like Squoosh.app before you ever upload them to your WordPress media library. This approach gives you total control over every single image.
The big catch, however, is the manual labor involved. It's time-consuming and you miss out on the automated magic a plugin provides, like generating responsive srcset attributes or integrating with a CDN. For any site with more than a few dozen images, a plugin-based workflow is just far more efficient and scalable.
A plugin isn’t just about compression; it’s about automating an entire performance workflow. It handles responsive image delivery, lazy loading, and CDN integration—tasks that are incredibly tedious to manage manually at scale.
Will Bulk Optimization Break My Existing Images?
This is a totally valid fear, but any reputable optimization plugin is built with safety as a top priority. They are designed to be non-destructive.
When a plugin optimizes an image, it doesn't touch your original file. Instead, it creates a new, compressed copy and safely stores your original in a backup folder on your server.
If you ever decide a compression setting was too strong or you just need to revert an image for any reason, you can typically restore the original with a single click inside the plugin's dashboard. That said, I always recommend running a full site backup before you hit "go" on a bulk optimization process for your entire library. It's just a smart safety net for any major site operation.
At Divimode, we build tools that make advanced performance techniques simple. Our plugins, like the powerful Divi Areas Pro, are designed to give you complete control over your site's user experience without sacrificing speed. Explore Divimode's solutions and start building faster, smarter websites today.
More Articles You Will Like