Installing a WordPress plugin is surprisingly simple. For most, it’s a matter of heading to Plugins > Add New in your dashboard, finding what you need, and clicking “Install Now” then “Activate.” The whole thing takes less than a minute but can completely change what your website is capable of doing.
Why WordPress Plugins Are Your Website's Superpower
Think of a fresh WordPress install like a blank canvas. It’s clean, functional, and ready to go, but it doesn't have the specific features that make a website truly powerful or unique to your business. This is where plugins come in. They are essentially add-on pieces of software that snap right into your site to add new functionality, turning a standard blog into a custom-built machine.
For instance, without ever touching a line of code, you can suddenly:
- Turn your site into a full-blown online store with a plugin like WooCommerce.
- Beef up your security and block malicious attacks using something like Wordfence.
- Build stunning, complex page layouts with a drag-and-drop page builder.
- Start capturing leads and growing your email list with a simple contact form plugin.
This modular approach is the very reason WordPress now powers over 43% of all websites on the internet. It allows for nearly endless customization. If you want to dig deeper, we have a detailed guide on what a WordPress plugin is and how it works. But the gist is this: if you can dream up a feature for your website, there's a good chance a plugin already exists to make it happen.
This decision tree gives you a great visual for the paths you can take when adding new features to your site.
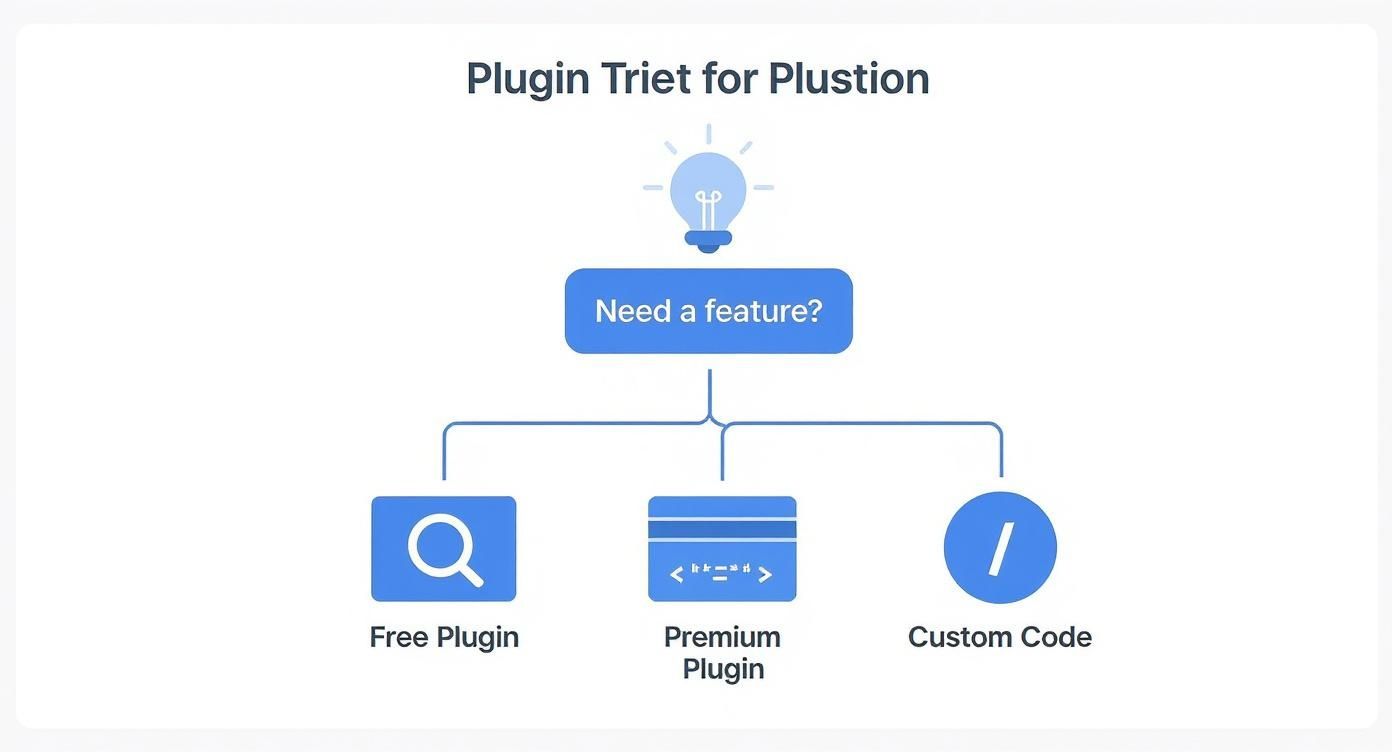
As the graphic shows, your journey starts when you identify a need. From there, you branch out, deciding between free plugins from the official repository, premium (paid) plugins with more features, or even a custom-coded solution for something truly unique.
The real magic of WordPress isn't just its core software; it's the massive ecosystem of plugins that surrounds it. Learning how to install plugins isn't just a technical skill—it's the key to unlocking your website's true potential and adapting it to any business goal you have in mind.
Using the Official WordPress Plugin Directory
For most folks, installing a new WordPress plugin starts right inside the dashboard. Honestly, this is the easiest and safest way to go, since it plugs you directly into the massive, free library of tools that have been vetted by the WordPress community.
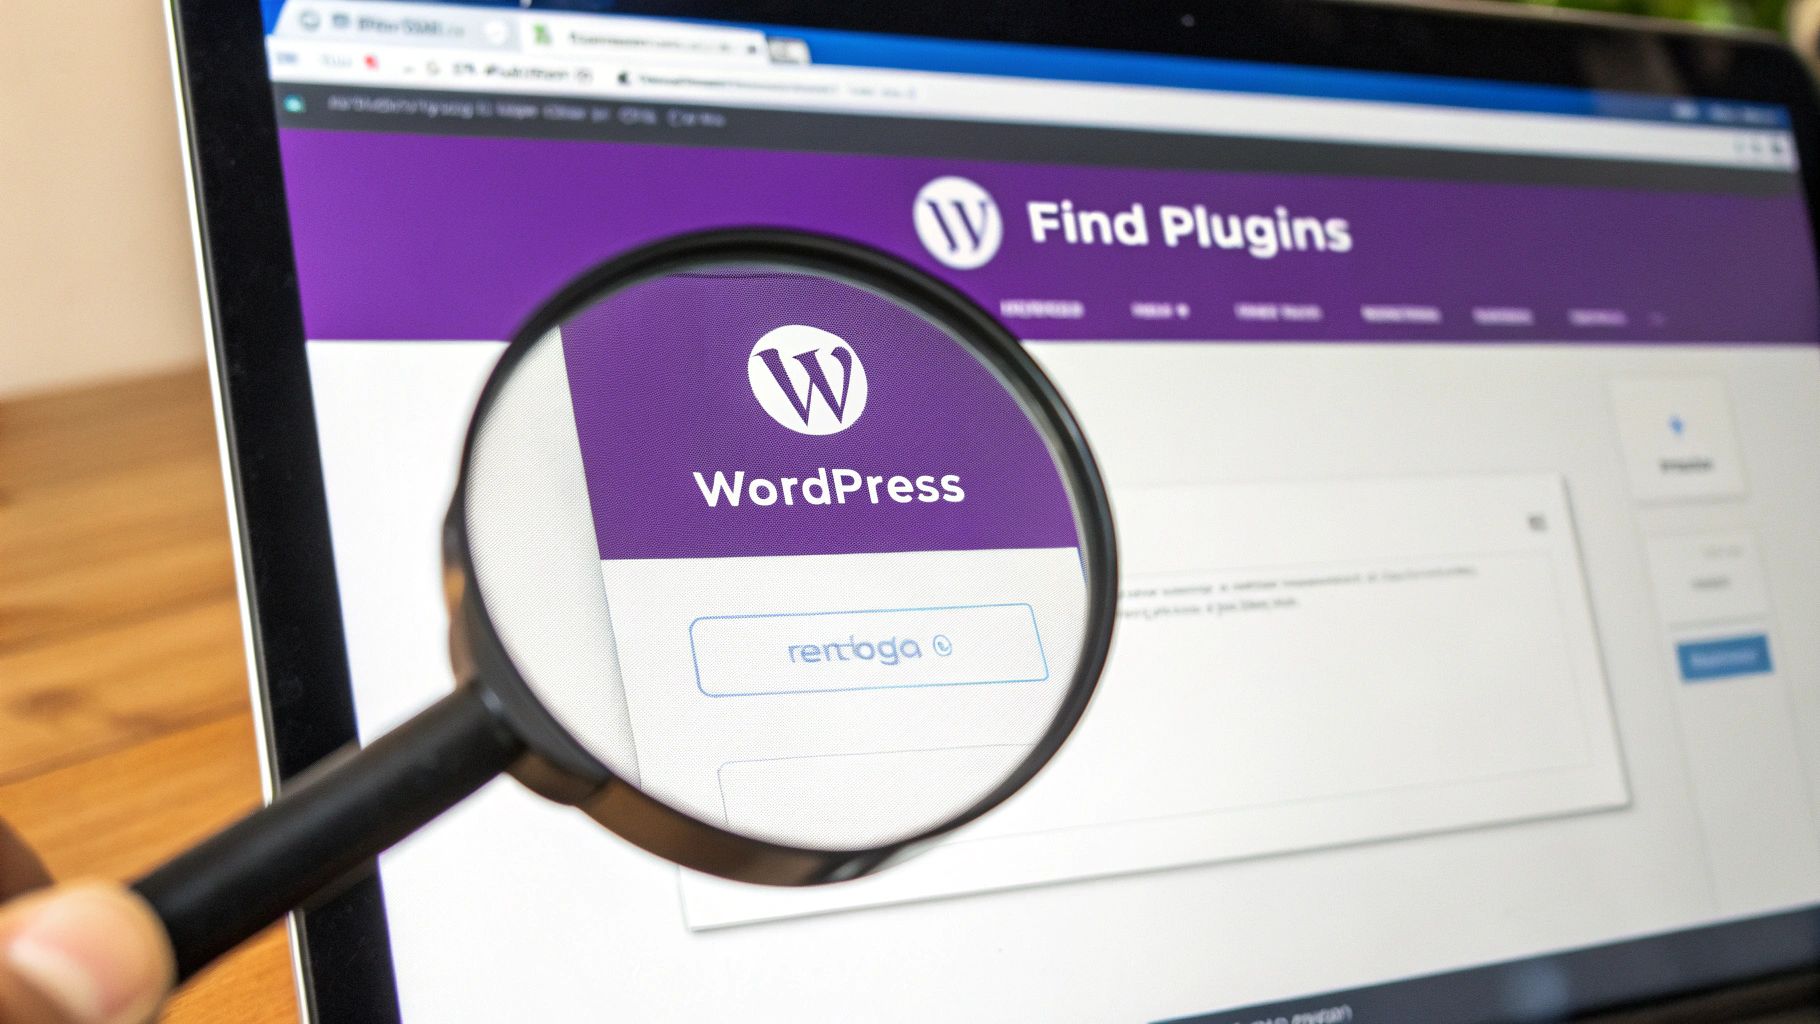
Getting there is a piece of cake. Just head to Plugins > Add New in your admin menu. This screen is your gateway to finding pretty much any feature you can imagine.

The search bar in the top right is your best friend here. You can pop in a specific name you already know, like "Yoast SEO," or just describe what you need, like "image gallery" or "contact form." This simple feature turns your site from a static project into something that can grow and adapt on the fly.
Vetting Plugins Before You Install
With over 59,000 free plugins up for grabs, you have to be smart about what you install. A bad plugin can slow down your site, create security holes, or just plain break things. The good news is, the search results give you everything you need to make a solid choice without ever leaving the page.
That massive selection is a huge part of why WordPress powers over 43% of all websites globally. You can dig deeper into these WordPress statistics to see just how big its footprint is.
Before I even think about hitting that "Install Now" button, I run through a quick mental checklist:
- Active Installations: How many other sites are using this? A big number—think thousands, not tens—is a great sign that it's trusted and reliable.
- Last Updated: I always check this date. If a plugin hasn't been touched in over six months, I get a little nervous. It tells me the developer might not be focused on security or keeping it compatible with new WordPress versions.
- WordPress Version Compatibility: Does it play nice with your current version of WordPress? If you see a warning here, it’s a major red flag. Steer clear unless you enjoy fixing broken websites.
- User Ratings: The star rating gives you a quick vibe check. I also glance at the number of reviews to make sure the rating is based on more than just a handful of people.
To help you get the hang of this, here's a quick breakdown of what you're looking at in the plugin directory.
Understanding Plugin Information at a Glance
| Metric | What It Means | Why It's Important |
|---|---|---|
| Active Installations | The number of websites currently using the plugin. | A high number suggests widespread trust, reliability, and a larger community for support. |
| Last Updated | The date the developer last released an update. | A recent date indicates active maintenance, which is crucial for security and compatibility. |
| WordPress Version | The latest version of WordPress the plugin is confirmed to work with. | This tells you if the plugin is likely to be compatible with your site, helping you avoid errors. |
| Tested up to | The latest WordPress version the plugin author has tested their plugin on. | Similar to the above, this gives you confidence that it will work without causing conflicts. |
| Ratings | The average star rating from user reviews. | Provides a quick snapshot of overall user satisfaction and the plugin's quality. |
Think of these metrics as your first line of defense. Taking 30 seconds to review them can save you hours of headaches down the road.
The Install and Activate Process
Found a winner? The next part is super simple. Just click the Install Now button. WordPress takes over from there, grabbing the files and putting them in the right spot on your server.
Key Takeaway: Installing a plugin doesn't actually turn it on. All it does is place the files on your server. You have to Activate it before any of its features will show up on your site.
Once the installation is done, that button will turn into a blue Activate button. Give that a click, and you're all set. The plugin is now live, and you can usually find its settings somewhere in your dashboard—either as a new menu item or tucked away under the general "Settings" tab.
How to Manually Upload a WordPress Plugin
The official directory is fantastic for free plugins, but you'll quickly realize that many of the most powerful tools are premium. When you buy a plugin directly from a developer or a marketplace like CodeCanyon, you can't just search for it in your dashboard.
This is exactly when knowing how to manually install plugins becomes an essential skill.
This method lets you install any plugin you have as a .zip file on your computer. The process is surprisingly straightforward.
You'll start in the same place as before: navigate to Plugins > Add New in your admin area. Right at the top of the page, you’ll spot a button labeled Upload Plugin.
Give that a click, and a simple file upload form will appear. From here, just hit Choose File, find the plugin's .zip file on your computer, and click Install Now.
The Most Common Upload Mistake
Here’s the number one mistake I see people make time and time again: they upload the wrong file.
When you buy a premium plugin, the download package often includes documentation, license files, and other assets besides the actual plugin. If you try to upload that entire package, WordPress will throw an error. You have to find the specific, installable .zip file inside the main folder you downloaded. It's usually named something obvious, like plugin-name.zip.
This is a classic scenario with advanced tools that have multiple components. If you're setting up a specialized popup system, for example, it's crucial to follow the developer's instructions to the letter. You can see this in action by checking out our guide on how to install Divi Areas Pro, which demonstrates this exact process.
Once you’ve selected the correct file and WordPress has worked its magic, you'll land on a success screen. The final step is the same as any other installation: click the Activate Plugin button, and you're good to go.
Your new premium tool is now installed and ready for you to configure. Mastering this manual upload method gives you the freedom to use any plugin from any developer, unlocking a whole new level of functionality for your website.
Installing a Plugin with an FTP Client
So, what happens when you can't get into your WordPress dashboard? It’s a scenario every site owner dreads. A buggy plugin or a botched update can lock you out completely, making the usual installation methods useless. This is exactly when knowing how to install plugins using FTP becomes a genuine lifesaver.
FTP, which stands for File Transfer Protocol, is your direct line to your website's files on the server. Think of it like using Finder on a Mac or Windows Explorer on a PC, but for your site's backend. It’s a powerful technique that gives you total control, especially when you need to troubleshoot.
To get started, you'll need just two things:
- An FTP Client: A fantastic, free, and widely-used option is FileZilla.
- Your FTP Credentials: You can find these in your web hosting control panel. Look for a host, username, password, and port number.
Once you have those details, open your FTP client and punch them in to connect to your server. You'll see your local computer's files on one side and your website's files on the other.
Navigating to the Plugins Folder
Now for the important part: finding the right spot for your new plugin. In your website's file structure (usually the panel on the right), navigate into the /wp-content/ directory.
Inside /wp-content/, you'll spot a folder named /plugins/. This is it—the home for all of your WordPress plugins.
Before you do anything else, you have to unzip the plugin file on your own computer. This is a key difference from the dashboard method; you cannot upload the .zip file directly with FTP. Go ahead and extract the files, which will create a new folder usually named after the plugin.
Now, just drag that entire unzipped folder from your local computer over to the /plugins/ directory on your server. The upload might take a minute or two, depending on how big the plugin is.
It's absolutely crucial that you upload the plugin's main folder, not just the individual files inside it. For example, if you unzip
cool-plugin.zipand it creates acool-pluginfolder, you must upload the entirecool-pluginfolder itself.
Once the transfer is complete, head back over to your WordPress dashboard and click on the Plugins page. You should see your newly uploaded plugin sitting there in the list, just waiting for you.
Click Activate, and you’re all set. You’ve just successfully installed a plugin without ever touching the WordPress installer.
Making Smart Choices About Your Plugins
Knowing how to install WordPress plugins is a great technical skill, but the real art is in choosing the right ones. Every plugin you add is another piece of code running on your site, and that can impact everything from your page speed to security.
A common pitfall I see all the time is "plugin bloat"—installing tons of tools for minor features, only to end up with a slow, clunky website. Before I even think about adding a new plugin, I always ask myself one simple question: "Is this feature absolutely essential, and does it justify the potential performance hit?" This little sanity check helps me keep my sites lean and fast.
Key Factors for Plugin Selection
When you're looking at a potential new plugin, you have to look past the flashy features. You need to dig into the details to spot red flags that could turn into major headaches down the road.
Here’s my personal checklist:
- Last Updated: If a plugin hasn't been updated in over six months, I consider it abandoned. That’s a huge security risk you don’t want to take.
- Compatibility: Always check that it’s tested with your current version of WordPress. This is non-negotiable if you want to avoid conflicts that could break your site.
- Support & Reviews: I always peek at the support forums. Are the developers actually helping people? What are the recent reviews saying? This tells you a lot about their reliability.
The goal is to build a toolkit of high-quality, well-maintained plugins that make your site better without compromising its integrity. A handful of excellent plugins will always outperform a dozen mediocre ones.
Most WordPress sites run between 12 to 15 plugins. Page builders like Elementor are incredibly popular, with over 8 million active installations, and so are security tools like Wordfence. If you want to keep your site’s SEO in top shape, it's also a good idea to check out our guide on the https://divimode.com/best-wordpress-seo-plugins/.
When you're deciding what to install, it's smart to look at resources focused on finding the best WordPress plugins for specific tasks, like building out a portfolio. This strategic approach ensures every tool you add serves a clear purpose, keeping your site both efficient and secure.
Frequently Asked Questions About WordPress Plugins
Even after you've mastered installing plugins, a few common questions always seem to pop up. Let's run through the big ones so you can manage your site with total confidence.
Can You Have Too Many Plugins?
Yes, absolutely. But it's a bit of a trick question. The real problem isn't the number of plugins you have; it's the quality.
I've seen sites with 20 well-coded, essential plugins run circles around sites with just 10 clunky, poorly optimized ones. Having too many plugins can definitely slow your site down, introduce security risks, or create frustrating conflicts. My rule of thumb is pretty simple: if a plugin isn't serving a critical, active function, it doesn't belong on my site.
What to Do If an Installation Fails?
First off, don't panic. This happens to everyone. Take a look at the error message, as it often tells you exactly what's wrong—a common culprit is hitting a server memory limit.
If the dashboard upload keeps failing, your next best bet is to try the manual FTP method. And for premium plugins, here's a tip from experience: the most frequent mistake is trying to upload the entire download package from the developer. You need to find the specific installable .zip file inside that package. Double-check your files before trying again.
Remember, a healthy site comes from proactive management. Make it a habit to regularly audit your plugins, keep them updated, and be ruthless about deleting tools that are just collecting dust. It's the key to keeping your website fast, secure, and running smoothly.
How Do You Know a Plugin Is Safe?
This is a great question. Before installing anything, I always check for a few key signals right on the plugin's directory page.
Look at the "Last updated" date. If it hasn't been touched in a year, that's a red flag. Then, scan the user ratings and reviews—what are people really saying? Finally, a high number of active installations is a strong vote of confidence from the community. If hundreds of thousands of sites are using it without issue, you're likely in good hands.
At Divimode, we build powerful, secure plugins like Divi Areas Pro to help you create incredible user experiences with confidence. Discover how you can add advanced popups, fly-ins, and more to your Divi site today at divimode.com.
More Articles You Will Like