Putting a video in a lightbox is a tried-and-true way to serve up rich media without derailing the user’s journey. It’s simple: the video plays in a focused overlay, which means your visitors don't have to navigate away from the page to watch.
Why A Video Lightbox Just Works
Let's be honest, embedding a video directly on a page can feel a bit clunky. It often pushes other important content down and can mess with your carefully crafted layout. A lightbox, on the other hand, keeps your page design clean and, more importantly, puts the user in the driver's seat.
They choose when to engage. This simple shift turns a potential interruption into a valuable, on-demand experience, which is a huge win for keeping them on your site longer.
This kind of focused viewing environment is perfect for all sorts of scenarios. Imagine a product page where a click instantly brings up a demo video, clarifying key features without making the user scroll for miles. Or think about a portfolio where project showcases pop up seamlessly, adding that extra layer of context right when it's needed.
The real magic here is maintaining the user's flow. By keeping visitors on the same page, you naturally reduce bounce rates and increase dwell time—two metrics that Google and your users will thank you for.
Boosting Engagement and Conversions
This isn't just about a slick user experience; it directly impacts your bottom line. Integrating videos into lightboxes has a measurable effect on marketing outcomes. We see it all the time.
Marketing data shows that a staggering 90% of professionals use YouTube for their video marketing, and a popular way to deploy those videos is right inside a lightbox overlay. Why? Because it works. In some digital campaigns, ad placements inside video lightboxes have been shown to boost conversion rates by up to 80%.
This powerful combo—focused attention and a seamless experience—makes a video lightbox one of the most effective tools you can add to your Divi site. It helps turn passive visitors into genuinely engaged users. If you want to dive deeper into the mechanics of why this works so well, it’s worth exploring the basics of video conversion rate optimization.
Setting Up Your Video and Divi Environment
Before diving into the Divi Builder to create a stunning video in a lightbox, a little prep work goes a long way. Getting your assets ready and your Divi environment checked ensures everything runs smoothly, saving you from those frustrating little hiccups later on.
First up, let's talk about the video itself. It doesn't matter if it's a YouTube embed or a self-hosted file—optimization is key. A huge, uncompressed video is a surefire way to slow your page to a crawl. And if you've been around the block with web design, you know all about the importance of website speed performance. Poorly handled media is a classic performance killer, so get this right from the start.
Your Pre-Flight Checklist
Next, think about the trigger—the thumbnail that people will actually click. This is your video's first impression, and it has to be compelling enough to earn that click. A high-quality thumbnail is just as critical as the video content it leads to.
I'd recommend creating a custom thumbnail that includes a clean, obvious play icon overlay. It’s a simple visual cue that tells users, "Hey, this is interactive!" and removes any guesswork. If you need some inspiration, we have a great guide on how to add image overlays to your Divi video module.
Finally, a quick sanity check of your Divi setup. This part is fast, but absolutely crucial.
Trust me, a smooth build starts with a solid foundation. I’ve seen people skip these prep steps only to spend hours troubleshooting later. A few minutes now saves a ton of time you could be spending on the fun, creative stuff.
Just make sure you have the following in place:
- Divi Theme is Active: Your site should be running the latest version of Divi. No old, dusty versions, please!
- Popup Plugin is Installed: Double-check that Divi Areas Pro or the free Popups for Divi plugin is installed and activated.
With your video optimized and your Divi environment ready, you're in the perfect spot to start building. This bit of prep work makes the rest of the process feel professional, efficient, and way more enjoyable.
Alright, let's get into the fun part—actually building your video lightbox. Since we're using a plugin like Divi Areas Pro, this whole process is a breeze because you get to work inside the Divi Builder you already know. No need to learn a new interface.
First things first, we need to create what's called an "Area." Just think of an Area as a dedicated blank canvas for your popup. You can drop anything you want in there—a Divi video module, some text, maybe a call-to-action button. It’s this flexibility that makes it so useful.
If you're starting from scratch, we have a complete step-by-step walkthrough on how to create your first popup with Divi Areas Pro that will get you up and running in minutes.
Configuring the Video Area
Once you're inside your new Area, go ahead and add Divi's standard Video module. This is where you'll drop the URL for your YouTube or Vimeo video, or even upload a self-hosted file if you prefer. Spend a minute dialing in the settings here. For instance, you can switch on the "Image Overlay" option to show a custom thumbnail until someone hits play.
Next up is defining the popup's behavior. In the main Area settings, you'll find all the controls for animations, positioning, and the background overlay style. I find that a subtle fade-in animation usually works best, as it feels smooth and doesn't jolt the user. You can also tweak the overlay's color and opacity to perfectly match your site's branding.
As you can see below, the Divi Areas Pro interface lets you build and style everything visually, right inside the familiar Divi Builder.
This visual approach takes all the guesswork out of the equation. You're essentially building your video lightbox with a real-time preview.
Setting Up the Trigger Element
With our popup designed, we now need a "trigger"—the element a visitor clicks to make the video appear. A simple button definitely works, but we can get a bit more creative. My go-to method, which is both common and highly effective, is to use an image module that displays your custom video thumbnail.
Just place this image on your page wherever you want to grab attention. Then, head into the module's "Advanced" settings tab. Under CSS ID & Classes, give it a unique CSS Class like open-video-popup. This class is the magic key that connects our trigger image to the popup Area we just built. Back in the Area settings, you’ll simply tell it to open whenever an element with the open-video-popup class is clicked. Simple as that.
Remember: The goal is to make the entire experience feel seamless. A visitor sees a compelling thumbnail, clicks it, and the video immediately pops up in a focused, distraction-free environment without ever leaving the page. This is what modern, user-friendly design is all about.
Advanced Lightbox Triggers and Customization
A simple click-to-open trigger is effective, sure, but Divi Areas Pro unlocks much smarter ways to present your video in a lightbox. When you move beyond basic clicks, you can deliver your video at the exact moment it will have the most impact. This is how you turn a simple popup into a strategic marketing tool.
Imagine a visitor is on your pricing page. They hesitate for a moment, and then their cursor drifts up toward the back button. Just then, an exit-intent trigger fires, displaying a video lightbox with a powerful customer testimonial. This is a fantastic way to re-engage someone who is literally seconds away from leaving. If you want to dive deeper into the mechanics, we have a detailed guide on setting up different Divi popup triggers like click and hover.
Another one of my favorites is the scroll-depth trigger. Let's say you have a long, in-depth blog post. You could set the video lightbox to appear only after a user has scrolled 75% of the way down the page. At that point, you know they're highly engaged. It's the perfect time to offer them a related video tutorial or a deeper dive into the topic.
Fine-Tuning the Visual Experience
How your lightbox looks is just as important as how it's triggered. Divi’s built-in design settings give you a ton of control over the overlay color, popup animations, and spacing, but a little custom CSS can really make it shine.
For instance, you could add a subtle background gradient to the overlay or swap out the default "X" close icon for a custom SVG that perfectly matches your brand. It's these small touches that create a polished, cohesive user experience.
The goal is to make the lightbox feel like a natural extension of your website, not a disconnected third-party element. A seamless design encourages trust and keeps the user focused on your video content.
This focus on integrated, dynamic displays isn't just a web design trend; it's a growing market. The global thin lightbox market was valued at around $353 million and is projected to hit $416.76 million by 2033. This growth is heavily driven by retail and entertainment sectors using lightboxes with embedded video to grab attention—a strategy that translates perfectly to web design. By mastering these advanced customizations, you're putting your Divi projects right at the forefront of modern engagement techniques.
Navigating Common Video Lightbox Issues
Even when you’ve built the perfect video in a lightbox, things can still go sideways. You might run into frustrating mobile playback errors or find a popup that stubbornly refuses to close. It happens. Don't worry, though—most of these common hiccups have simple fixes right inside Divi.
One of the most frequent complaints I hear is about videos that won't autoplay on mobile. This isn't a bug; it's actually a feature. To save user data and prevent jarring audio, modern mobile browsers block videos from autoplaying with sound. The best way around this is to pop into your Divi video module settings and make sure it’s set to autoplay on mute.
Quick Fixes for Top Issues
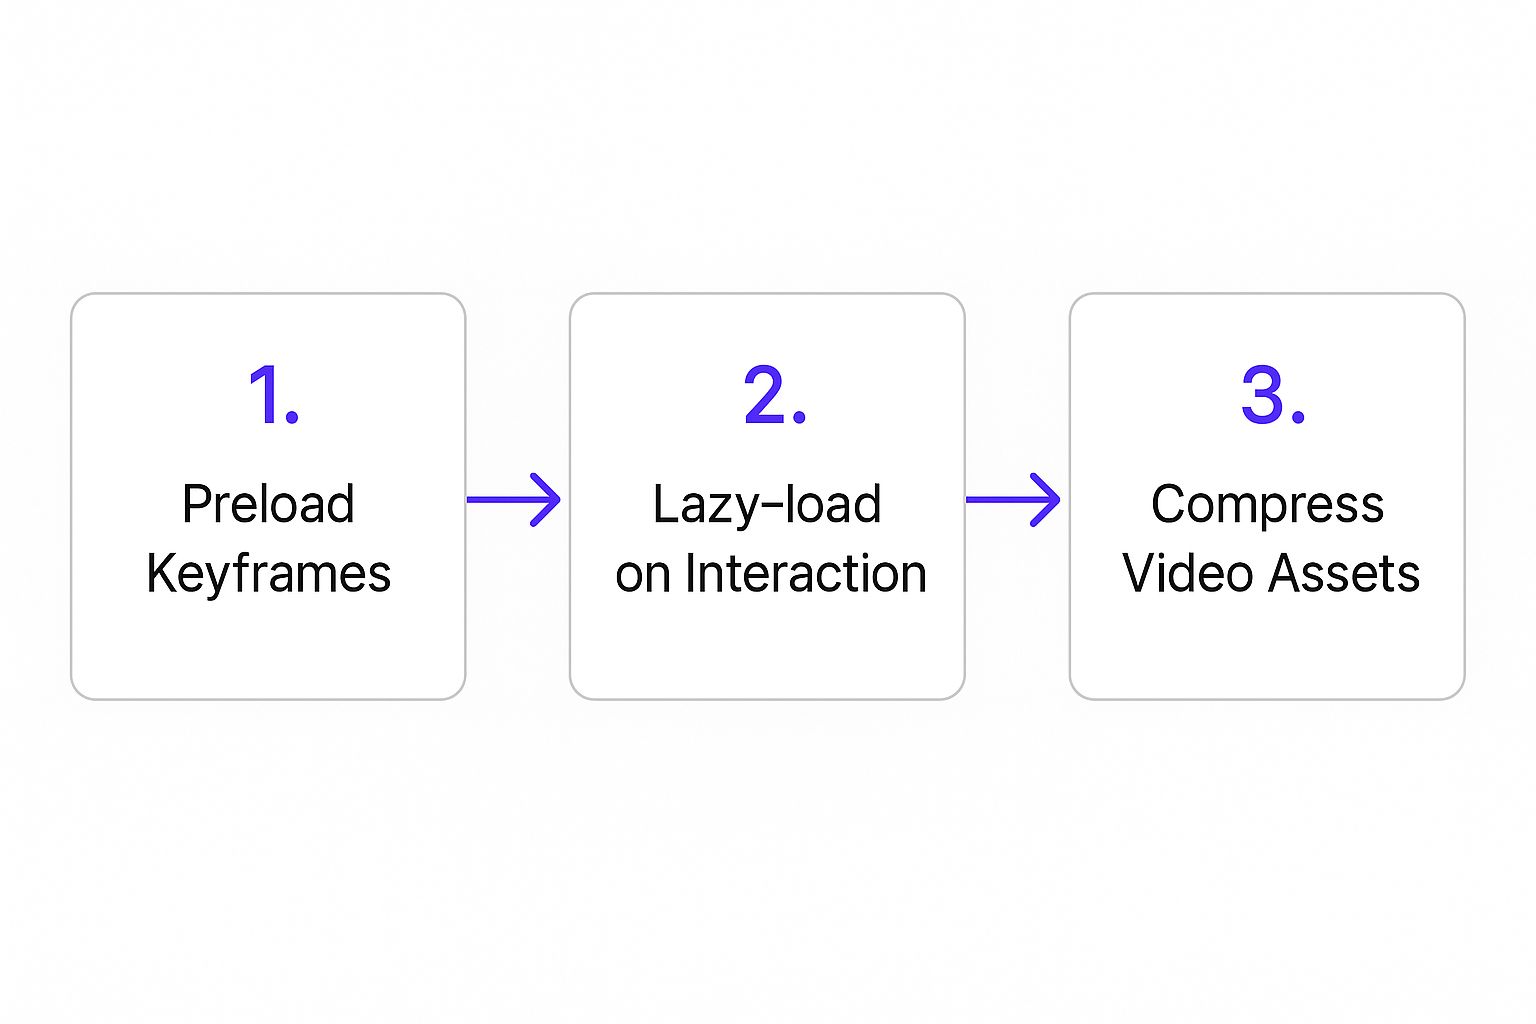
Another classic headache is performance lag. If your lightbox is slow to appear or the video just buffers forever, the file size is almost always the culprit. An unoptimized video file can kill the user experience before it even starts. Always, always compress your videos before uploading them. Your site will feel much snappier for it.
Here are a couple of other snags you might hit and how to deal with them:
- Popup Won't Close: Nine times out of ten, this is a simple CSS class issue. Double-check that your close button or icon has the correct class assigned. It's also worth checking for JavaScript conflicts from other plugins that might be interfering.
- Video Stretches Incorrectly: Is your video looking warped or stretched? The first thing to check is that the aspect ratio in your video module matches the source video itself. Divi’s responsive settings are pretty good at handling this automatically, but sometimes a manual tweak is needed to get it just right.
At the end of the day, the goal is a seamless interaction. A lightbox that feels broken or slow is a quick way to lose a visitor's trust. Taking a moment to troubleshoot these common issues ensures your video content actually enhances your site instead of taking away from it.
Got Questions? We've Got Answers.
Still have a few things you're wondering about when it comes to video lightboxes? Let's tackle some of the most common questions we hear from fellow Divi users.
Can My Lightbox Video Autoplay With Sound?
While you can technically force this, it's a really bad idea. Modern web browsers have gotten aggressive about blocking videos that autoplay with sound because, frankly, it's an annoying user experience.
The accepted best practice is to set your video to autoplay on mute. This grabs attention without being intrusive. Then, the user can choose to unmute it with a simple click. You can set this up directly in Divi’s own video module settings.
Will a Video Lightbox Slow Down My Website?
Nope, not if you set it up correctly. One of the best things about this method is that the video file and its player only load after a user clicks your trigger. It’s all on-demand.
This means there's zero impact on your initial page load speed. Just make sure your thumbnail image is optimized, and if you're working with a hefty video file, using a content delivery network (CDN) is always a smart move.
By loading the video content only upon user interaction, you get all the engagement benefits without sacrificing precious load time. This keeps your PageSpeed Insights score healthy and your visitors happy.
Can I Track Clicks in Google Analytics?
Absolutely, and you definitely should. Tracking is how you know if your efforts are paying off.
It’s pretty straightforward: just give your trigger element (like a button or image) a unique CSS ID in the Divi Builder. Once that’s in place, you can easily create an event in Google Analytics or Google Tag Manager to track every click. This gives you concrete data on how many people are actually watching your videos.
Ready to create stunning, high-performance popups and lightboxes on your Divi site? Divimode gives you the tools and expert guidance you need. Explore Divi Areas Pro and our other powerful solutions today.
More Articles You Will Like