When you hear "image optimization," what comes to mind? Probably shrinking file sizes, right? In the WordPress world, it's about doing exactly that—but without turning your beautiful photos into a pixelated mess. The goal is to make your website faster and better for SEO, and that usually means a mix of smart resizing, compression, and using modern formats like WebP. You can tackle this manually or let a plugin do the heavy lifting.
Why Image Optimization Is Your Biggest Performance Win
If there’s one thing I’ve learned from building countless WordPress sites, it’s this: unoptimized images are the number one cause of slow load times. Every single high-resolution photo or graphic you upload adds to your page’s total weight, and that directly impacts how quickly it loads for your audience.
Think of it like this: you’re forcing every visitor to download a massive file just to see your homepage.
This isn't a small thing; it has real-world consequences. A tiny one-second delay in your page load time can cause a 7% drop in conversions. For an e-commerce store, that’s a direct hit to your revenue. It's why in any serious Shopify or WooCommerce comparison, performance is always a huge talking point—every millisecond truly matters.
The True Cost of Heavy Images
It’s so easy to just upload an image and forget about it. But when you do that over and over, the collective impact is huge. Heavy images strain your server, burn through your bandwidth, and create a genuinely frustrating experience for users, especially anyone on a spotty mobile connection.
That frustration leads to people hitting the "back" button, which sends a clear signal to search engines that your site isn't delivering a good experience.
"A slow website doesn't just annoy visitors—it actively tells them your content isn't worth the wait. In this sense, image optimization is less of a technical chore and more of a core user experience strategy."
Mastering image optimization for WordPress isn't about just fiddling with settings. It’s a way of respecting your visitors' time and showing a commitment to quality. Google and other search engines notice this stuff, and they reward fast, user-focused websites with better rankings.
Data-Backed Impact on Your Site
The numbers don't lie. On a typical webpage, images make up around 60% of the total page size. Just by optimizing them, you can slash your load times by roughly 30%. That’s a massive win from a single task.
For a deeper dive into these numbers, the stats over on MageComp.com are pretty eye-opening.
Ultimately, a faster website translates directly into better business outcomes:
- Improved User Engagement: When a site is snappy, visitors stick around longer. They click on more pages, read more content, and are just generally more engaged.
- Better SEO Rankings: Speed is a known ranking factor for Google. A faster, more mobile-friendly site will almost always outperform a slow one.
- Higher Conversion Rates: A smooth, fast experience removes friction. It makes it easier for people to sign up for your newsletter, fill out a contact form, or, most importantly, make a purchase.
Preparing Your Images Before You Upload
Honestly, the most impactful image optimization for WordPress you can do happens before an image ever touches your Media Library. Think of it like a pilot's pre-flight check; getting this pre-upload routine right prevents a world of problems before they even start.
This foundational step means you're not just leaning on plugins to clean up oversized, poorly named, or incorrectly formatted files. When you build good habits here, you’ll see dramatic improvements in your site's speed and organization right away.
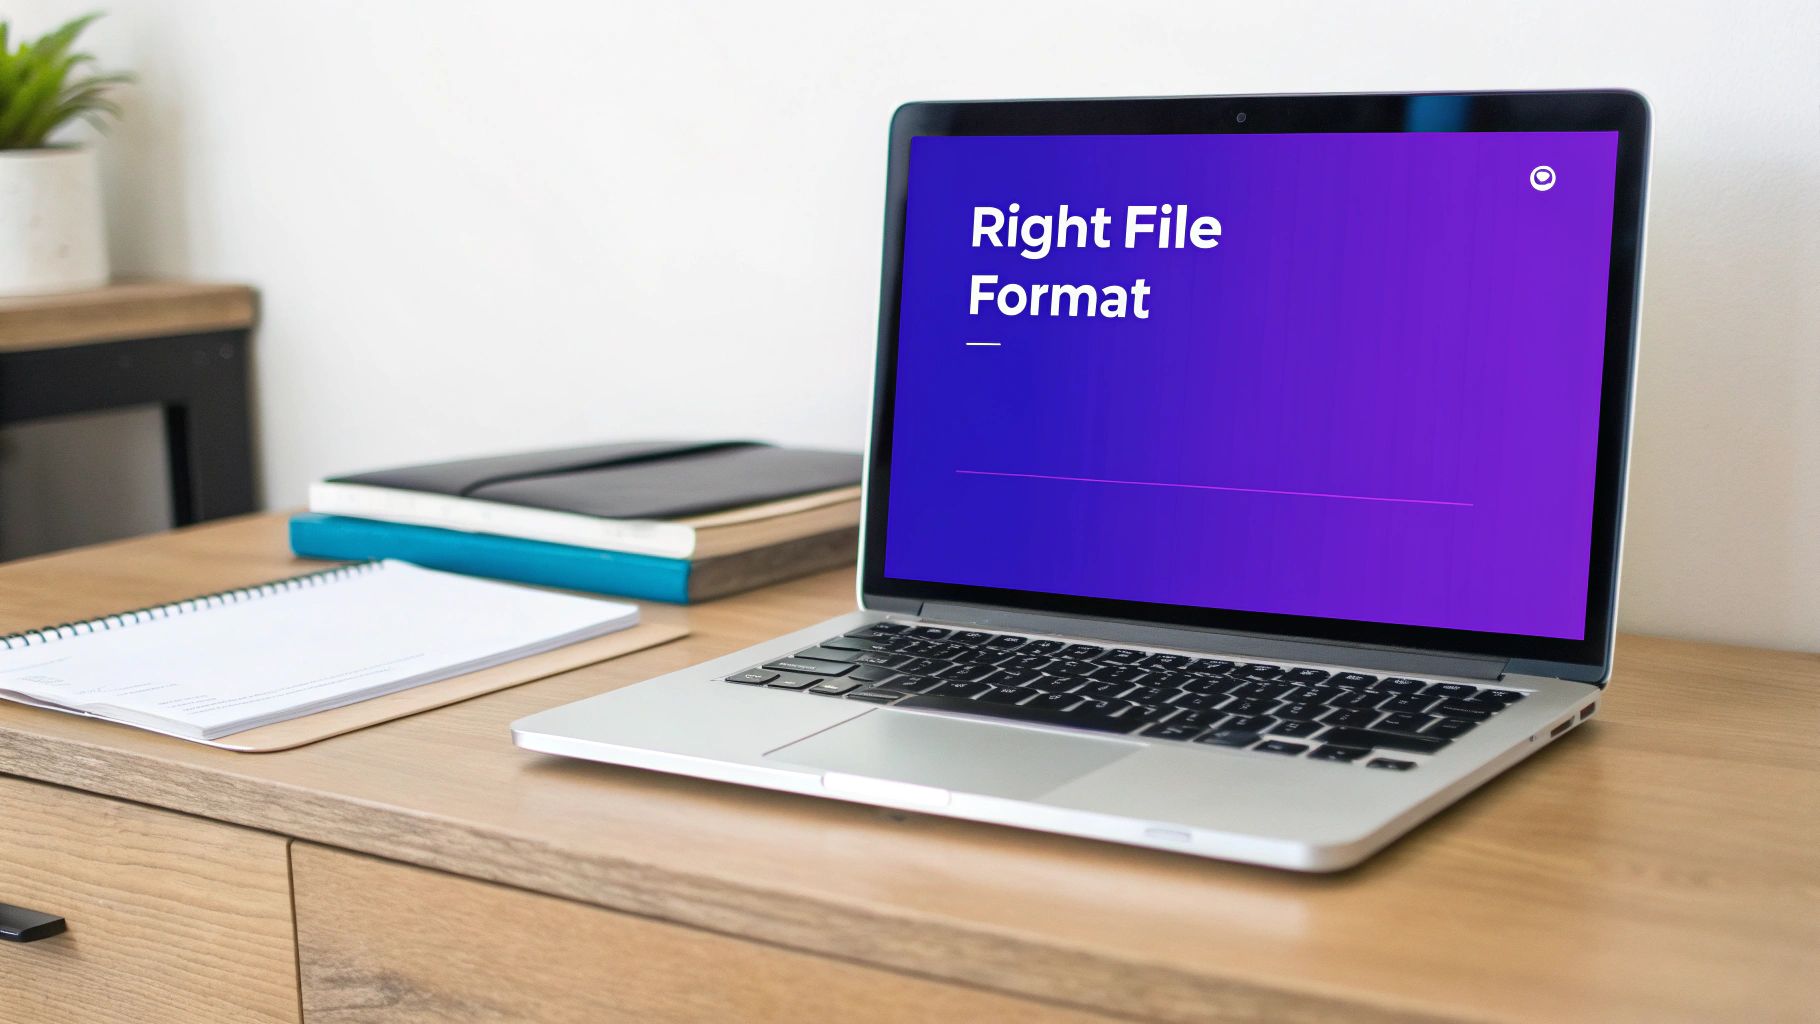
Choose the Right File Format
The file format you choose has a massive impact on both file size and visual quality. There isn't a single "best" format for everything—the right choice really depends on what the image is.
- JPEG (or JPG): This is your workhorse for photographs and images with complex colors, like a big hero image of a landscape. It uses lossy compression to get impressively small file sizes, and for photos, the quality loss is usually completely invisible to the naked eye.
- PNG: This is the format for any graphic that needs a transparent background, like your company logo or a custom icon. PNGs are also fantastic for simple illustrations or screenshots that have a lot of text, as their lossless compression keeps lines and letters perfectly sharp.
- WebP: Developed by Google, WebP is a modern format that consistently provides smaller file sizes than both JPEG and PNG for comparable quality. It’s incredibly versatile, supporting both lossy and lossless compression as well as transparency. The best part? Most modern browsers fully support it now.
Picking the right format is a critical first step. For a deeper dive into the nuances, you can find more information by optimizing images for WordPress to make sure you're making the best call for your specific needs.
Resize Your Images to Fit Your Theme
Uploading a 5000-pixel wide photo straight from a professional camera is one of the most common and damaging performance mistakes I see. Even if WordPress squeezes it into a 1200-pixel container on the page, the user’s browser still has to download that massive original file first. It's a huge waste of bandwidth and slows everything to a crawl.
Before you upload anything, figure out the maximum image width your theme actually uses. For your main blog content area, this might be around 800-1200 pixels. For a full-width hero image, it’s likely closer to 1920 pixels.
Pro Tip: Fire up a free image editor like GIMP or a web-based tool like Squoosh.app. Resize your image to the exact dimensions you need. This one action alone can slash your file size by 80-90% before you even think about compression.
Name Your Files Descriptively
Search engines can’t "see" what's in your images, but they can read file names like a book. A descriptive file name gives them crucial context to understand your content, which is a simple but surprisingly effective SEO win.
So, instead of uploading a file named IMG_4581.jpg, take ten seconds to rename it based on what it shows.
Bad Example: DCIM_1024.jpg
Good Example: blue-suede-running-shoes.jpg
This simple habit kills two birds with one stone:
- SEO Boost: It helps your images show up in Google Image Search for relevant terms.
- Organization: It makes finding a specific image in your Media Library a thousand times easier six months from now.
By mastering these three pre-upload steps—choosing the format, resizing, and naming the file—you’re building a powerful foundation for a fast, well-optimized WordPress website. It's a small investment of time that pays off big in performance and search visibility.
Choosing the Right Image Optimization Plugin
Manually optimizing every single image just doesn't scale, especially for a busy website. This is where a good plugin becomes your best friend, automating the entire process to ensure every image gets optimized without you having to lift a finger. But with a sea of options in the WordPress repository, picking the right one can feel overwhelming.
The secret isn't just looking at a feature list. The best choice depends on how a plugin works behind the scenes. We'll compare the top contenders based on what truly matters: their compression methods, where they process images, and how their pricing models fit different needs.
Understanding Core Plugin Differences
Not all optimization plugins are created equal. Their core technology directly impacts your site's performance and your workflow. The two biggest factors to consider are the type of compression they use and where the optimization actually happens.
Compression Method (Lossy vs. Lossless): As we've touched on, lossy compression achieves massive file size reductions by intelligently removing tiny bits of data you'll likely never notice. Lossless compression shrinks files without losing any data, which is ideal for graphics where crispness is key. Most top-tier plugins offer both, letting you choose the best approach for each image.
Processing Location (Your Server vs. Cloud): Some older plugins use your own server's resources to compress images. This can slow down your site, especially during a bulk optimization of hundreds of files. Modern plugins, however, offload this heavy lifting to their own powerful cloud servers, meaning there's virtually zero performance impact on your website.
A plugin that uses cloud-based, off-server processing is almost always the superior choice. It protects your site's speed and user experience while still delivering perfectly optimized images.
The image below shows a typical plugin interface where you'd make these critical compression decisions. It's this simple choice that directly impacts your site's performance.

Real-World Compression Results
The impact of a good plugin is not trivial. In fact, it can be pretty dramatic.
For instance, data from a popular tool like WP Compress shows that lossy compression can slash JPEG file sizes by an average of 40.6%. For PNG files, the results are even more striking, with size reductions reaching up to 83.4%. Those savings translate directly into faster page loads and happier visitors. You can dig deeper into these image optimization findings on WPKube.com.
Comparing Top Image Optimization Plugins
To help you decide, let's look at how some of the leading plugins stack up. This isn't an exhaustive list, but it covers the most popular and effective solutions I've used and seen work well for WordPress sites.
Choosing the right tool comes down to balancing features, performance, and cost. This table breaks down the top contenders to help you see which one aligns best with your site's needs, whether you're running a small blog or a massive e-commerce store.
Top WordPress Image Optimization Plugins Compared
| Plugin | Compression Type | Processing Location | Key Feature | Best For |
|---|---|---|---|---|
| Imagify | Lossy & Lossless | Cloud | "Smart Compression" finds the best balance automatically. | Users who want a simple, set-and-forget solution from the creators of WP Rocket. |
| ShortPixel | Lossy, Lossless, Glossy | Cloud | Offers multiple compression levels and PDF optimization. | Power users and agencies who need granular control and flexible credit plans. |
| Optimole | Lossy & Lossless | Cloud/CDN | Optimizes images in real-time and serves them via a built-in CDN. | Anyone wanting an all-in-one solution that combines optimization with a CDN for maximum speed. |
| EWWW Image Optimizer | Lossy & Lossless | Local & Cloud | Provides both on-server and cloud options, giving users a choice. | Users on a tight budget who need a free option with on-server processing. |
Ultimately, your choice depends on your specific needs. For a personal blog, a free plugin with a monthly credit limit like the one offered by EWWW Image Optimizer might be perfect.
But for a high-traffic e-commerce store, a premium, cloud-based solution like Optimole or ShortPixel is a worthwhile investment. Their superior performance, reliability, and hands-off approach make them invaluable for any serious business.
Advanced Strategies for Peak Performance
Alright, once you've gotten the hang of resizing and compressing your images, it's time to dig into the techniques that really separate the fast sites from the exceptionally fast ones. These next few strategies are less about individual file sizes and more about how your images get delivered to the user's browser.
Getting these right is a huge step in gaining a serious performance edge.
Embrace Lazy Loading
First up, and arguably the most impactful, is lazy loading. It's a simple idea, but absolutely brilliant for improving that crucial first impression your site makes.
Instead of your visitor's browser trying to download every single image on a page the moment it loads, lazy loading tells it to hold off on anything that's "below the fold." Only when a visitor scrolls down and an image is about to pop into view does the browser actually go and grab it.
The result? The top of your page feels like it loads almost instantly.
WordPress has had native lazy loading baked in since version 5.5, which is a great starting point. That said, many plugins give you more granular control, letting you add smoother fade-in effects or, more importantly, exclude specific images—like your logo or a hero image—that need to be visible right away.
This one technique is a direct boost to your Core Web Vitals, especially metrics like Largest Contentful Paint (LCP). By loading the most important content first, you give users a functional page much faster, and that's something both people and search engines love to see.
Leverage a Content Delivery Network
A Content Delivery Network (CDN) is another absolute game-changer for image optimization for WordPress. Think of a CDN as a global network of servers that keeps copies of your website’s static files, like your images.
When someone from Japan visits your site hosted in Texas, a CDN is smart enough to not make their browser fetch images from halfway across the world. Instead, it serves up the images from the server closest to them—maybe one in Tokyo. This simple change dramatically cuts down on latency, making your site feel snappy for everyone, no matter their location.
By slashing the physical distance your data needs to travel, a CDN can make a massive difference in how quickly your images load. For any site with a global audience, this isn't just a "nice-to-have" anymore; it's an essential performance tool.
Many of the best optimization plugins and premium hosts now bundle a CDN with their services, so it's easier than ever to get started. If you're serious about shaving every last millisecond off your load times, you'll want to explore a CDN. You can learn more about how all these pieces fit together in our complete guide on how to speed up your Divi website.
Master Responsive Images with srcset
Finally, we need to talk about serving the right image size for the right device. It’s incredibly wasteful to send a massive 1920px desktop image to a tiny smartphone screen. That’s where the srcset attribute comes in.
WordPress is already helping you out here. When you upload an image, it automatically creates several smaller versions and generates a srcset attribute in the HTML. This attribute is basically a menu of available image sizes for the browser. The browser then looks at the user’s screen size and resolution and picks the most efficient option from the list.
It's an elegant solution that ensures no one downloads a bigger file than they actually need.
While WordPress handles the basics, plugins can give you even more control, letting you define custom image sizes that perfectly match your theme's design. Properly configured responsive images save bandwidth, boost mobile load times, and create a much better experience for everyone.
Turning Optimized Images into SEO Wins
When you properly optimize your images, you're doing a lot more than just speeding up your pages. You're actually deploying a powerful asset in your overall SEO strategy. All those technical tweaks—like getting your compression just right and resizing images before you upload—have a direct and tangible impact on how both real people and search engines see your site.
Think about it: when a page loads in a snap, visitors are way more likely to stick around. This boosts important engagement signals like time on page and drops your bounce rate. Search engines pick up on these positive cues, interpreting them as a sign that your site is high-quality and user-friendly, which can absolutely lead to better rankings over time.
Writing Alt Text That Works for Everyone
One of the most direct ways your images help with SEO is through alternative text, or alt text. Its main job is accessibility—it describes an image for visually impaired users who use screen readers. But it also gives search engine crawlers a huge clue about what your images contain.
You can think of alt text as a short, to-the-point caption that helps Google understand the subject matter of an image.
- Bad Example:
alt="image123"(This is completely useless.) - Good Example:
alt="A pair of blue suede running shoes on a white background"(Descriptive and genuinely helpful.) - Best Example:
alt="A close-up of blue suede Divi running shoes with white laces"(Specific and naturally weaves in relevant keywords.)
Getting alt text right is a bit of an art. You're trying to balance a clear, accurate description with smart keyword placement. The goal is to be helpful to both humans and bots without ever resorting to keyword stuffing.
"Image optimization bridges the gap between technical performance and content strategy. Every image is an opportunity to improve accessibility, provide context to search engines, and create a more engaging user experience—all of which are core pillars of modern SEO."
The Ripple Effect of Visual Content
The benefits of well-optimized images don't just stop at your website's borders. Content that is both visually striking and quick to load is just plain more shareable, which can drive a ton of traffic and help you build valuable backlinks.
The data backs this up, too. For example, content featuring properly optimized visuals gets 94% more page views than content without them. This effect is even stronger on social media, where posts with great images pull in 150% higher engagement. You can dig into more of these findings on image optimization for SEO on MarketMyMarket.com.
At the end of the day, a solid visual strategy combined with smart technical optimization creates a flywheel effect. Fast, high-quality images make for a better user experience, which in turn boosts engagement signals. This helps improve your search rankings, bringing more organic traffic to your site. To really connect all these dots, be sure to check out our complete guide covering the 8 best practices for improving your WordPress SEO ranking.
Got Questions About Image Optimization? Let's Clear Things Up.
Even when you have a solid plan, a few questions always seem to pop up during the image optimization process. It's totally normal. Let's tackle some of the most common points of confusion so you can move forward and get the best possible results for your site.
Lossy vs Lossless Compression
The big question: what’s the real difference between lossy and lossless compression? It all comes down to how they handle your image data.
- Lossy compression is the aggressive one. It permanently removes some data to make files significantly smaller. For most photos, you'd be hard-pressed to spot the quality difference, which makes it the go-to choice for speeding up your pages.
- Lossless compression is more careful. It reduces the file size without tossing out a single pixel of quality. This is perfect for graphics with sharp lines and text, like logos or screenshots, where every detail has to be perfect.
Do I Still Need a Plugin If I Resize My Images?
Yes, you absolutely do. This is a common mix-up, but resizing and compressing are two totally different—and equally important—steps.
Resizing tackles the image's dimensions (for example, taking it from a massive 4000px wide down to a more reasonable 1200px). This is always your first move. Compression then works on the file's weight (like squishing it from 300KB down to 80KB) without changing those dimensions. You need both for a truly optimized image, and a good plugin is the best way to handle the compression automatically.
I like to think of it this way: Resizing is like trimming a big piece of paper to fit in an envelope. Compression is folding that trimmed paper to make it even more compact. You have to do both.
Will an Optimization Plugin Slow Down My Website?
This is a great question, and the answer is: it depends entirely on how the plugin works.
Some older plugins use your own server's resources to compress images. This can definitely cause slowdowns, especially if you're trying to optimize your entire media library at once. Your server gets bogged down with the extra work.
However, most modern, high-quality plugins are cloud-based. They offload all that heavy lifting to their own powerful servers. This means they have virtually zero performance impact on your site, making them the clear winner for most WordPress users.
Can I Optimize My Existing Images?
What about that huge library of images you've already uploaded over the years? Good news: you can absolutely optimize them.
Just about every quality optimization plugin comes with a "Bulk Optimize" feature. This handy tool will scan your entire media library and apply your chosen compression settings to all your existing images. It's an incredibly efficient way to give your site a serious performance boost, sometimes literally overnight.
Ready to create stunning popups, fly-ins, and menus that convert? At Divimode, we build powerful tools like Divi Areas Pro to help you build a faster, more engaging Divi website. Learn more and get started today at Divimode.com.
More Articles You Will Like