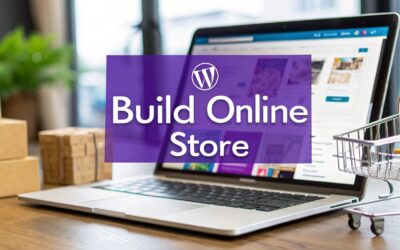
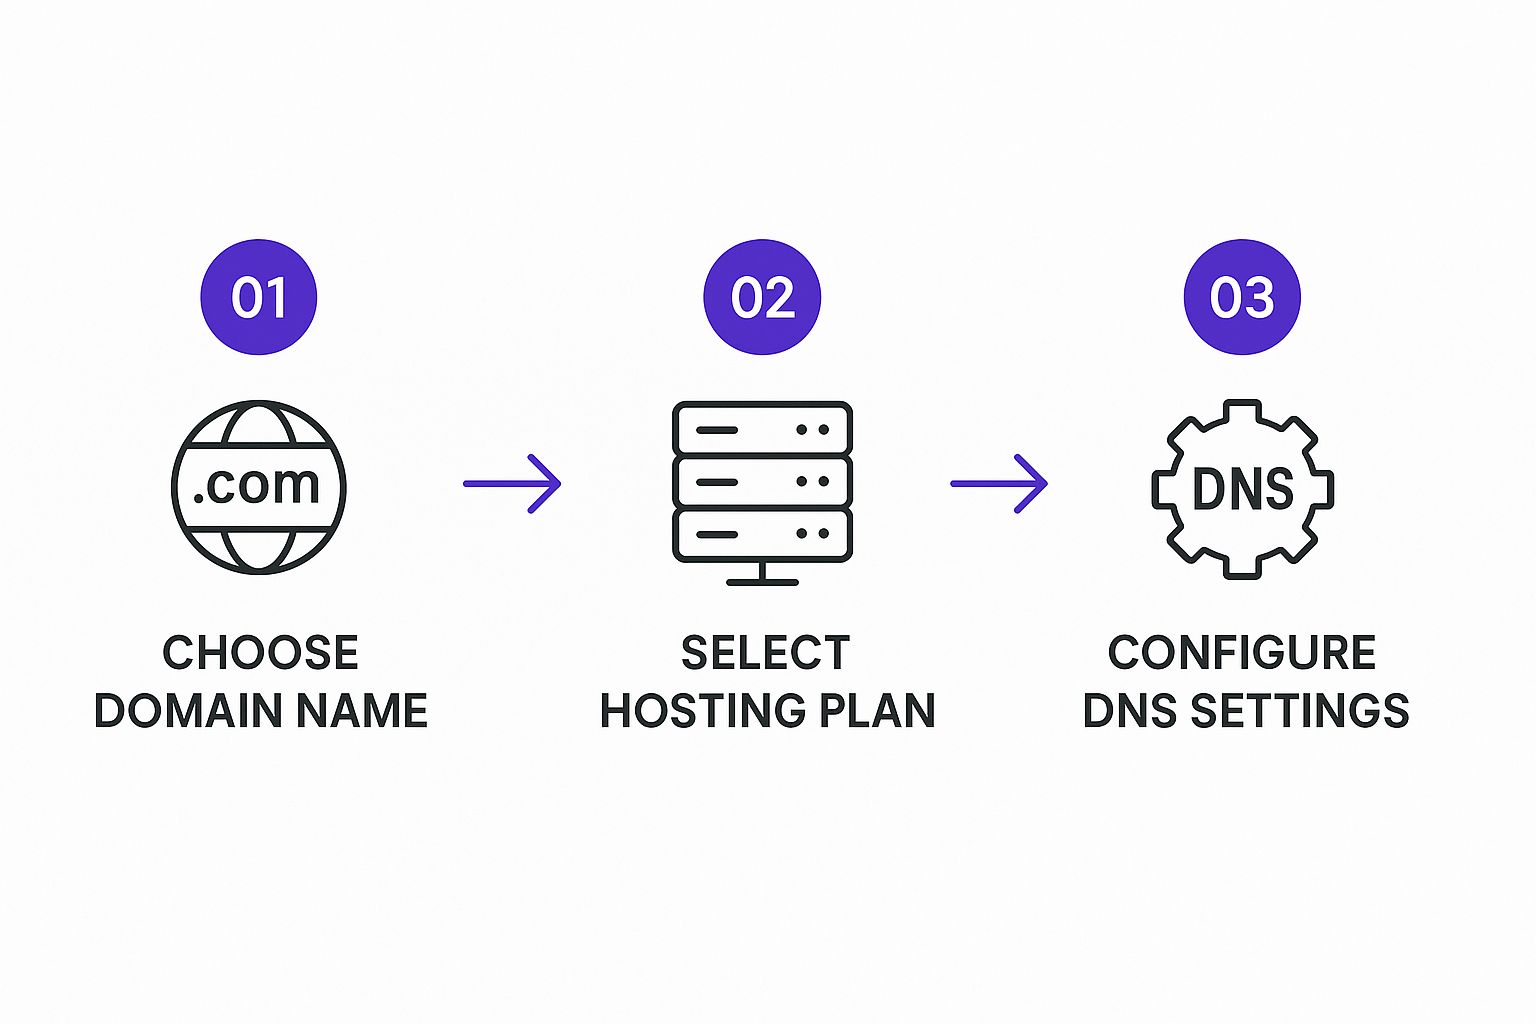
Building an e-commerce website with WordPress and Divi isn't complicated. It really just boils down to four main moves: picking a reliable web host, snagging a unique domain name, installing the free WordPress software, and then turning it all into a powerhouse store with the WooCommerce plugin.
You can genuinely get this entire foundation knocked out in an afternoon. What you're left with is an incredibly powerful, flexible platform to start selling online.
Why a Solid Foundation Is Non-Negotiable
Before you even think about the fun stuff—like designing your storefront or adding your first products—you've got to lay some serious groundwork. It’s like building a house. You wouldn't start picking out paint colors before the foundation is poured and the frame is secure, right?
For your online store, that foundation is your web hosting and your domain name. These two decisions have a massive impact on your site's speed, security, and brand identity. Getting them right from the get-go is absolutely critical for your long-term success.
Choosing WordPress as your core platform is the first smart decision. It's an open-source CMS, which means you have 100% ownership and control—a huge advantage over hosted platforms that can box you in as you grow. Its sheer popularity is another massive win. As of 2025, WordPress powers over 43% of all websites on the internet and holds a staggering 60.8% of the CMS market share. This isn't just a fun fact; it means you're plugging into a giant ecosystem of themes, plugins, and community support. You can dive deeper into these numbers over at the MobiLoud blog, which breaks down WordPress's current market share.
Choosing the Right Web Host
Think of your web host as the plot of land where your digital store will be built. It’s what provides the server space and resources needed to keep your site online and available to customers 24/7. But not all hosting is created equal, and for an e-commerce site, you need more than just the bare minimum.
You'll generally run into three main types of hosting:
- Shared Hosting: The most budget-friendly option. Your site shares server resources with lots of other websites. It’s a perfectly fine starting point for brand-new stores with low traffic, but you'll outgrow it quickly.
- VPS (Virtual Private Server) Hosting: This is a major step up. A VPS gives you a dedicated slice of a server’s resources, offering much better performance and security than shared hosting. It's an excellent middle ground for growing stores.
- Dedicated Hosting: The big leagues. You get an entire server all to yourself, offering the best possible performance, security, and control. This is typically for high-traffic, large-scale e-commerce operations.
For a new WooCommerce site, a high-quality shared plan (from a reputable provider) or a VPS plan is usually the sweet spot. My advice? Look for providers that specifically mention they specialize in WordPress and WooCommerce hosting. They understand the specific needs of an online store.
Key Takeaway: Your hosting choice directly impacts your store's performance. A slow website is a sales killer. Investing in a reliable host from day one is really an investment in your business's future.
Before you make a final decision, it's wise to run through a checklist to ensure the hosting plan you're considering has all the critical features an online store needs.
Essential Ecommerce Hosting Features Checklist
| Feature | Why It's Critical for Ecommerce | Recommended Specification |
|---|---|---|
| SSL Certificate | Encrypts customer data (like credit card info), builds trust, and is a requirement for most payment gateways. | Free Let's Encrypt SSL included |
| High Uptime Guarantee | Your store needs to be online 24/7. Downtime means lost sales and frustrated customers. | 99.9% uptime guarantee or higher |
| Daily Backups | Provides a safety net. If something goes wrong, you can restore your site quickly without losing orders. | Automatic daily backups with easy 1-click restore |
| Scalable Resources | As your store grows, your traffic will increase. You need a host that can grow with you. | Easy upgrade path to VPS or dedicated server |
| PHP 7.4+ & MySQL 5.6+ | These are the recommended server software versions for running WordPress and WooCommerce efficiently. | Latest stable versions of PHP and MySQL |
| 24/7 Expert Support | When (not if) you have an issue, you need access to support that understands WordPress and WooCommerce. | 24/7 support via live chat, phone, or tickets |
| Server Location | Hosting your site on a server physically close to your target audience can improve loading speeds. | Data centers in your primary customer region |
This checklist is your quick guide to cutting through the marketing noise and focusing on what truly matters for a successful, secure, and speedy online store.
Selecting a Memorable Domain Name
Your domain name is your store’s address on the internet—think yourbrand.com. It’s a huge part of your brand identity, so you want something that's memorable, easy to spell, and gives a hint about what you sell.
When you're brainstorming, shoot for something short and catchy. A good rule of thumb is to avoid using numbers or hyphens; they're just confusing for people to type and remember.
Before you get too attached and hit "buy," do a quick search to make sure the name isn't already trademarked by another company. Your domain name is often the very first impression someone has of your brand—make it a great one.
With your hosting and domain secured, you're ready for the next step: installing WordPress and starting the real fun of building your store.
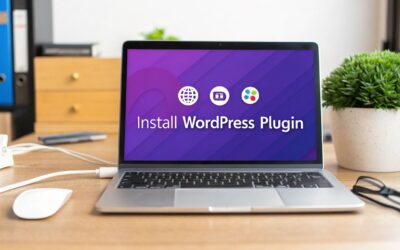
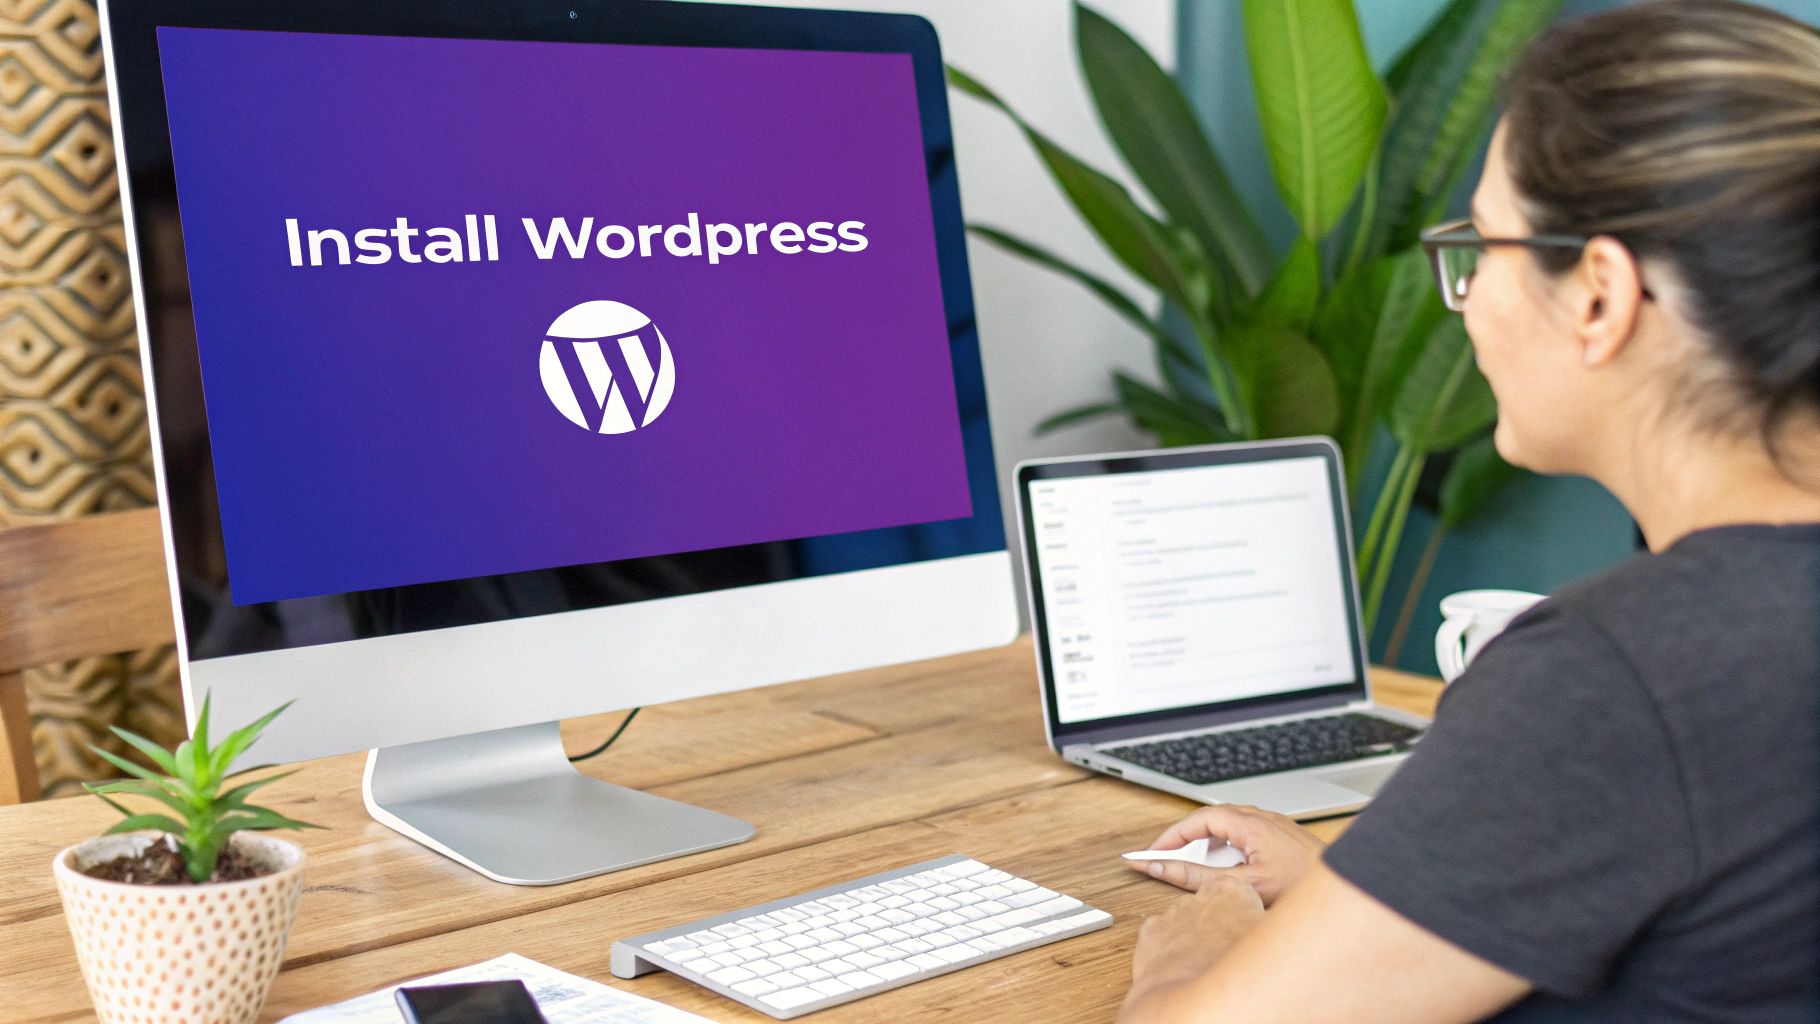
Getting WooCommerce Installed and Set Up
Okay, with your domain and hosting locked in, your WordPress site is essentially a blank canvas. Now for the fun part: turning it into a real, functioning online store. The engine that'll power everything is WooCommerce, the undisputed champion of e-commerce plugins for WordPress.
First things first, let's get it installed. From your WordPress dashboard, head over to Plugins > Add New. Just type "WooCommerce" into the search bar—it’ll be the first result you see. Click "Install Now," and then "Activate." That part is a breeze, but what comes next is crucial.
Don't Skip the WooCommerce Setup Wizard
As soon as you activate it, WooCommerce will nudge you to run its setup wizard. My advice? Don't skip it. While you can always tweak these settings later, getting the basics right from the get-go will save you a world of headaches down the line. Think of this wizard as your business setup consultant.
It kicks off by asking for basic store details—your address, country, and so on. This isn't just for your contact page; WooCommerce uses this info to automatically configure your currency and calculate default tax and shipping rates. It's a small step that handles a lot of the initial grunt work for you.
Here's what that first screen looks like:
After plugging in your store details, you'll be asked about your industry and the types of products you plan to sell (physical, digital, etc.). Be as accurate as you can here. WooCommerce is pretty smart and will often suggest helpful extensions based on your answers.
Configuring Payments and Shipping
Next, we're diving into two of the most critical parts of any online shop: how you get paid and how you get products to your customers. These settings directly affect both your customer's checkout experience and your own day-to-day operations.
WooCommerce will suggest setting up popular payment gateways like WooCommerce Payments, Stripe, and PayPal. It’s a good move to enable both Stripe (for credit cards) and PayPal right away. From my experience, offering multiple familiar payment options can seriously reduce cart abandonment. People like to use what they know and trust.
Shipping is where a lot of new store owners get tripped up, but the wizard really simplifies the process. It prompts you to set up your first shipping zones.
- Shipping Zone: This is just a geographical area where specific shipping rules apply. For instance, you might create one zone for your own country and another for all international orders.
- Shipping Method: This is the service you offer within that zone, like "Flat Rate," "Free Shipping," or "Local Pickup."
My Pro Tip: Start simple. Seriously. Just create one shipping zone for your main country and set a single flat rate. You can always get fancy later with weight-based shipping or more complex rules as your business grows. The goal right now is to get a functional system up and running.
Finally, the wizard will recommend a few more handy plugins, like a tax calculation service. You can add them or skip them for now. Once you're done, WooCommerce automatically creates the essential pages for your store—Shop, Cart, Checkout, and My Account. Just like that, your WordPress site has been officially upgraded to an e-commerce platform.
The initial groundwork is done, and you're all set for the more creative part of designing your store. If you want to jump ahead, we have a complete guide on how to create an online store with Divi and WooCommerce that covers the next steps in detail.
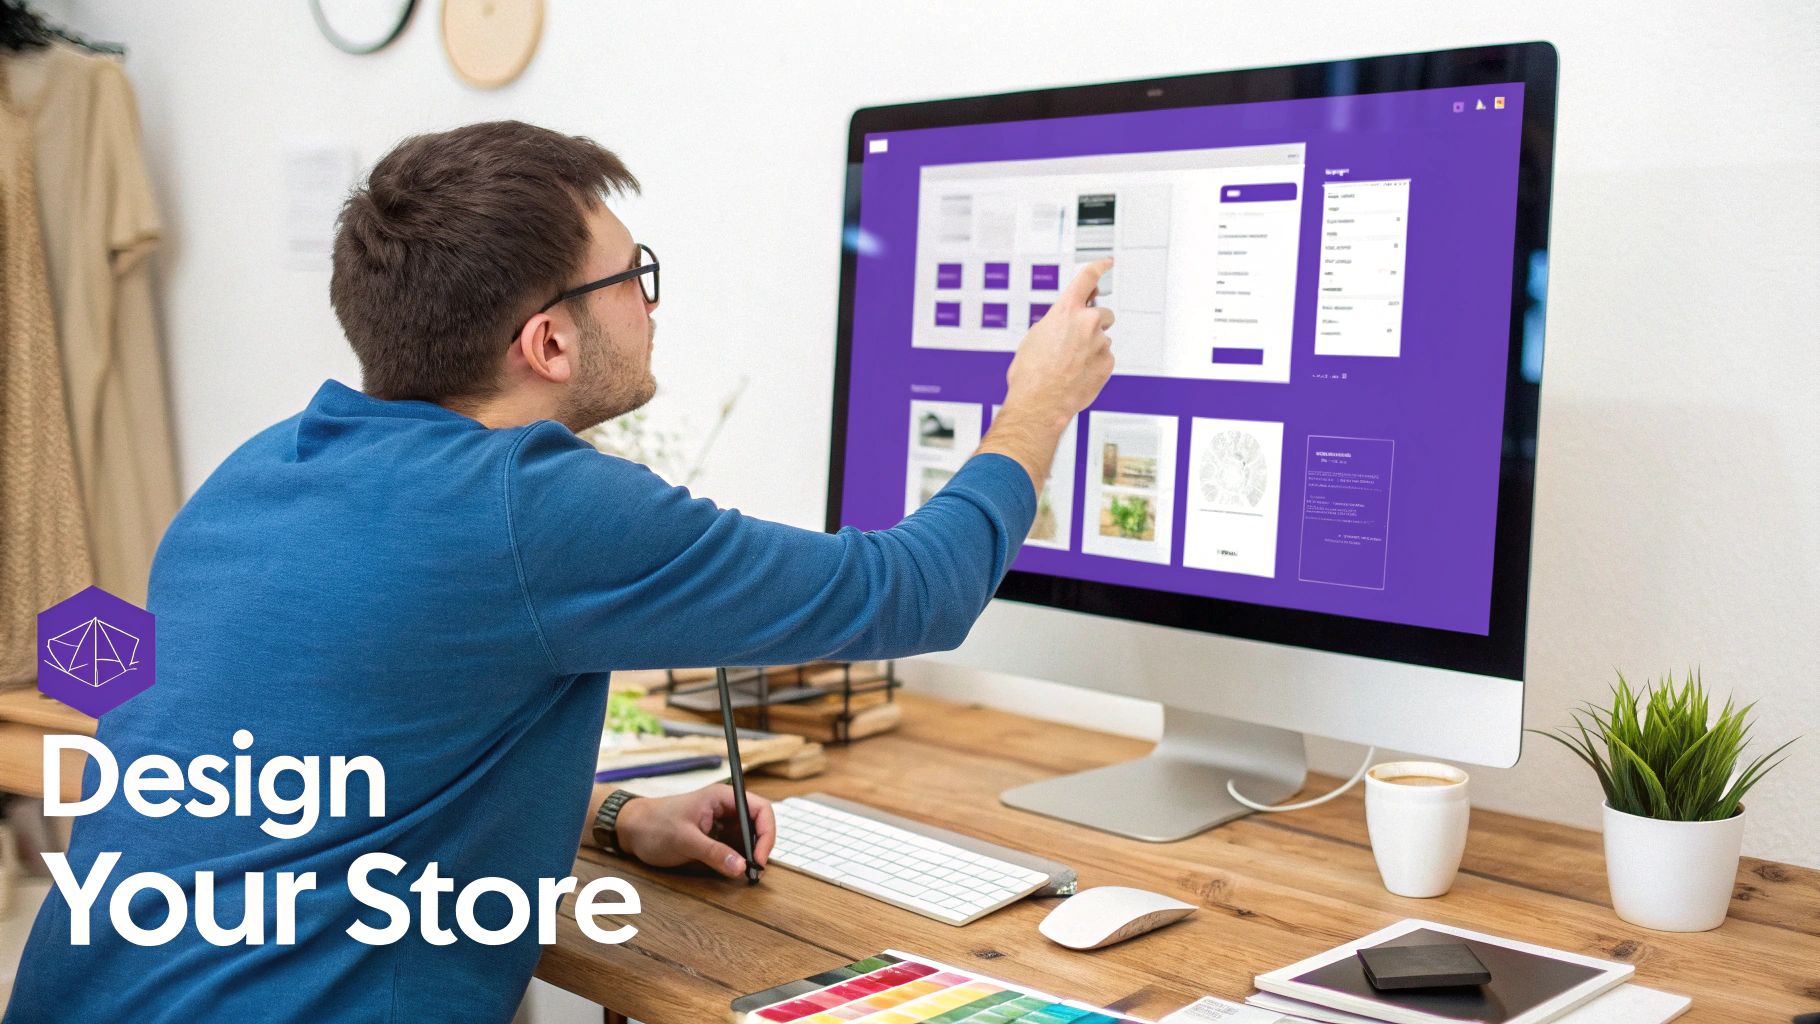
Designing Your Storefront with Divi
Alright, with WooCommerce handling all the back-end heavy lifting, it’s time for the fun part: designing what your customers will actually see and interact with. This is where the Divi theme builder really comes into its own, turning what could be a technical headache into a genuinely creative, visual process.
Never underestimate the power of a well-designed storefront. It’s not just about looking pretty; it builds trust on sight and has a direct impact on whether someone clicks "Add to Cart" or bounces.
Divi completely replaces the standard WordPress editor with a live, visual builder. What does that mean for you? Simple: you see your changes happen as you make them. There’s no more guessing, saving, and refreshing to see how things look. For anyone looking to build an ecommerce website with WordPress, this is an absolute game-changer.
Instead of being stuck in the rigid box of a pre-made theme, Divi hands you the keys. You can build a completely custom homepage that tells your brand’s story, design product pages that are built to convert, and create intuitive shop layouts—all using a drag-and-drop interface.
Getting a Feel for the Divi Builder
The best way to get comfortable with Divi is to understand its basic building blocks. When you fire up the Divi Builder on a page, you're essentially playing with a simple, layered system.
- Sections (Blue): Think of these as the biggest containers. They create the main horizontal rows that structure your page layout.
- Rows (Green): These go inside Sections and define your column structure. Need a single column for a headline? A three-column layout for featured products? You set that up with a Row.
- Modules (Gray): These are the actual content elements—your text, images, buttons, product listings, videos, and everything else your visitors will see.
This simple Section > Row > Module structure is what gives you such precise control. You could start your homepage with a full-width Section for a big, splashy hero image, then drop in a three-column Row right below it to highlight your top product categories.
My Personal Tip: Don't try to build your masterpiece on day one. Just open a blank page and spend an hour experimenting. Drag different modules onto the canvas, click through every setting, and see what happens. The goal is to get a feel for the workflow, not to create something perfect. You'll be amazed at how quickly it all starts to click.
Trust me, this hands-on approach is far more valuable than reading a dozen tutorials. The ability to instantly see how changing a margin or tweaking a font size affects your design is what makes Divi so powerful.
Building Your Core Store Pages
Every online store has a few non-negotiable pages that customers will visit. Using Divi’s Theme Builder, you can create master templates for these pages. This is a huge time-saver and ensures your branding and user experience stay consistent across the entire site.
The Homepage
This is your digital welcome mat. It needs to instantly answer two questions: "What do you sell?" and "Why should I buy it from you?" A proven structure that works for most stores includes:
- A Compelling Hero Section: A stunning, high-quality image or video is a must. Overlay it with a clear, benefit-driven headline and a strong call-to-action button, like "Shop New Arrivals" or "Explore the Collection."
- Featured Products or Categories: Don't make visitors hunt for the good stuff. Show off your bestsellers or guide them straight to your most popular categories right on the homepage.
- Social Proof: Nothing builds trust faster. Add a section with glowing customer testimonials or logos of brands you've worked with.
The Shop Page (Product Archive)
This is your main product catalog where customers browse everything you have to offer. Divi's dedicated WooCommerce modules let you completely overhaul the default layout. You can easily control the number of columns, add custom sorting and filtering, and design a unique grid that actually matches your brand—something that’s notoriously difficult to do with standard WordPress themes.
The Single Product Page
This page is where the sale happens. It's make-or-break. With Divi, you're not locked into the generic WooCommerce layout. You can completely rearrange key elements like the product image, description, "Add to Cart" button, and related products to create a page optimized for one thing: conversions. For example, why not place a short, powerful testimonial right next to the buy button? With Divi, you can.
Why Divi Outperforms the Standard Editor
When you're building a truly custom online store, the default WordPress block editor (Gutenberg) just doesn't cut it. While it's great for blogging, it lacks the deep design flexibility needed for modern e-commerce. The difference is night and day when you put them side-by-side.
Divi vs Standard WordPress Editor for Ecommerce Design
Here’s a quick breakdown of where Divi really pulls ahead for building a store.
| Feature | Divi Builder | Standard WordPress Editor |
|---|---|---|
| Design Control | Total drag-and-drop control over every element, spacing, and style. | Limited to the theme's predefined styles and basic block options. |
| WooCommerce Integration | Dedicated WooCommerce modules to build custom shop and product pages. | Relies on default WooCommerce templates with minimal customization. |
| Responsiveness | Granular control over how your site looks on desktop, tablet, and mobile. | Basic responsive controls, often requiring custom CSS for fine-tuning. |
| Global Elements | Create custom headers, footers, and templates to apply across the site. | Limited to theme-specific header/footer options. |
At the end of the day, choosing Divi is about empowerment. It gives you a complete design toolkit to build a professional, bespoke storefront that can genuinely compete. You're not just picking a theme; you're adopting a new, more effective way to build an ecommerce website with WordPress.
Getting Your Products on the Shelves
Okay, you've got a beautifully designed storefront, but the shelves are bare. It's time to bring your shop to life by adding your products. This is the moment your design transforms from a pretty layout into a real, shoppable experience.
Putting together a great product listing isn't just about filling in fields. It's an art form. You're blending persuasive descriptions, fantastic photos, and logical organization to convince someone that they absolutely need what you're selling. Every single detail, from the title down to the stock count, plays a part in that final "buy now" decision.
Mastering WooCommerce's Product Types
One of the best things about WooCommerce is its flexibility. It can handle just about any kind of product you can think of right out of the box. Getting a handle on the main product types is your first real step—nailing this makes everything smoother for you and your customers.
You'll probably be using these three types the most:
- Simple Product: This is your basic, no-frills item. Think of a specific book, a poster, or a coffee mug. It's one product, with one price and one SKU. Simple.
- Variable Product: This one's a game-changer if you sell items with options, like size or color. A t-shirt that comes in Small, Medium, and Large, and in Red, Blue, and Green is a perfect example. Each one of those combinations can have its own unique price, SKU, stock level, and even its own photo.
- Grouped Product: This lets you bundle several individual simple products onto a single page, but still allows customers to buy them separately. Imagine a "Complete Skincare Set" page showing a cleanser, moisturizer, and serum together. A customer can easily add just the cleanser, or all three items, to their cart right from that one page.
My advice for anyone just learning how to build an ecommerce website with WordPress is to start with a simple product. Create a dummy product first to get a feel for the whole process. It takes all the pressure off.
Crafting a Product Page That Sells
After you pick a product type, you'll land on the main product editor. This is your digital sales floor. Everything you add here is meant to turn a casual browser into a paying customer.
The two description boxes often trip people up at first, but they have very different jobs.
- The main description box (the big one at the top) is for your deep dive. This is where you tell the product's story, list out all the technical specs, and cover every feature and benefit. This content usually shows up further down the product page, often tucked into tabs like "Description" or "Details."
- The Product short description (the smaller box, usually further down the page) is your elevator pitch. It’s the quick, punchy text that appears right next to the product image and the "Add to Cart" button. Keep it concise, highlight the biggest selling point, and make it impossible for them not to want it.
The Nuts and Bolts: Product Data and Organization
Just below the main description area is the Product data panel. Think of this as the command center for every item you sell. It’s packed with crucial details, all neatly organized into tabs.
Here's a quick look at the tabs you'll be using most:
- General: This is ground zero for pricing. You'll set your regular price here and, if you're running a promotion, a sale price. You can even schedule sales to start and end automatically, which is brilliant for holiday promotions.
- Inventory: Every product needs a unique SKU (Stock Keeping Unit) for tracking—you'll add that here. This is also where you can enable stock management, letting WooCommerce automatically keep track of how many you have left. This is a lifesaver for preventing overselling.
- Shipping: Got physical products? Enter the item's weight and dimensions here. This data is essential if you're using shipping calculators that rely on these numbers to figure out costs.
- Attributes & Variations: This is where the magic happens for variable products. You’ll first set up attributes (like "Color" or "Size") and then use those attributes to generate all the different product variations.
Finally, don't overlook the Product categories and Product tags panels on the right-hand side. Categories are your store's main aisles (e.g., "Men's," "Women's," "T-Shirts"), helping people navigate your shop. Tags are more like specific labels that help with filtering (e.g., "cotton," "v-neck," "summer"). Using both effectively not only makes your store a breeze to browse but also gives your SEO a nice little boost.
Securing and Maintaining Your WordPress Ecommerce Site
Getting your online store live is a huge accomplishment, but the work doesn't stop there. Think of your e-commerce site as a living, breathing part of your business. It handles sensitive customer data every single day—names, addresses, and payment details. This makes solid security and consistent maintenance absolutely non-negotiable.
Ignoring these responsibilities is like leaving the doors to your physical shop wide open overnight. It's not just about preventing theft; it's about earning and keeping your customers' trust. One security breach can cause serious, sometimes irreversible, damage to your brand's reputation.
The good news? Setting up a strong security posture and a simple maintenance routine is surprisingly straightforward once you have the right tools and habits in place.
Fortifying Your Digital Storefront
Your first line of defense is simply knowing where the biggest threats come from. If you focus your efforts in the right places, you can make a massive impact.
It’s a bit shocking, but research shows that in 2025, third-party plugins and themes are responsible for a staggering 96% of WordPress security vulnerabilities. On top of that, the average WordPress site gets hit with a cyberattack every 28 minutes. This isn't to scare you, but to highlight that most threats are automated bots constantly probing for weaknesses.
This data really drives home a critical point: your site's security is only as strong as your weakest plugin. The upside is that you can dramatically shrink your risk profile with just a few proactive moves.
A great place to start is by installing a dedicated security plugin. Tools like Wordfence Security or Sucuri Security act like a digital security guard for your site. They're constantly scanning for malware, watching for sketchy activity, and using a web application firewall (WAF) to block bad traffic before it even has a chance to reach your website.
For instance, once you have Wordfence installed, you can quickly set it up to:
- Scan for vulnerabilities across your plugins, themes, and core WordPress files.
- Beef up login security to shut down brute-force attacks by limiting login attempts.
- Activate real-time alerts that shoot you an email the moment any potential security issue pops up.
Key Takeaway: A security plugin isn't something you just set and forget, but it's an essential monitoring system that does most of the heavy lifting for you. It automates protection, freeing you up to focus on growing your business with more peace of mind.
The Critical Role of Backups and Updates
Think of backups as your ultimate insurance policy. If the worst-case scenario happens—a successful hack, a server meltdown, or an update that goes wrong—a recent backup is your lifeline. It lets you restore your entire store in a snap, minimizing downtime and lost sales.
While many quality web hosts provide automated daily backups, it's always smart to have your own independent backup solution as a fail-safe.
Plugins like UpdraftPlus make this easy. You can schedule automatic backups and have them sent to a secure, off-site location like Google Drive or Dropbox. This redundancy means you always have a clean copy of your site ready to roll.
Just as important is getting into a regular update routine. Outdated software is one of the most common ways attackers find their way in. Your weekly maintenance checklist should be simple but consistent.
Your Weekly Maintenance Checklist
- Check for Updates: Log into your WordPress dashboard and head straight to the "Updates" section. This covers WordPress core, your Divi theme, and all of your plugins.
- Run a Backup: Before you click update on anything, run a complete backup of your site’s files and database.
- Update in Order: A good habit is to update your plugins first, then your theme, and finish with the WordPress core itself.
- Test Your Site: Once the updates are done, take a minute to click through your storefront, a few product pages, and the checkout process. Make sure everything still looks and works as it should.
This whole process usually takes less than 15-20 minutes a week, but it’s one of the most powerful things you can do to keep your site healthy and secure. For a more detailed walkthrough, check out our guide on essential Divi maintenance tasks you must perform regularly.
Strengthening User Access and Passwords
Beyond software vulnerabilities, simple human error remains a big weak spot. That’s why enforcing strong password policies for all user accounts—especially administrators—is so important. WordPress has some built-in tools for this, but you can easily take it a step further.
Consider turning on two-factor authentication (2FA). This requires users to provide a second piece of information to log in, usually a temporary code from an app on their smartphone. It adds a powerful layer of security that makes it incredibly difficult for someone to get in, even if they somehow manage to steal a password.
By combining a solid security plugin, a disciplined backup and update schedule, and strong user access controls, you build a resilient foundation for your e-commerce business. This proactive approach doesn't just protect your bottom line; it shows your customers you’re a professional they can trust.
Still Have Questions? Let's Clear Things Up
Jumping into the world of e-commerce brings up a ton of questions. It's totally normal. To help you out, I've put together some straight-to-the-point answers for the most common things people ask when they're thinking about building a store with WordPress.
How Much Does It Really Cost to Build a WordPress Ecommerce Site?
Honestly, the cost can swing wildly from just a few hundred dollars to several thousand. It all depends on the tools you choose.
There are a couple of expenses you can't really dodge: your domain name (usually $15-$20 a year) and good quality web hosting. For a decent e-commerce plan, expect to pay somewhere in the ballpark of $15-$50 per month.
Then you've got your premium tools. A theme like Divi is an investment (around $89 a year), and you'll likely want other paid plugins for specific features. While you can start on a shoestring budget, my advice is to always set aside funds for solid hosting and a professional theme. It's one of the smartest moves you can make right from the start.
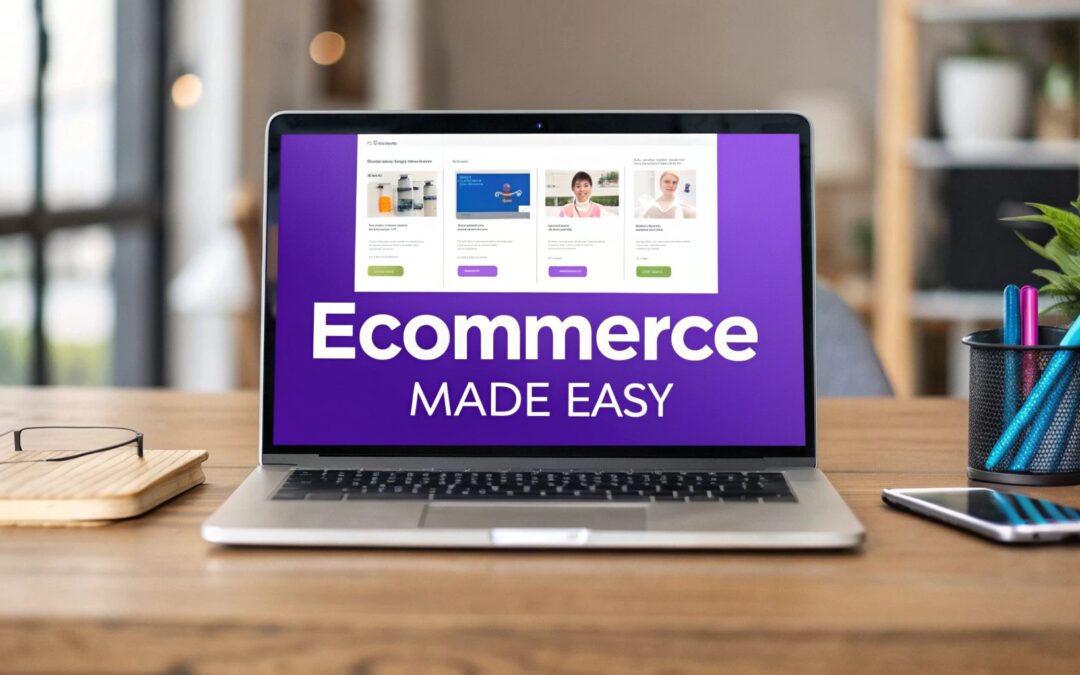
Is WordPress a Better Choice Than Shopify for Ecommerce?
This really boils down to your long-term vision. Think of it this way: WordPress with WooCommerce gives you the keys to the kingdom. You have total control, you own all of your data, and you can customize every single pixel. You’re never boxed in by a platform's rules.
If you're building a unique brand and want something that can grow with you, WordPress is the way to go. It's often much more cost-effective as you scale up.
Shopify is fantastic for getting a store up and running quickly—its simplicity is its biggest selling point. The trade-off is less design freedom and potential transaction fees if you don't use their payment system. For ultimate control and flexibility, WordPress is the undisputed winner.
Key Insight: Choosing WordPress is about playing the long game. The initial learning curve is a bit steeper than Shopify's, but the payoff is complete ownership and the limitless potential to build your store exactly the way you want it.
Do I Need to Know How to Code to Use Divi and WordPress?
Absolutely not. That’s probably one of the biggest myths out there. These days, tools like the Divi theme builder have completely erased the need for code for the vast majority of users.
Divi is built around a visual, drag-and-drop editor. This means you’re designing your pages in real-time and seeing the changes happen live. From crafting complex layouts to tweaking fonts and colors, everything is handled through an intuitive interface. It’s made for people who aren't coders.
You get to pour your energy into your brand and your products, not into figuring out code. And building an e-commerce site with WordPress has never been more visual. For instance, with a tool like Divi Areas Pro, you can design powerful popups to drive conversions—all without touching a single line of code. We actually have a whole guide on how to increase ecommerce sales with popups.
Ready to create stunning, interactive popups and content areas for your Divi store? Divimode provides the tools and expertise to make it happen. Explore what you can build with Divi Areas Pro.
More Articles You Will Like