Think of a custom post type in WordPress as a tool for creating your own, perfectly organized content sections, completely separate from the default 'Posts' and 'Pages'. It's like adding custom folders to your WordPress dashboard for things like 'Portfolio', 'Testimonials', or 'Products', where each one has its own unique setup and purpose.
Why Custom Post Types Are a WordPress Game Changer
Imagine your WordPress website is a digital library. When you first install it, you get two main shelves: one for 'Books' (your blog posts) and another for 'Reference Materials' (your static pages). For a simple blog or a basic business site, this works just fine.
But what happens when your library needs to catalog 'DVDs', 'Magazines', or 'Special Collections'? Shoving everything onto the 'Books' shelf with different category labels quickly turns into a chaotic mess. You know the feeling.
This is the exact problem a custom post type in WordPress solves. It lets you build entirely new, dedicated shelves for any kind of content you can think of. Instead of trying to cram a real estate listing into a blog post format, you can create a 'Listings' post type. Instead of managing team bios on a single, long-winded page, you can give them their own 'Team Members' post type.
Transforming Your Website's Foundation
Using CPTs is a fundamental shift. It takes WordPress from being just a blogging platform and turns it into a true Content Management System (CMS). This structural upgrade is a game-changer, giving you the power to build far more organized and scalable websites.
- Better Content Organization: By separating different types of content, you create a much cleaner and more intuitive backend. A 'Portfolio' CPT keeps your project showcases completely separate from your blog articles, which makes managing everything a breeze.
- A Superior User Experience: A well-structured site is simply easier for visitors to use. Things like filterable portfolios, dedicated testimonial pages, and organized event calendars all start with the power of CPTs.
- Future-Proof Scalability: As your site grows, a CPT-driven architecture is infinitely easier to maintain and expand. Adding new 'Services' or 'Case Studies' becomes a simple, repeatable process instead of a headache that clutters up your main Posts and Pages.
A Custom Post Type is more than just a label; it’s a blueprint for your content. It defines not just what the content is, but how it should be managed, displayed, and organized across your entire website.
Custom Post Types are so crucial because they're the key to turning a static site into a truly dynamic website, offering incredible flexibility. This approach lets you tailor your content precisely to your needs, whether you're building a directory of local businesses, a catalog of recipes, or an archive of academic papers.
Better yet, each CPT can have its own set of custom fields and its own unique design template, giving you complete control over your site's architecture from the ground up.
When to Use a Custom Post Type Instead of a Page or Post
So, when should you create a custom post type in WordPress instead of just sticking with a standard Post or Page? It can feel a little confusing at first, but the answer comes down to the structure and purpose of your content.
If you ever find yourself trying to shoehorn a unique type of information into a generic blog post format, that’s your first big clue. It's a sign that you need a more specialized tool for the job.
Think of it this way: a 'Post' is perfect for timely content like news updates or blog articles. A 'Page' is for static, evergreen information like your 'About Us' or 'Contact' pages. But what about something like 'Team Members'? Sure, you could lump them all under a "Team" category, but that’s a clunky, disorganized fix. A team member isn't just another blog post; they're a unique entity with their own specific data.
Identifying the Need for a CPT
You'll know it's time for a custom post type when your content needs its own set of unique fields and a separate, dedicated area in the WordPress admin. This structured approach keeps your site tidy on the backend and makes future updates a breeze.
Here are a few classic scenarios where a CPT is the only logical choice:
- Team Members: Each person has specific fields like 'Job Title,' 'Department,' and 'Social Media Links.'
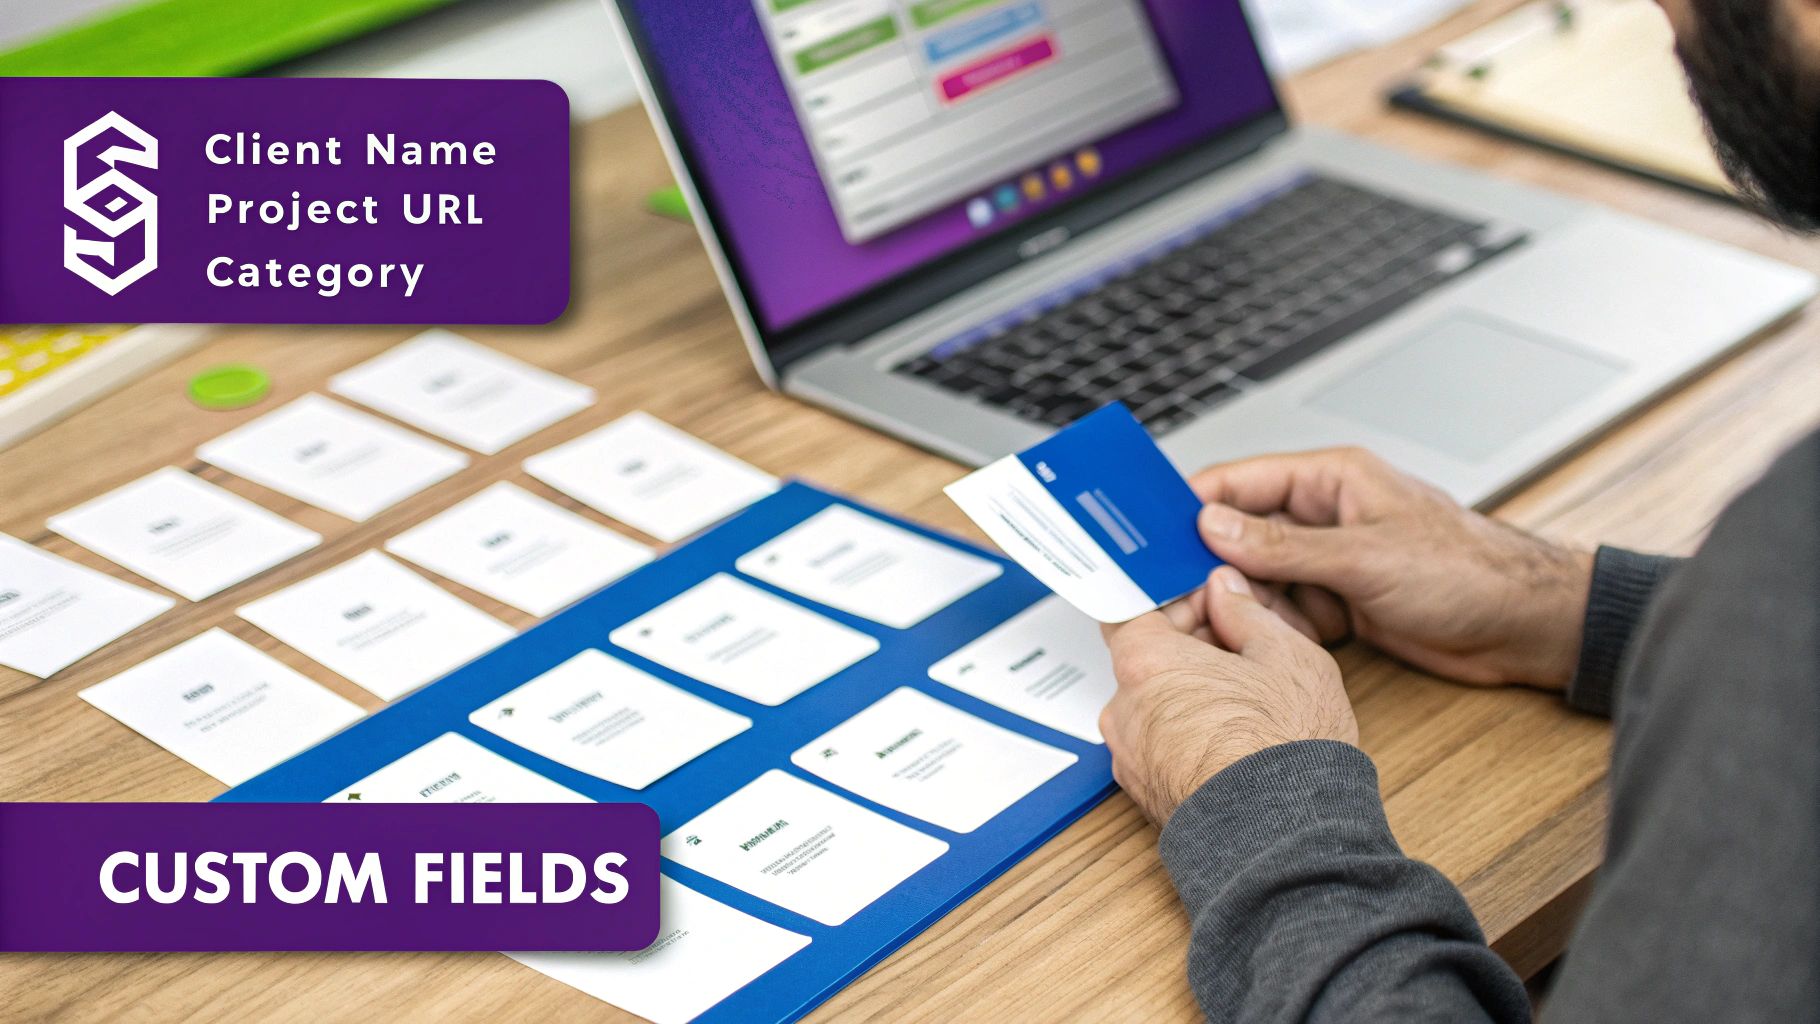
- Project Portfolios: Projects demand unique data like 'Client Name,' 'Completion Date,' and a 'Project URL.'
- Event Calendars: Events need their own information, such as 'Event Date,' 'Start Time,' 'End Time,' and 'Location.'
- Product Directories: Products have specific attributes like 'Price,' 'SKU,' and 'Specifications' that just don’t fit into a standard post.
This flowchart breaks down the decision-making process, making it much easier to see when a CPT is the right move.

The key takeaway is simple: if you need to manage a new, distinct content type with its own set of fields, a CPT is absolutely the way to go.
To help clarify this further, let's look at a few common website scenarios and which content type makes the most sense.
Post vs Page vs Custom Post Type When to Use Each
| Scenario | Use Post? | Use Page? | Use Custom Post Type? |
|---|---|---|---|
| Writing a weekly company news update | Yes | No | No |
| Creating a "Privacy Policy" page | No | Yes | No |
| Listing real estate properties with price, beds, baths | No | No | Yes |
| Showcasing portfolio items with client and date info | No | No | Yes |
| Publishing a "How-To" article for your blog | Yes | No | No |
| Building a staff directory with job titles and photos | No | No | Yes |
| Creating a static "About Our Company" page | No | Yes | No |
As you can see, the choice becomes much clearer when you think about the type of information you're working with.
The Strategic Advantage of CPTs
Using a custom post type isn't just about staying organized; it’s a strategic move that fundamentally improves your site's functionality and user experience.
For example, when you separate 'Testimonials' into their own CPT, you can easily pull that data into sliders, grids, or sidebars anywhere on your site without messing up your main blog feed. This kind of flexibility is a core reason why WordPress is so dominant, holding over 62% of the CMS market share.
The demand for this feature is huge, which you can see from the popularity of plugins that manage CPTs. Advanced Custom Fields (ACF) has over 2 million active installations, and Meta Box boasts more than 700,000. For Divi users, specialized tools can even pull CPT content like case studies directly into mega menus, creating a much richer browsing experience. You can dive deeper into the ecosystem of powerful WordPress CPT plugins to see just how far they can take this functionality.
By choosing a CPT, you’re not just organizing content—you're architecting a smarter, more scalable website. You avoid the common pitfall of misusing Posts and Pages for specialized data, which leads to a cluttered backend and a confusing user experience.
Creating Your First Custom Post Type Step by Step
Alright, you get the strategy behind using a custom post type in WordPress. Now it’s time to roll up your sleeves and bring your content architecture to life.
We're going to walk through two proven methods for registering a new post type. The first is perfect for anyone who prefers a visual interface, using the popular Custom Post Type UI (CPT UI) plugin. The second is for those comfortable with code, using WordPress's native register_post_type() function. Both paths lead to the same destination; the best one for you just depends on your comfort level and project needs.
Method 1: The Plugin Approach with CPT UI
For many, the quickest and most straightforward path is with a plugin. The Custom Post Type UI plugin is a community favorite for a reason—with millions of active installations, it provides a simple interface for managing all the necessary settings without touching a single line of code.
Let’s create a "Portfolio" custom post type using CPT UI:
- Install and Activate CPT UI: From your WordPress dashboard, head to Plugins > Add New. Search for "Custom Post Type UI," then install and activate it.
- Navigate to Add/Edit Post Types: Once activated, a new "CPT UI" menu item will pop up in your dashboard. Click it and select Add/Edit Post Types.
- Define the Basic Settings: You'll land on a screen with several fields. To get started, you only need to fill out the first three:
- Post Type Slug: This is the URL-friendly ID for your CPT. Keep it unique, lowercase, and with no spaces. For our example, let's use
portfolio. - Plural Label: This is what you'll see in the admin menu. Enter
Portfolios. - Singular Label: This is the name for a single item. Enter
Portfolio.
- Post Type Slug: This is the URL-friendly ID for your CPT. Keep it unique, lowercase, and with no spaces. For our example, let's use
- Configure Additional Labels (Optional but Recommended): You could stop there, but it's a good idea to scroll down to "Additional labels." CPT UI can auto-populate these based on your singular and plural labels, which control all the text you see throughout the admin, like "Add New Portfolio" or "Search Portfolios."
- Adjust Key Settings: Further down, the "Settings" section is where you define how your CPT behaves. A few important ones:
- Has Archive: Set this to True if you want a main page that lists all your portfolio items (like
yoursite.com/portfolio). - Menu Icon: Pick a Dashicon to represent your CPT in the admin menu. It makes it much easier to spot.
- Supports: This one is crucial. Check the boxes for the features you need. This is where you enable the 'Title', 'Editor' (the main content box), 'Featured Image', and 'Excerpt' fields.
- Has Archive: Set this to True if you want a main page that lists all your portfolio items (like
After configuring these options, smash that Add Post Type button. Just like that, you'll see a new "Portfolios" menu in your WordPress dashboard, ready for you to start adding projects.
The biggest win for using a plugin like CPT UI is its simplicity and safety. You can create and manage post types without ever risking a syntax error in your theme files that could take down your site.
Method 2: The Manual Code Approach
For developers or anyone wanting to keep their site lean by minimizing plugins, registering a CPT with code is the way to go. This is usually done by adding a snippet to your theme's functions.php file or—even better—within a custom site-specific plugin.
Building a dedicated plugin is best practice, really. It means your CPTs will stick around even if you decide to switch themes later. If that sounds like your path, it's worth learning the fundamentals of custom WordPress plugin development to keep your code clean and maintainable.
The heart of this method is the register_post_type() function, which we'll hook into WordPress's init action.
Here's a clean, well-commented code snippet to register that same "Portfolio" CPT. You can adapt this for your functions.php file or your own plugin.
function portfolio_custom_post_type() {
$labels = array(
'name' => _x( 'Portfolios', 'Post Type General Name', 'text_domain' ),
'singular_name' => _x( 'Portfolio', 'Post Type Singular Name', 'text_domain' ),
'menu_name' => __( 'Portfolios', 'text_domain' ),
'name_admin_bar' => __( 'Portfolio', 'text_domain' ),
'archives' => __( 'Portfolio Archives', 'text_domain' ),
'attributes' => __( 'Portfolio Attributes', 'text_domain' ),
'parent_item_colon' => __( 'Parent Portfolio:', 'text_domain' ),
'all_items' => __( 'All Portfolios', 'text_domain' ),
'add_new_item' => __( 'Add New Portfolio', 'text_domain' ),
'add_new' => __( 'Add New', 'text_domain' ),
'new_item' => __( 'New Portfolio', 'text_domain' ),
'edit_item' => __( 'Edit Portfolio', 'text_domain' ),
'update_item' => __( 'Update Portfolio', 'text_domain' ),
'view_item' => __( 'View Portfolio', 'text_domain' ),
'view_items' => __( 'View Portfolios', 'text_domain' ),
'search_items' => __( 'Search Portfolio', 'text_domain' ),
);
$args = array(
'label' => __( 'Portfolio', 'text_domain' ),
'description' => __( 'Portfolio projects and case studies', 'text_domain' ),
'labels' => $labels,
'supports' => array( 'title', 'editor', 'thumbnail', 'excerpt', 'custom-fields' ),
'hierarchical' => false,
'public' => true,
'show_ui' => true,
'show_in_menu' => true,
'menu_position' => 5,
'menu_icon' => 'dashicons-portfolio',
'show_in_admin_bar' => true,
'show_in_nav_menus' => true,
'can_export' => true,
'has_archive' => true,
'exclude_from_search' => false,
'publicly_queryable' => true,
'capability_type' => 'post',
'rewrite' => array('slug' => 'portfolio'),
);
register_post_type( 'portfolio', $args );
}
add_action( 'init', 'portfolio_custom_post_type', 0 );
This code does exactly what CPT UI does behind the scenes. It defines all the labels and sets the arguments for how the post type should function, including its public visibility, menu icon, and which WordPress features it supports. Once you save this code, the "Portfolios" CPT will appear in your admin menu, just as it did with the plugin.
Adding Custom Fields and Taxonomies to Your CPTs
Creating a custom post type in WordPress is a bit like building a new, empty shelf in your content library. It’s a fantastic start, but the real power comes when you add dividers and labels to organize everything you'll put on it. This is where custom taxonomies and custom fields come in—they’re what transform your CPT from a generic container into a structured, dynamic content engine.
Without these crucial additions, a "Portfolio" CPT is really just a glorified blog post. But with them, it becomes a powerhouse capable of storing specific data like "Client Name," "Project URL," and "Completion Date," all while being filterable by categories like "Web Design" or "Branding."
Organizing Content with Custom Taxonomies
Think of a custom taxonomy as your own private set of categories or tags, built specifically for your CPT. While standard Posts have 'Categories' and 'Tags', your 'Portfolio' CPT might need a 'Project Type' taxonomy to group items into buckets like 'UX/UI', 'Logo Design', or 'Development'.
This makes your content so much easier to sort, filter, and display on the front end. And creating one is remarkably similar to setting up the CPT itself.
- Using CPT UI: The simplest way is right within the Custom Post Type UI plugin. Just head over to the CPT UI > Add/Edit Taxonomies menu. From there, you can create your 'Project Type' taxonomy and assign it directly to your 'Portfolio' post type in a few clicks.
- Using Code: If you prefer a manual approach, you can use the
register_taxonomy()function. It works just likeregister_post_type(), letting you define a new taxonomy and link it to one or more CPTs in yourfunctions.phpfile or a custom plugin.
By adding a custom taxonomy, you lay the organizational groundwork. Now, let’s add the specific data fields that will bring each entry to life.
Powering CPTs with Advanced Custom Fields
While taxonomies group your CPT entries, custom fields are where you store the unique pieces of data for each individual entry. This is the information that makes one portfolio piece different from another. For this job, the Advanced Custom Fields (ACF) plugin is the undisputed industry standard, and for very good reason.
ACF gives you a powerful visual interface for building sets of custom fields—which it calls Field Groups—and assigning them to your CPT.
Let’s quickly build a Field Group for our 'Portfolio' CPT.
- Install and Activate ACF: First, grab the free Advanced Custom Fields plugin from the WordPress repository.
- Create a New Field Group: In your dashboard, go to ACF > Field Groups and click Add New. Give it a name that makes sense, like "Portfolio Details."
- Add Your Custom Fields: Click the + Add Field button to start building your data structure. For each field, you'll define:
- Field Label: The user-friendly name, like "Client Name."
- Field Name: The machine-readable ID, such as
client_name. - Field Type: This is where the magic happens. ACF offers dozens of options, from simple Text and Textarea fields to more complex ones like Image, Date Picker, and URL.
- Assign the Field Group to Your CPT: This is the most important step. In the "Location" box, set a rule that says Show this field group if Post Type is equal to Portfolio.
By linking a Field Group to your CPT, you’re creating a dedicated data entry form that appears automatically on the edit screen for every single 'Portfolio' item. This ensures your content stays consistent, structured, and easy for you or your clients to manage.
Once you hit save, every new "Portfolio" item you create will have a clean, organized panel for entering the Client Name, Project URL, and Completion Date. This is how a custom post type in WordPress becomes a truly custom piece of your content architecture, perfectly tailored to what you need it to be.
How to Display CPTs Beautifully with the Divi Theme Builder
So, you’ve done the hard part. You’ve built a clean, structured home for your content with a custom post type in WordPress. The backend is tidy, organized, and brimming with all your custom data. Now comes the fun part: making it all look incredible on the front end with Divi’s design firepower.
This is where the Divi Theme Builder becomes your best friend. It lets you create custom templates that automatically wrap around your CPTs, ensuring every single entry has a consistent, on-brand, and pixel-perfect design. You can build separate templates for the individual entries (like a single portfolio piece) and the archive pages that list them all together.
Creating Single CPT Templates
Let's stick with our "Portfolio" CPT example. A single template will control the layout for every individual portfolio item you add. No more designing each one from scratch.
- Head over to Divi > Theme Builder in your WordPress dashboard.
- Click Add New Template and, in the popup, assign it to "All Portfolio" posts.
- Hit Create Template, then click to edit the Custom Body.
Once you're inside the Divi Builder, you start designing the layout. But instead of typing in static text, you're going to lean heavily on Divi's Dynamic Content feature. For instance, add a Text module, but instead of writing anything, click the little dynamic content icon and select "Post Title." This simple action tells Divi to automatically pull in the title of whatever portfolio item someone is looking at.
You can repeat this for all the standard WordPress fields and—most importantly—for your custom fields from ACF. Just add any module, click the dynamic content icon, and find your ACF field in the list. This is how you get your "Client Name," "Project Date," or any other custom data to show up exactly where you want it in your design.
By using the Divi Theme Builder with dynamic content, you design the layout just once. Every new portfolio item you add will automatically adopt this stunning design without any extra work.
Designing Custom Archive Pages
An archive page is simply the main page that lists out all the entries for a CPT—think of it as the main gallery page for all your portfolio projects. The process for creating its template is pretty much the same as for a single post.
Back in the Theme Builder, you'll create another new template. This time, however, you'll assign it to the "All Portfolio Archive" page. When you jump in to edit this template's body, your go-to tool will be the Blog module. In the module's settings, pop over to the Content tab and set the Post Type to "Portfolio."
Instantly, the Blog module will stop showing blog posts and start displaying a grid or list of your portfolio items. From there, you can customize the column count, tweak the design, and get the layout just right. This gives you total command over how your main CPT listing pages look and feel. For some great ideas, check out our extensive library of professional templates for Divi that you can easily adapt for CPT layouts.
Supercharging Displays with DiviFlash
The Theme Builder is fantastic for creating those core templates, but what if you need to display your CPTs in more creative ways? Maybe you want a carousel of testimonials on your homepage or a filterable grid of projects inside a specific page. This is where specialized plugins really shine.
The rise of CPTs has completely changed how we manage content, now powering a massive chunk of the over 62% of CMS websites built on WordPress. For Divi users, plugins like DiviFlash are built to supercharge the Divi Builder with modules made specifically for this custom content. You can learn more about the massive adoption of CPTs in the WordPress ecosystem.
DiviFlash comes packed with a suite of modules that make showing off your CPTs both easy and elegant.
- CPT Grid: Lets you display your custom posts in a stylish, fully customizable grid.
- CPT Carousel: Perfect for creating a dynamic, sliding carousel of your CPT entries.
- CPT Filterable: Allows you to build a slick filterable gallery where users can sort your CPTs by their custom taxonomies.
These modules plug right into the Divi Builder. You just add one to any page, choose your custom post type from a dropdown, and start styling. They offer deep customization, letting you build sophisticated portfolio showcases, product grids, or testimonial sliders anywhere on your site in minutes. This powerful combo of the Theme Builder for templates and specialized plugins for everything else gives you a complete toolkit for beautifully displaying every custom post type in WordPress.
Pro Tips for Managing Your Custom Post Types
So, you’ve built your custom post type in WordPress. The hard part’s over, right? Well, not quite. Getting it set up is one thing, but managing it properly is what keeps your site fast, organized, and search-engine-friendly for the long haul. A few best practices now will save you from major headaches down the road.
One of the first big questions is where to stick the registration code. It’s tempting to just drop it into your theme's functions.php file—it's quick and easy. But this creates a dangerous "theme-lock." The moment you switch themes, your custom post types and all that carefully crafted content will simply vanish.
The most robust and portable solution is to register your custom post types within a site-specific custom plugin. This decouples your core content structure from your presentation layer, ensuring your data remains intact regardless of which theme you use in the future.
This approach also keeps your codebase much cleaner and more organized by separating it from your theme-specific functions.
Maintaining a Clean and Conflict-Free Setup
As your site grows and you add more plugins, the risk of conflicts skyrockets. A simple but incredibly powerful habit to get into is prefixing your CPT and taxonomy slugs. Instead of using a generic slug like portfolio, try something like dm_portfolio (short for Divimode Portfolio).
This tiny step makes your slugs unique, dramatically reducing the odds that another plugin or theme will try to register a post type with the exact same name, which can cause critical errors on your site.
Here are a few more organizational tips to live by:
- Plan Ahead: Before you even write a line of code, map out every custom field and taxonomy you think you'll need. A clear plan from the start prevents messy structural changes later on.
- Keep Labels Clear: Use descriptive singular and plural labels (e.g., "Project" and "Projects"). This makes the backend experience so much more intuitive for you and especially for your clients.
- Limit Admin Columns: It's tempting to show all your custom field data in the admin list view, but don't. Only display what's absolutely necessary. Too many columns will clutter the interface and can seriously slow down the loading of your post lists.
Optimizing for Performance and SEO
A well-managed CPT isn't just about a tidy backend—it has a direct impact on your site's performance and SEO. How you structure things influences how search engines find and rank your content.
For SEO, make sure your CPTs are set to be public and have archives enabled if you want a main listing page for them. Double-check that your SEO plugin is correctly including your new post types and their archives in your XML sitemap. Properly configured permalinks—like yoursite.com/portfolio/project-name—create the kind of clean, keyword-rich URLs that search engines love. You can see how this fits into a bigger picture by exploring how to start using Divi dynamic content to build out beautiful, SEO-friendly layouts.
From a performance standpoint, be mindful of complex queries. While it's cool to display dozens of CPT entries on a single page with intricate filtering, this can bring your site to a crawl. Use pagination for your archive pages and make sure you're lazy-loading images to keep the user experience snappy.
Follow these pro tips, and your custom post types will become a powerful, stable, and incredibly valuable asset for any WordPress site you build.
Got Questions About CPTs?
Even with a solid game plan, a few questions always pop up when you start diving into custom post types in WordPress. Let's clear the air and tackle some of the most common ones I hear.
What’s the Difference Between a Custom Post Type and a Custom Taxonomy?
This one trips people up all the time, but the concept is pretty simple once you get it.
Think of your website like a library. A custom post type is like adding a whole new section called "Movies." It's a completely new category of content, totally separate from your existing "Books" section (which would be your standard blog posts).
A custom taxonomy, then, is the shelving and labeling system inside the "Movies" section. You might create taxonomies like "Genre" (Action, Comedy, Drama) and "Director" to organize everything. The CPT is the container; the taxonomy is how you sort what's inside.
Do I Have to Be a Coder to Create a Custom Post Type?
Absolutely not. While getting your hands dirty with code gives you the ultimate level of control (and is great for developers), it's definitely not a prerequisite anymore.
User-friendly plugins like Custom Post Type UI and Advanced Custom Fields (ACF) have completely changed the game. They give you a full visual interface to register CPTs, create taxonomies, and build out custom field groups without touching a single line of PHP.
These tools are a massive win for designers and site builders, letting you create really sophisticated content structures with just a few clicks.
How Do Custom Post types Affect My Website's SEO?
When you use them right, CPTs can be a huge boost for your SEO. They let you build out highly organized, topic-specific hubs of content that search engines love.
For instance, creating a "Recipes" CPT results in clean, perfectly structured URLs like yoursite.com/recipes/chocolate-chip-cookies. This clear hierarchy helps search engines make sense of your site and index your content way more effectively. It also cleans up your sitemap and lets you zero in on very specific keywords. This structured approach often leads to better visibility and higher rankings.
At Divimode, we're all about building tools that help you create more dynamic and powerful Divi websites. Take your site to the next level with advanced popups, mega menus, and interactive content using Divi Areas Pro.
More Articles You Will Like