Knowing how to password protect a page in WordPress is a fantastic way to control who sees your content. It's more than just a security tick-box; it's a slick tool for creating exclusive areas for clients, team members, or subscribers without getting bogged down in complex membership plugins.
Why Password Protection Is a Smart Move for Your Content

Locking down specific pages isn't just a technical task; it's a strategic decision that can seriously support your business goals. By password-protecting content, you can carve out private, valuable spaces for specific audiences, effectively turning your public website into a multi-purpose digital hub.
Just think about these real-world scenarios where this feature is a lifesaver:
- Client Project Hubs: You can share sensitive project drafts, mockups, or progress updates with clients in a secure, private area. This feels way more professional than just shooting attachments back and forth over email.
- Exclusive Member Content: Got some premium articles, tutorials, or downloads? Offer them to paying members or subscribers behind a simple password wall. It's an easy method for adding value without needing a full-blown membership system.
- Internal Team Resources: Create a go-to page for your team with training materials, internal news, or company policies, all accessible with a shared password.
Now, you might think setting a page to 'Private' in WordPress does the same thing, but it often falls short. Private pages are only visible to logged-in users with the right permissions, which just isn't practical for clients or subscribers who don't have an account on your site. For more ideas on this, our guide on how to https://divimode.com/enhance-website-security-and-protect-your-online-presence-by-fortifying-your-website/ offers some broader strategies.
Understanding what your site is up against is the first step. There are many common threats to WordPress websites, and the security landscape is always shifting. An eye-watering 81% of WordPress sites get hacked due to weak or stolen passwords. This statistic alone shows why selectively protecting your most valuable content is no longer just an option—it's essential.
Using WordPress's Built-In Visibility Control
Sometimes, the simplest solution is the best one. The most direct way to password protect a page in WordPress is by using the feature that's already baked right into the core software. No plugins, no code, no fuss.
This native tool is perfect for straightforward scenarios. Maybe you're sharing a draft design with a client, posting a private gallery for your family, or giving a team member exclusive access to a project brief. You just need a simple gatekeeper, not Fort Knox. This is exactly what the built-in visibility control provides, keeping your site lean and your workflow moving.
Finding the Visibility Setting
First things first, open up the page or post you want to lock down in the WordPress editor. Over in the right-hand sidebar, you'll see a panel labeled "Summary." In that box, look for a setting called Visibility—by default, it will say "Public."
Go ahead and click on "Public." This will open up a few other options for your content, and this is where the magic happens.
As you can see, once you select Password Protected, a new field pops up, ready for you to enter your secret password.
Setting Your Password
After clicking "Password Protected," just type your chosen password into the text box that appears. My advice? Pick a password that's strong but also something your intended audience can easily remember and type in without any trouble. A typo can be just as frustrating as a forgotten password.
Once you've set the password, just hit the blue "Update" or "Publish" button at the top of the screen. That's it—you're done. Your page is now protected.
Now, when anyone tries to visit that page's URL, they'll be met with a simple prompt asking for the password before they can see a thing.
A Quick Tip: The native WordPress password protection is stored as a browser cookie. This is great for user experience because once someone enters the correct password, they won't have to enter it again on that browser for 10 days. It makes return visits completely seamless.
Using a Plugin for More Powerful Content Protection
While WordPress's built-in password feature is a decent starting point, it's a bit like using a basic screwdriver—it works for a quick, simple job. But when you need real control, flexibility, and a much better experience for your users, it's time to break out the power tools. A dedicated plugin is that power tool for your content security.
Plugins go way beyond locking a single page with one password. They open up a whole world of possibilities that just aren't available with the default setup. Imagine protecting an entire category of blog posts with a single password or automatically giving access to anyone with an "Editor" or "Subscriber" role. That's where plugins really start to flex their muscles.
When to Choose a Plugin Over the Default Method
If you just need to hide a single draft page for a client to review, the native option is perfectly fine. It's simple and it works. But you'll definitely want to reach for a plugin when you need to do more, such as:
- Protect multiple pages at once: Applying one password across a whole batch of pages saves a ton of time. No more going page by page.
- Restrict content by user role: You can grant access automatically to logged-in users who have a specific role, which creates a seamless experience for your members or internal team.
- Set password expiration dates: This is perfect for limited-time offers or event-specific content that shouldn't be accessible forever.
- Customize the password entry form: Instead of the generic WordPress prompt, you can brand the login page to perfectly match your site's design.
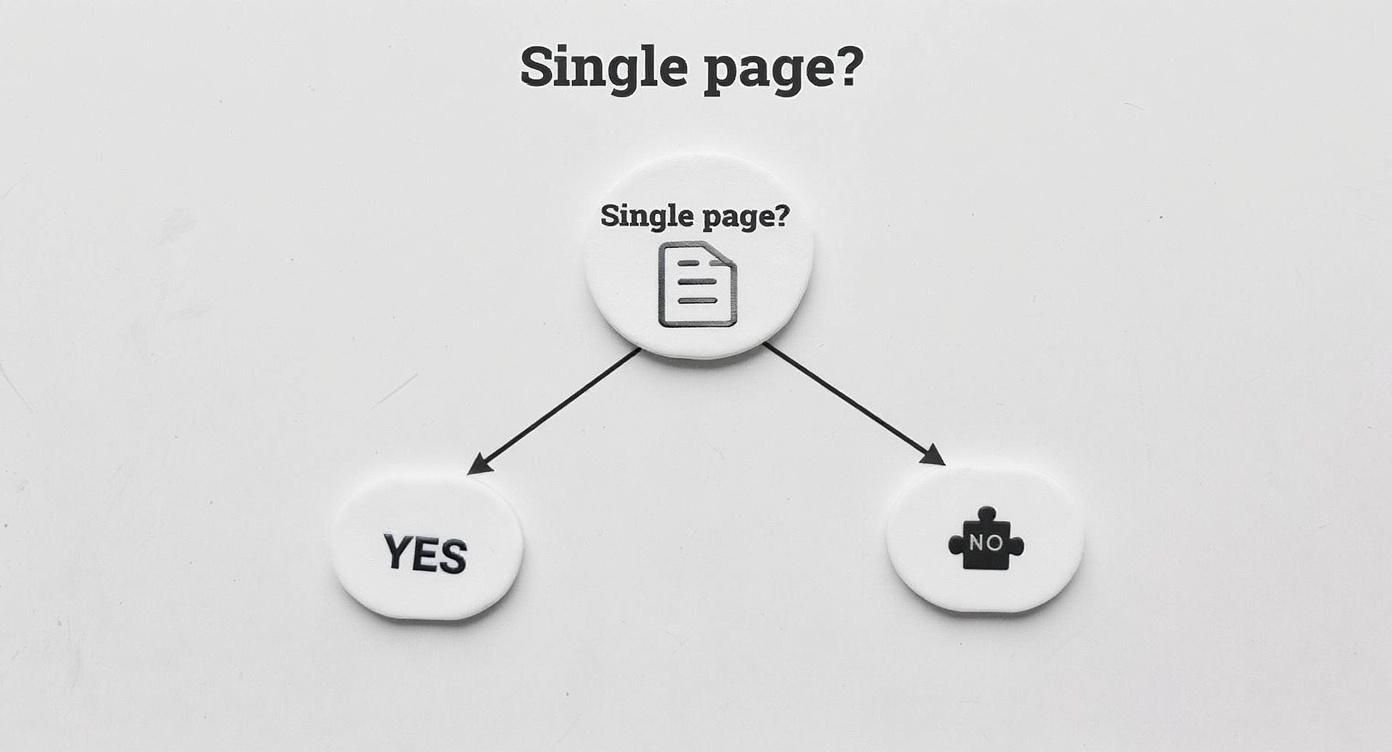
This quick decision tree can help you figure out which path to take.
The takeaway is pretty clear: for anything beyond locking down an individual page here and there, a plugin offers the kind of power and flexibility you'll eventually need.
Before we jump into specific plugins, it's a good idea to know how to add a plugin to your WordPress site if you haven't done it before. One of the most popular choices out there is a straightforward plugin called Password Protected. It's great for locking down your entire site with one password—ideal for a staging site or a private event portal.
And if you need a quick refresher on the basics, our own guide on how to install plugins on WordPress has you covered.
The biggest win with a plugin is creating a tiered access system. You can have public content, password-protected premium content, and role-based internal resources all living on the same site, managed without any headaches.
Comparing WordPress Content Protection Methods
To make it even clearer, let's put the two approaches side-by-side. This table breaks down what you get with WordPress's built-in tool versus what a dedicated plugin brings to the table.
| Feature | Built-in WordPress Feature | Dedicated Plugin Solution |
|---|---|---|
| Scope | Single page or post | Multiple pages, categories, entire site |
| Access Control | One password per page | Multiple passwords, user role access |
| Customization | Minimal; uses theme's styles | Fully customizable login forms |
| Automation | None | Password expiration, role-based rules |
Ultimately, choosing a plugin is an investment in a more scalable and professional way to password protect a page in WordPress. It gives you the fine-grained control you need to manage exactly who sees your content and when.
Protecting Content Within Page Builders Like Divi or Elementor
Page builders like Divi and Elementor are fantastic for design freedom, but sometimes their advanced features can butt heads with WordPress’s core settings. When you use the default method to password protect a page in WordPress, it locks down the entire page. Simple enough.
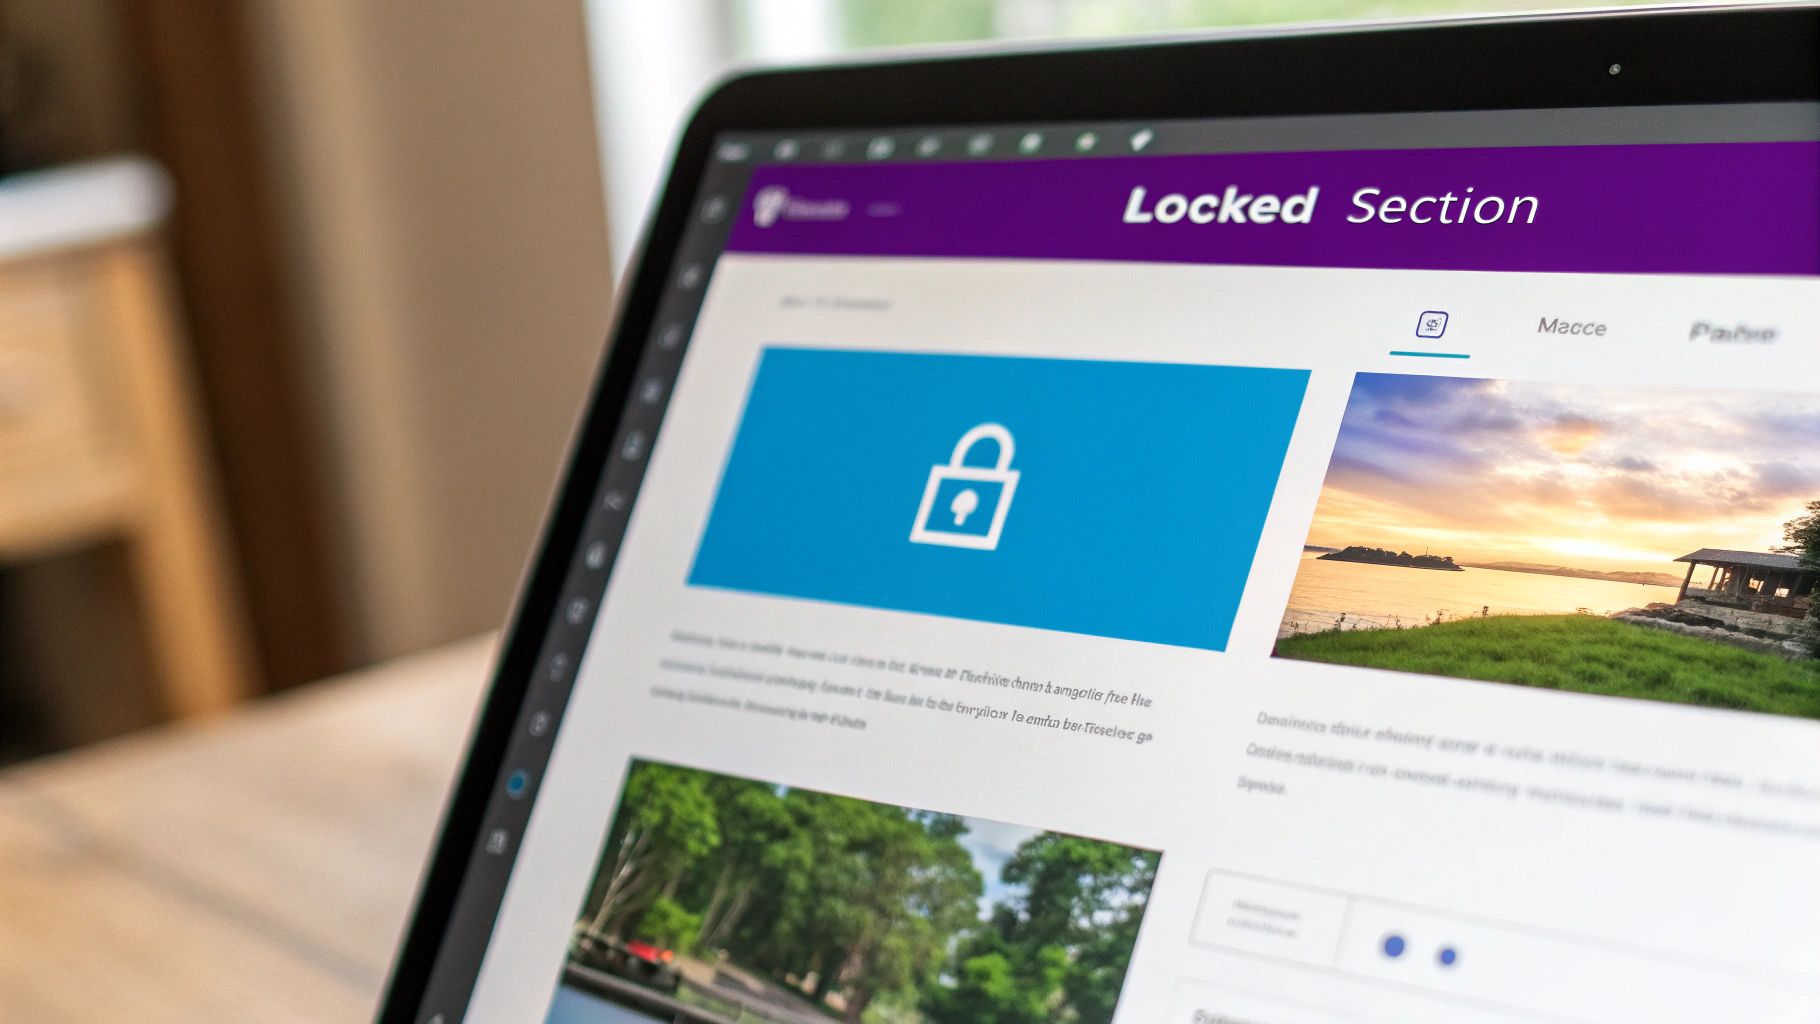
But what if you only want to hide a specific, high-value section? Maybe you want to leave the rest of the page visible as a teaser. This is where your page builder’s own visibility controls come into play.
Instead of locking the whole URL, you can apply restrictions directly to individual sections, rows, or even single modules. It’s a much more granular approach, perfect for creating a "freemium" content model on a single page.
For example, you could write a public introduction and then place a password-protected section right below it containing a premium video tutorial or a downloadable PDF. This strategy hooks the reader with genuinely valuable content before asking them for something in return to access the rest.
Leveraging Conditional Logic
Most modern page builders have some form of conditional logic or visibility settings baked right in, usually found in the "Advanced" tab of any section or module. While they don't typically offer a direct password field, they let you show or hide content based on things like a user's login status or their assigned user role.
By pairing your page builder's conditional logic with a simple role-management plugin, you can create a robust, member-only section without needing a full-blown membership system. For instance, you could set a section to only be visible to users with a "Client" or "Subscriber" role.
This method gives you way more design flexibility than the clunky, default WordPress password prompt. You can style the experience exactly how you want it.
Avoiding Common Conflicts
Here's a pro tip I've learned the hard way: avoid applying two layers of protection. Never use the native WordPress password feature on the same page where you’re also using page builder visibility rules. This almost always creates confusing conflicts and can lock users out entirely, even when they have the right credentials.
Pick one method for each page and stick with it.
Deciding between page builders is a big step, and understanding how they handle features like this is key. If you're weighing your options, you can check out our detailed comparison in the article on Divi vs Elementor to see which tool might fit your workflow better. Once you master these settings, a simple page can become a much more powerful and interactive content delivery tool.
Smart Practices for Managing Your Protected Content
Just setting a password on a page is the easy part. The real work comes in managing who has access and keeping that content secure over the long haul. This isn't just about picking a strong keyword; it's about building a simple but solid process for yourself and your users.
First things first: your content is only as secure as the password guarding it. Using something like "ClientProject2024" might feel convenient, but a password that's easy to guess completely defeats the purpose. I always recommend creating strong, unique passwords for different protected areas. That way, if one gets compromised, it doesn't give someone the keys to your entire kingdom.
Sharing Passwords and Locking Down Your Site
When you do need to share access, think twice before just dropping a password in an email or a direct message. Those channels are rarely secure. A much better approach is to use a secure, one-time link generator or a password management tool that lets you share credentials safely.
Key Takeaway: The strongest content password on earth won't matter if your own admin account is compromised. Your first line of defense is always, always securing your WordPress login.
This is where Two-Factor Authentication (2FA) is non-negotiable. Its adoption has been a massive win for WordPress security, with about 34% of admin accounts globally now using it. 2FA makes a stolen password practically useless because even with the right credentials, an attacker can't get past that second verification step. You can dig into more WordPress security trends on invedus.com if you're curious.
Finally, get into the habit of regularly reviewing who has access to what. If a client project wraps up or a team member moves on, change those passwords immediately. This kind of routine maintenance is what keeps your protected content truly private and ensures your strategy to password protect a page in WordPress actually works.
Common Questions About WordPress Page Protection
When you first start password-protecting pages in WordPress, a few questions almost always pop up. Let's get those sorted out right away, so you can keep your content private exactly the way you want without any second-guessing.
One of the biggest concerns I hear is about search engines. If you password-protect a page, can Google still see it? The short answer is no. While a search engine might find the page's URL and maybe its title, it can't get past that password prompt to crawl the content. Your private info stays off the search results pages, which is precisely the point.
User Access and Security
So, what happens if someone you've given the password to forgets it? With the built-in WordPress feature, there's no "Forgot Password?" link. You'll have to send it to them again yourself. This is a big reason why this simple method works best for smaller, trusted groups where you can just shoot them a quick message.
Another great question is whether you can use the same password for multiple pages.
Absolutely. You can reuse the same password across as many pages as you like. This is incredibly useful for creating a simple, unified resource hub for a specific client project or team without needing different credentials for every single page.
This approach makes life much easier for your users. They get one key to unlock a whole set of related content.
Finally, people often wonder how long that access lasts. Once a visitor enters the correct password, WordPress sets a browser cookie so they don't have to type it in again. By default, this cookie lasts for 10 days. This means they can come and go from the same browser for over a week without interruption, creating a much smoother experience. It’s a small detail that makes a big difference.
At Divimode, we specialize in tools that give you precise control over your website's content. If you need to create advanced, targeted content displays like popups, fly-ins, or conditional sections, check out our premium plugin at https://divimode.com.
More Articles You Will Like