Sometimes, you only need to lock down a single page on your WordPress site. The quickest way to do this is with the built-in Visibility setting right inside the page editor—it only takes a few clicks. But if you need more granular control, like setting up multiple passwords for one page or creating a custom login screen, a dedicated plugin is definitely the way to go.
When and Why to Password Protect WordPress Pages
Before we get into the "how," let's talk about the "why." Password protection isn't just a simple lock and key; it's a surprisingly versatile tool for controlling who sees what on your site. There are countless real-world scenarios where this comes in handy.
For instance, imagine you're a web designer sharing a draft of a new project with a client. Instead of sending static screenshots back and forth, you can give them a password to a live staging page. It’s a far more professional and interactive way to gather feedback.
Common Scenarios for Page Protection
Here are a few situations I've seen where password-protecting a page is the perfect solution:
- Exclusive Subscriber Content: You can offer premium articles, e-books, or video tutorials to paid members or newsletter subscribers without the overhead of a full-blown membership system.
- Internal Company Resources: It’s a simple way to securely share internal training materials, company-wide announcements, or financial reports with your team on a private page.
- Staging New Content: Need to build and review a new service page before the big launch? Lock it down and share the password only with key stakeholders for review.
Restricting content access on a case-by-case basis is a smart move that aligns with security principles like the Zero Trust security model, which is built on the idea of "never trust, always verify."
Protecting specific content is a foundational layer of any solid security strategy. It ensures sensitive information is only accessible to authorized individuals, which in turn reduces your website's overall attack surface.
This kind of controlled access is a key part of your site's defense. With WordPress powering around 43% of all websites, it’s a massive target for automated attacks. Something as simple as password-protecting a page adds a critical barrier against threats like brute-force attempts. Reinforcing your site is always a good idea; feel free to check out our guide on essential practices to keep your Divi website safe: https://divimode.com/divi-security-6-practices-to-keep-your-website-safe/
Using WordPress’s Native Password Protection
Sometimes, the simplest solution is the best one. Your first and easiest option for locking down a page is already built right into the WordPress core—no extra plugins needed. This is your go-to when you need quick, no-fuss content protection.
To get started, just open the page or post you want to secure in the WordPress editor. Over in the right-hand sidebar, you'll find the Summary panel. Look for the Visibility setting, which is almost always set to “Public” by default.
Give that a click.
You'll see a few choices pop up. Go ahead and select Password Protected. As soon as you do, a new field appears, ready for you to type in a password. It's clean, simple, and perfectly integrated into the publishing workflow.
Once you’ve entered your password and hit the “Update” or “Publish” button, that's it—the page is locked down instantly. Now, when someone tries to visit that URL, they won't see your content. Instead, they'll be met with a basic, unbranded form asking for the password.
A Quick Comparison of Your Options
Before we move on, it's helpful to understand exactly where this feature fits in. WordPress gives you three core visibility settings for any page or post. Here’s a quick breakdown of what they do and when to use them.
WordPress Visibility Options Compared
| Visibility Setting | Who Can See It | Best Use Case |
|---|---|---|
| Public | Everyone, including search engines. | Standard blog posts, public pages, and any content you want the whole world to see. |
| Private | Only logged-in Admins and Editors on your site. | Internal drafts, notes for your team, or content that's not ready for public eyes. |
| Password Protected | Anyone who has the password (they don't need to be a user on your site). | Sharing a design preview with a client or giving a small group access to a private resource. |
As you can see, each setting serves a distinct purpose. The built-in password protection is unique because it allows access for non-users, as long as they have the secret key.
When to Use This Method
This built-in tool is perfect for straightforward, low-stakes scenarios where convenience is the top priority. It's not built for running a full-blown membership site, but it really shines in a few key situations:
- Client Previews: Perfect for sharing a design draft or a work-in-progress page with a client without making it public.
- Internal Memos: Need to post a quick update for your team that shouldn't be on the public blog? This is a great way to do it.
- Personal Content: Ideal for sharing things like family photos or a private event page with a select group of friends.
The native password feature is a one-to-many solution. You set one password, and anyone who has it can get in. This simplicity is both its greatest strength and its biggest limitation.
While this method is wonderfully direct, it doesn't offer much in the way of customization. You can’t easily change the look of the password form without digging into theme files, and you're stuck with that single password for everyone. If you need more control—like different passwords for different people or role-based restrictions—you’ll have to look at a plugin. But for a quick and effective lock, this default option is often all you need.
Advanced Protection with WordPress Plugins
When the built-in WordPress feature just doesn't cut it, plugins are where the real power is. Think of the default option as a simple padlock on a door; a plugin is more like a full-blown security system, complete with customizable access codes, timers, and partial restrictions. This is how you truly tailor the experience for your users.
Plugins unlock capabilities you simply can't get otherwise. For instance, you can generate multiple, unique passwords for a single page—perfect for giving different clients or team members their own credentials. You can even set passwords to expire after a certain date or a specific number of uses, which adds a fantastic layer of time-sensitive security.
Not sure which path is right for you? This should clear things up.
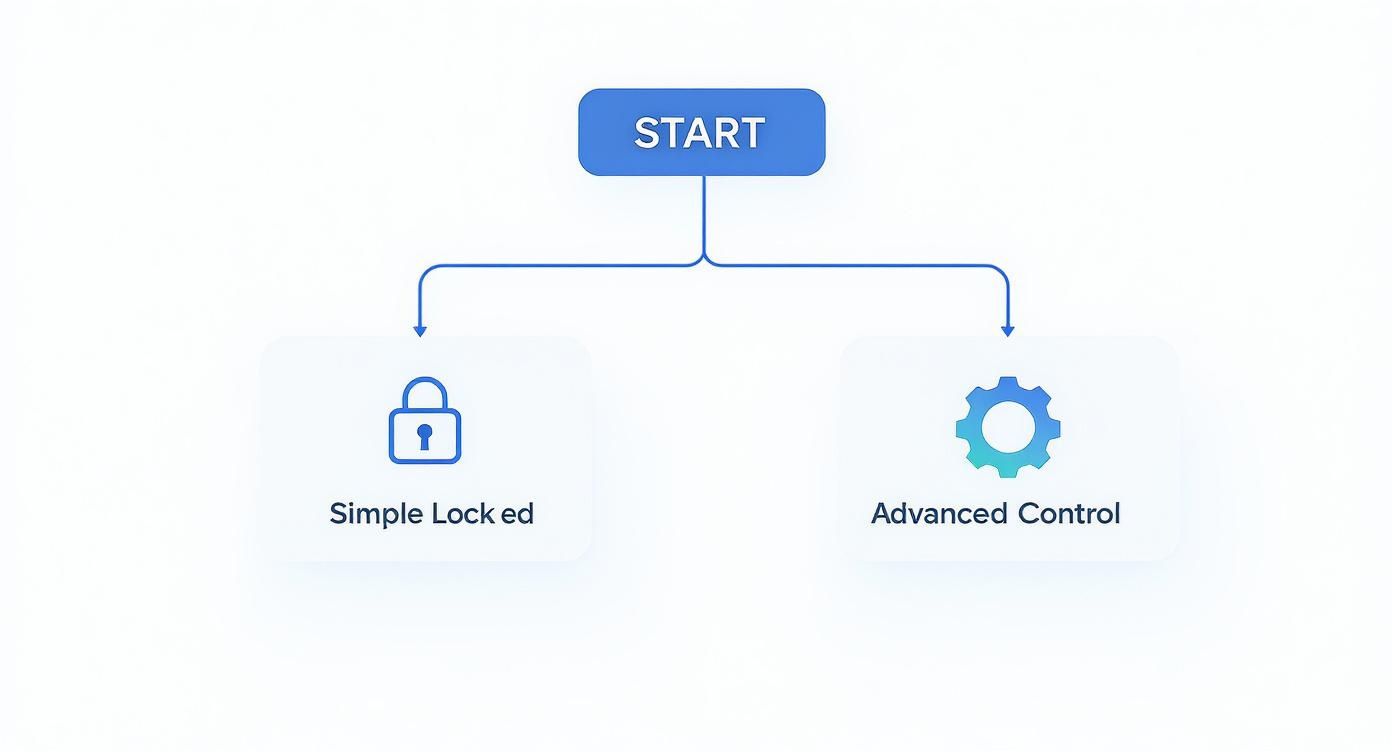
The takeaway here is pretty straightforward: your specific goal—whether it's a quick lock or a sophisticated protection system—directly points to the right tool for the job.
Choosing the Right Protection Plugin
While there are plenty of options out there, a couple of plugins consistently stand out for their reliability and deep feature sets. If you're new to this world, you might want to check out our general guide on how to use plugins in WordPress to get your bearings.
Let's look at two of my go-to choices:
- Password Protected: This is a straightforward, powerful tool that does one thing and does it exceptionally well. It lets you lock down your entire site with a single password, which is perfect for staging environments or creating a private, sitewide event.
- PPWP (Password Protect WordPress Pro): For more fine-grained control, PPWP is a fantastic option. It lets you protect parts of a post or page, create unlimited passwords, and even restrict content based on user roles.
The real magic of plugins is their ability to protect content partially. You could, for instance, show a public teaser of an article and then require a password to see the rest of the good stuff.
This partial protection strategy is a brilliant way to entice new subscribers or members.
Why Plugins Are a Smart Security Move
Using a dedicated plugin for this is also just sound security practice. Consider this: almost 99% of new security flaws in the WordPress ecosystem come from third-party plugins and themes. By password-protecting your most sensitive pages, you're adding an effective defensive layer that helps contain the fallout if another vulnerability on your site gets exploited.
Think about a client portal, for example. You can assign each client a unique password for their project page. If one client's password gets compromised, you just have to revoke their access. Everyone else is completely unaffected. That level of granular management is just not possible with the default WordPress feature, making plugins an essential tool for anyone serious about managing protected content.
Using Page Builders to Restrict Content
If you're already building with a powerhouse like Divi or Elementor, you might not need another plugin for content restriction. These builders come packed with sophisticated tools that let you dynamically show or hide specific sections, rows, or modules based on a user's status. It’s a far more elegant way to control access than the clunky, site-wide password prompt.
Think about it. With Divi, you could have a section full of premium video tutorials that only appears for logged-in users with a "Subscriber" role. Anyone else who lands on the page? They won't see a thing. No ugly password form, no broken page design—just a clean, seamless experience tailored to the visitor.
This approach gives you incredible, fine-grained control over who sees what.
The real power of page builder visibility isn't just about locking content—it's about creating dynamic experiences. You can build a single page that intelligently serves different content to different people, like logged-in members versus first-time visitors.
A Practical Example with Divi
Let's walk through a common scenario. Say you want to add a special download area for registered members, but you want it on an otherwise public page. Easy enough.
In Divi, you’d just build your download section as you normally would. Then, pop open that section's settings and head over to the Advanced tab. This is where the magic happens. Look for the Conditions panel.
Here, you can add a new rule with just a couple of clicks:
- Condition: User Login Status
- Rule: Display only if user is logged in
And you're done. You can even stack conditions for more complex logic, like showing a section only to logged-in users and only on a specific day of the week. This feature, often called conditional logic, unlocks a ton of possibilities. To really get a handle on it, check out our full guide on using Divi conditional logic to create these kinds of smart, user-aware layouts.
Best Practices for Managing Protected Content
Slapping a password on a page is a great start, but it's not a "set it and forget it" solution. Actively managing your protected content is what keeps it secure in the long run. The first rule of thumb? Insist on strong, unique passwords. This might sound like old news, but it’s still the most common weak link in the chain.
Weak or reused passwords are a massive vulnerability for any WordPress site. It's a shocking number, but roughly 49% of all data breaches can be traced back to weak or stolen credentials. That risk gets a lot bigger when you're trying to lock down sensitive pages. You can dive deeper into this with research on WordPress password strength security. Honestly, this simple step is your most important line of defense.
Secure Distribution and Auditing
How you share the password is just as critical as its strength. Never, ever send passwords in plaintext emails or messages where they can be easily picked off. A better approach is to use a secure method, like a password manager's sharing feature, or even just deliver it in person or over a secure call.
From there, get into a routine of auditing your protected content. A simple quarterly check-in can make a world of difference.
- Review Access: Take a look at who has the password. Do they all still need access?
- Update Passwords: Change the password from time to time, especially after a project wraps up or a team member moves on.
- Check for Obsolete Pages: If a protected page is no longer needed, your best bet is to unpublish it or remove the password protection. This reduces your site's potential attack surface.
Think of your protected content like a locked room. You wouldn't hand out keys indefinitely without ever changing the locks or checking who still has a copy. Regular management is key to keeping your content truly secure.
Finally, you need a clear plan for what to do if a password ever gets compromised. This means knowing to immediately change the password and let everyone who had access know what happened. Taking a proactive approach to how you password protect a page in WordPress is what ensures your private content actually stays private.
Got a few lingering questions about password-protecting pages in WordPress? You're not the only one. Let's tackle some of the most common ones we hear from Divi users.
Can I Use Multiple Passwords for One Page?
Straight out of the box, WordPress only lets you set one password per page. It’s a simple, effective feature, but that’s one of its biggest limitations.
If you need to give different people unique passwords for the same content, you'll have to grab a dedicated plugin. Tools like Password Protect WordPress (PPWP) are built for this, letting you generate multiple passwords, set usage limits, or even add expiration dates. It’s the only way to get that kind of granular control.
Does Password Protecting a Page Affect SEO?
Yes, it absolutely does, and that's usually the point. When you lock a page, search engine crawlers from Google and Bing can't get past the password prompt to see what's on the other side.
This means your protected content will not be indexed or ranked in search results. The page's URL might still get picked up, but the content itself stays private and invisible to the public.
Protecting a page is like putting up a "Members Only" sign for search engines. You're intentionally trading public visibility for privacy on that specific URL.
How Can I Customize the Password Entry Page?
The default WordPress password form is… well, it’s functional. But it’s also pretty bland and doesn't do much for your site's branding.
The "expert" way to customize it involves digging into your theme's code and editing the passwordform.php file. This is a powerful route, but it's also a risky one if you're not comfortable with code. One wrong move and you could cause issues across your site.
A much simpler—and safer—approach is to use a plugin that handles the styling for you. Many security or membership plugins come with options to customize the password form, letting you create a professional, on-brand prompt without touching a single line of code.
Ready to build more advanced popups, fly-ins, and other dynamic content on your Divi site? Divimode gives you the professional tools and tutorials you need to create a truly engaging user experience. Check out our premium plugins, like Divi Areas Pro, at https://divimode.com.
More Articles You Will Like