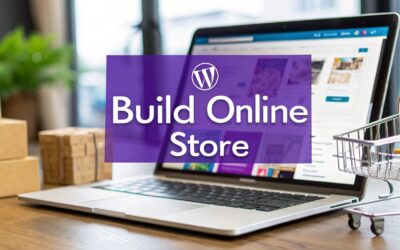
So, you're ready to build an e-commerce store. That first step—choosing your platform—is easily the most critical decision you'll make. Many new entrepreneurs drift towards all-in-one solutions, but they often end up trading long-term control for a little short-term convenience.
Choosing to build your e-commerce site with WordPress and WooCommerce is a strategic move that puts you, not a third-party platform, in complete control.
Why WordPress and WooCommerce Is a Smart Choice
This combination is the rock-solid foundation for millions of online stores, and for good reason. It offers a level of freedom and ownership that closed platforms like Shopify or Wix just can't touch. When you build with WordPress, you’re not just renting space; you’re building a genuine business asset.
Unmatched Flexibility and Ownership
Unlike template-based systems that lock you into their ecosystem, WordPress gives you 100% ownership of your data and design. You have the power to create a truly unique brand experience without being boxed in by creative constraints. This means your store can look and function exactly as you envision it, not just a slight variation of a premade template.
The real advantage here is control. With WordPress, you control your hosting, your data, your design, and your destiny. This prevents vendor lock-in and ensures your business asset—your website—is truly yours.
This control goes beyond just looks. You aren't limited to a curated app store with approved (and often expensive) add-ons. Instead, you have a massive library of plugins for practically any feature you can imagine.
The WordPress dashboard becomes your central hub for managing your entire online presence.
This screenshot shows the clean, intuitive interface of the WordPress dashboard—the command center for your entire website. From here, you can manage everything from blog posts and pages to your WooCommerce products and settings, all in one place.
A Scalable and Supported Ecosystem
The power of this open-source platform is obvious when you look at the numbers. As of 2025, WordPress powers an incredible 43.4% of all websites globally. Its share of the content management system (CMS) market is a staggering 60.8%, completely dwarfing competitors. You can dig into the full report on WordPress's role in e-commerce for more details.
This widespread use means you're never going it alone. A huge global community of developers, designers, and agencies is constantly building new tools and offering support. When you pair this robust system with a visual builder like Divi, the possibilities become endless.
For a deeper dive into this specific combination, check out our guide on how to get the most from WooCommerce with Divi. It’s a framework that can truly grow with your business, from your very first sale to your millionth.
Platform Comparison WordPress vs Shopify vs Wix
Before you fully commit, it's helpful to see how the big players stack up. Here's a quick breakdown of the core differences between the most popular ecommerce platforms.
| Feature | WordPress + WooCommerce | Shopify | Wix Commerce |
|---|---|---|---|
| Flexibility & Design | Virtually limitless customization and design freedom. | High-quality templates, but design is restricted. | Drag-and-drop editor, but less advanced customization. |
| Ownership | You own your site, data, and hosting completely. | You're renting a store on their platform. | Your site exists only within the Wix ecosystem. |
| Cost Structure | Flexible; pay for hosting, domain, and premium plugins. | Monthly subscription + transaction fees on some plans. | Monthly subscription, with tiered features. |
| Scalability | Highly scalable for any size business. | Excellent for small to large businesses. | Best for small to medium-sized stores. |
| Ease of Use | Steeper learning curve, but offers more control. | Very user-friendly and quick to set up. | Extremely easy for beginners to get started. |
While all-in-one platforms offer simplicity, they do so by limiting what you can build. WordPress gives you the keys to the kingdom, allowing you to create a store that's not just functional, but uniquely yours.
Laying the Groundwork for Your Online Store
Alright, this is where your vision starts to become a reality. We're moving past the ideas and getting into the foundational work of building your WordPress e-commerce site. Forget the technical jargon for a minute; we're focusing on the essentials: a solid web host and a great domain name.
Think of your web host as the piece of land you're building on and your domain as the street address. Skimping on hosting is a mistake I see all the time. For e-commerce, you need speed, security, and support—period. Hosts like SiteGround or WP Engine offer managed WordPress plans that handle all the tricky stuff for you, which is a huge time-saver.
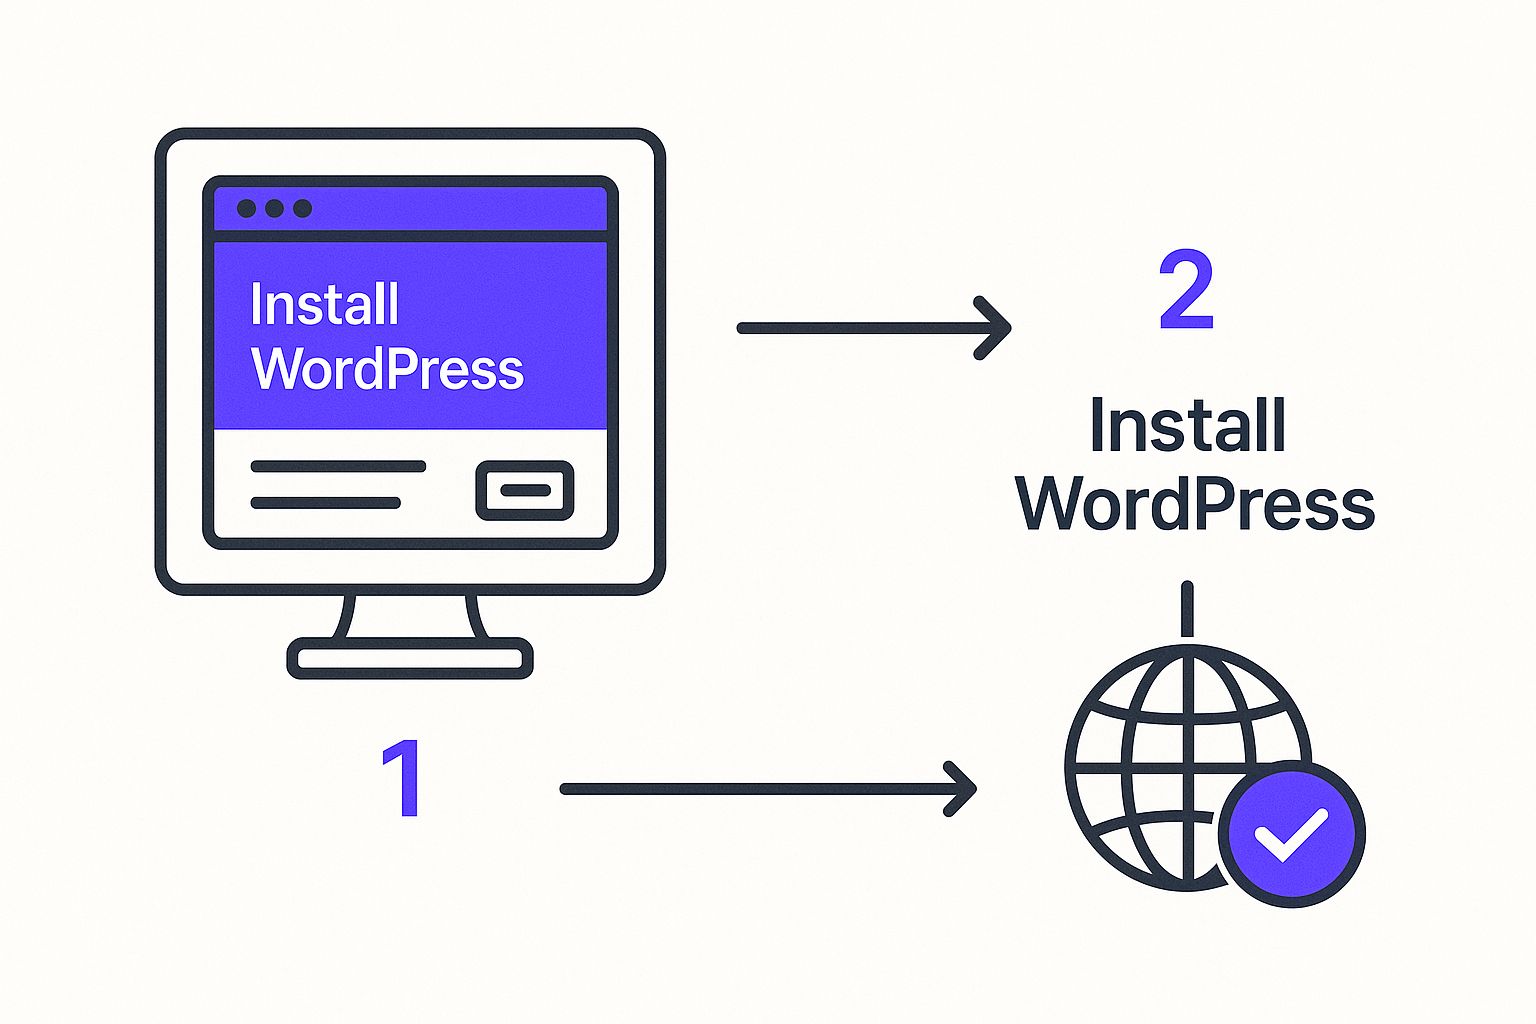
Once your hosting and domain are sorted, it's time to install WordPress. Thankfully, the days of manual uploads and database tinkering are long gone. Most modern hosts have a simple one-click install that gets WordPress up and running in minutes.
Installing and Configuring WooCommerce
With WordPress installed, your site is a blank canvas. To turn it into a selling machine, you'll need WooCommerce. It's a free plugin that absolutely dominates the WordPress e-commerce space for good reason.
It powers around 28% of all online stores in the world and holds an incredible 93.7% market share among WordPress e-commerce sites. Its power comes from its flexibility and the massive ecosystem of extensions available. You can find more details on WooCommerce's impressive market share on DiviFlash.
To get it, just head to Plugins > Add New in your WordPress dashboard. Search for "WooCommerce," click "Install Now," and then "Activate." This kicks off a fantastic setup wizard that walks you through the entire configuration.
The wizard is your best friend here. It's going to ask for some basic information:
- Store Address: This is crucial for calculating taxes and shipping rates correctly.
- Currency: Set your primary currency (like USD, EUR, etc.).
- Payment Gateways: You can connect to major players like Stripe and PayPal right away. This is how you'll securely accept credit card and PayPal payments from customers.
Pro Tip: I always recommend activating both Stripe and PayPal from the get-go. Some shoppers have a strong preference, and offering both options can genuinely reduce cart abandonment. Don't give a customer a reason to leave at the last second.
The final part of the wizard deals with shipping. You can create shipping zones—the geographic areas you'll ship to—and set up rules like flat rates or free shipping. For example, you could create a "Domestic" zone with a $5 flat rate and an "International" zone with a $20 rate. It's incredibly straightforward.
Once you’ve finished the wizard, you officially have a working online store. The foundation is set, and your site is technically capable of taking orders. Now for the fun part: designing a storefront that actually converts visitors into customers.
Alright, with the technical bits and bobs sorted, it's time for the fun part: designing what your customers will actually see. This is where we take a functional but plain WordPress site and turn it into a brand experience—a place that not only looks incredible but also guides visitors from "just browsing" to "just bought."
For this, we're bringing in the big guns: the Divi theme from Elegant Themes. If you're not familiar, Divi is a visual, drag-and-drop website builder that gives you total design control without touching a line of code. It effectively replaces the standard WordPress editor with a live, front-end interface, so you see your changes exactly as they happen.
Mastering Divi’s Theme Builder for Global Control
Before you even think about designing your homepage, you need to get friendly with the Divi Theme Builder. Think of this as the command center for your entire site's structure. Instead of being stuck with a theme's default header and footer, the Theme Builder lets you build your own from the ground up.
These are what we call global elements—templates that apply across your entire site or just to specific areas you choose. For instance, you can build:
- A Global Header: This is the template that will sit at the top of every single page. It's where your logo, navigation menu, shopping cart link, and maybe a search bar will live.
- A Global Footer: This appears at the bottom of every page. It's the perfect spot for links to your About page, contact info, social media profiles, and return policy.
- Custom Body Layouts: This is where it gets really powerful. You can design unique layouts for your blog posts, product pages, or even your 404 error page.
Nailing these templates first creates a consistent, professional feel across your entire store. Better yet, if you need to change something in your header later, you just edit the global template once, and it updates everywhere instantly.
This approach is an absolute game-changer for building an e-commerce site on WordPress. You're not just customizing a theme; you're truly architecting a unique user experience. You're building a design system, not just a one-off page.
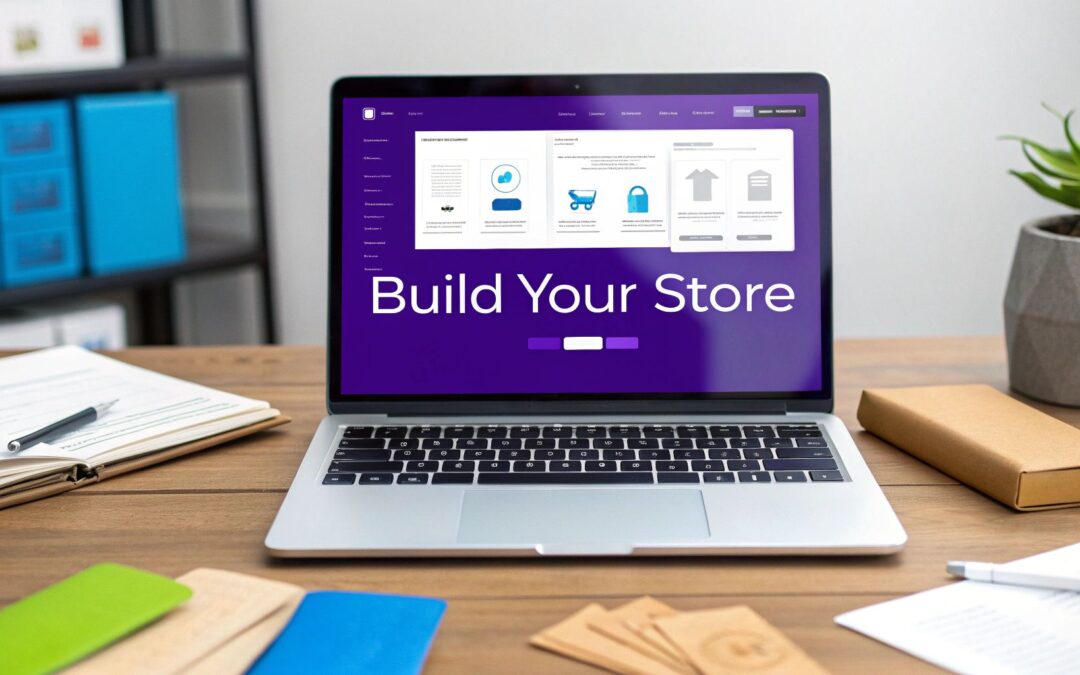
Crafting a Compelling Homepage
Your homepage is your digital welcome mat. It has about three seconds to tell visitors what you sell and why they should stick around. With Divi, you can either jumpstart the process with one of its pre-made layouts or start with a completely blank canvas.
Here’s a quick look at the Divi Builder interface. It’s all about a visual, block-based approach to page building.
This visual editor lets you add, arrange, and style different content "modules"—like text, images, and buttons—in real-time. What you see is exactly what you get.
A homepage that actually converts needs a few key things:
- A Clear Value Proposition: A big, bold headline right at the top that screams what you're all about.
- High-Quality Visuals: Professional product photos or lifestyle shots that show your products in their best light.
- Featured Products or Categories: Don't make people hunt. Guide them straight to your bestsellers or most important product lines.
- Social Proof: Nothing sells like trust. Weave in customer testimonials, reviews, or logos of places you've been featured.
- A Strong Call to Action (CTA): A big, obvious button that tells visitors exactly what to do next, like "Shop The Collection" or "Explore New Arrivals."
And one last tip: balance beauty with speed. Stunning images are great, but make sure they're optimized for the web. A slow-loading site is a conversion killer.
Designing the Shop and Product Pages
The shop page is your main product catalog. Using the Divi Theme Builder, you can create a custom template specifically for your WooCommerce shop archive. This means you get to decide the layout, like how many columns of products to show, and add useful features like a custom sidebar for filtering by category, price, or size.
But the single product page? That's where the sale is really made or lost. A standard WooCommerce product page gets the job done, but a custom-designed one can seriously boost your sales.
With Divi, you can build a template that pulls in dynamic WooCommerce content, including:
- Product Title
- Product Image Gallery
- Price
- Short Description
- "Add to Cart" Button
- Long Description
- Customer Reviews
The magic is that you're not stuck with a rigid layout. You can arrange these elements to tell the best possible story for your product. Maybe you want a punchy short description and key benefits right next to the "Add to Cart" button, with the detailed gallery and reviews further down. This kind of targeted layout is infinitely more effective than a generic, one-size-fits-all template.
Finally, pull it all together with your brand's visual identity. Choose a consistent color palette and set of fonts that reflect your brand’s personality. When you apply these globally through the Theme Builder, you tie your entire store together, creating a cohesive and trustworthy experience that turns casual visitors into loyal customers.
Okay, your store is looking great, but right now, it’s just a beautifully designed digital shelf. Let’s get it stocked with products and organize everything so your customers can find exactly what they’re looking for. This is where WooCommerce really starts to flex its muscles.

First up, we'll add your very first product. Head over to your WordPress dashboard and navigate to Products > Add New. You'll see an editor that looks a lot like a classic WordPress post, but with some crucial extra fields built specifically for e-commerce.
Your First Product: Simple and Effective
The most common item you'll likely sell is a Simple Product. This is just a standard, physical item that you ship out and that doesn't have any variations. Think of a specific book, a branded coffee mug, or a single art print—it's one item, as is.
When you're creating this product, nail these core elements:
- Product Title: Be clear and compelling. Don't just say "T-Shirt," go for something like "Vintage-Wash Cotton Crewneck T-Shirt."
- Product Description: This is where you sell it. The main description box is for all the details, the story behind the product, and the specs. Use the "Short Description" field (you'll usually find it below the price) for a quick, punchy sentence or two that shows up right next to the "Add to Cart" button.
- Product Image: High-quality photos are non-negotiable. Seriously. Add your main "Product image" and then fill out the "Product gallery" with extra shots showing different angles, details, or the product in use.
Once you’ve got those basics down, scroll to the "Product data" panel. This is the engine room. You'll set the Regular price here. If you plan on running a promotion, you can also pop in a Sale price and even schedule it to kick in and expire on specific dates.
Managing Inventory and Product Types
Good inventory management is what stops you from accidentally selling something you don't have. Inside the "Inventory" tab of the Product data panel, give your product a unique SKU (Stock Keeping Unit). This is just an internal code that makes tracking items so much easier.
You can also enable stock management and enter the exact quantity you have on hand. WooCommerce will then automatically track sales and mark the product as "out of stock" when it hits zero. You can even decide whether or not to allow backorders.
A key decision here is understanding different product types. While Simple products are common, WooCommerce offers much more flexibility to suit your specific business needs.
This is especially true for items with options. A Variable Product is your go-to for anything that comes in different sizes, colors, or materials. For example, if you sell that cotton t-shirt in Small, Medium, and Large, and in Red, Blue, and Green, you'd set it up as a variable product.
You'll first create attributes (like "Size" and "Color") and then generate all the possible variations from them. This is cool because it lets you set a different price, SKU, or even stock level for each specific combination (like a Large Red shirt).
WooCommerce also has built-in support for Downloadable Products (think e-books or software) and Virtual Products for services that don't need shipping.
Creating an Organized and Shoppable Catalog
Just dumping products onto your site isn't going to cut it. You need to organize them. This is where two key tools come into play: Categories and Tags.
- Categories: Think of these as the main aisles in a supermarket. They're for broad groupings of your products. If you run a clothing store, your categories might be "T-Shirts," "Hoodies," and "Accessories." You can even create subcategories, like nesting "Men's T-Shirts" under the main "T-Shirts" category.
- Tags: These are more specific, like keywords that help with filtering and can apply across different categories. You might tag products with "cotton," "summer collection," or "graphic print." A single t-shirt could live in the "T-Shirts" category but have multiple tags attached to it.
Using categories and tags the right way is what builds a genuinely user-friendly shopping experience. Once you combine this with Divi's Theme Builder, you can create custom shop pages with powerful filtering widgets. This lets your customers drill down and find the exact product they want in just a few clicks, turning a simple product list into a sophisticated, easy-to-browse online catalog.
Boosting Conversions with Dynamic User Experiences
https://www.youtube.com/embed/DYaQUdSC3Xw
A beautiful store with perfectly arranged products is a huge win, but honestly, it's only half the battle. The real magic happens when you stop thinking of your site as a static catalog and start turning it into an interactive environment that actively engages visitors and nudges them toward a purchase.
This is where we move beyond just design and into the world of dynamic user experience. Instead of a passive website that just sits there waiting, you can build a store that responds to what your customers are doing.
Imagine catching a visitor right as they're about to leave with a special offer. Or what about plastering a promotional banner across your entire site with a single click during a flash sale? This is the kind of interaction that can seriously lift your conversion rates.
To get this done, we're going to use a fantastic (and free) tool from the Divimode suite: Popups for Divi. It plugs right into the Divi Builder you already know, so you can design and trigger popups, banners, and fly-ins without learning a whole new system.
Winning Back Abandoning Visitors with Exit-Intent Popups
Cart abandonment is the silent killer of online sales. The latest studies show the average abandonment rate is hovering around a painful 70%. That's a massive amount of potential revenue just walking out the virtual door.
One of the best ways to fight this is with an exit-intent popup. The tech is pretty cool—it detects when a user’s mouse moves up towards the browser bar, signaling they’re about to leave your site.
Using Popups for Divi, you can set a trigger at that exact moment to present a last-ditch offer, giving them a compelling reason to stick around and finish their purchase.
Let's walk through a real-world example:
- Create a new popup. From your WordPress dashboard, head over to Divi Areas Pro > Add New. Give it a clear name you'll remember, like "Exit-Intent Discount."
- Design it with Divi. Jump into the Divi Builder. Keep the design simple and punchy. You need a strong headline like "Wait! Don't Go!", a quick message with the offer (e.g., "Get 15% off your order right now"), and a can't-miss call-to-action button like "Apply Discount."
- Set the trigger. In the popup settings, look for the "Triggers" section. This is the important part: select "On Exit Intent." This tells the plugin to only fire when someone is about to bail.
- Target the right pages. You don't want this popping up on your blog. Use the display conditions to make it appear only on the cart and checkout pages, where it matters most.
This single, automated interaction can claw back a surprising percentage of sales you would have otherwise lost. It’s a proactive strategy that keeps you in the conversation at the most critical moment.
An exit-intent popup isn't about being annoying. It's about delivering value at the precise moment a customer is hesitating. A small discount or a free shipping offer can be the final nudge they need to convert.
Driving Sales with Site-Wide Promotional Banners
When you’re running a sale, you need to shout it from the rooftops. A site-wide banner, sometimes called a "fly-in" or "hello bar," is perfect for this. It's a non-intrusive notification that sticks to the top or bottom of the screen, keeping your promotion front and center no matter where a visitor navigates.
With the same plugin, you can build one of these in minutes and switch it on across your entire store with one click.
Let's say you're launching a weekend flash sale. You’d create a new Divi Area, design a simple banner with text like "Weekend Flash Sale: 20% Off Everything!", and maybe toss in a countdown timer to create a little urgency. In the settings, you'd set the position to "Top Bar" and configure it to display on all pages.
When the sale is over, you just deactivate the Divi Area, and poof—the banner is gone. This gives you an incredible amount of control over your marketing messages on the fly.
Popups aren't just for damage control; they are a powerful tool for driving sales from the get-go. You can dive deeper into these tactics in our comprehensive guide on how to increase ecommerce sales with popups.
Beyond these examples, there are tons of creative ways to use popups to boost engagement. Here are a few ideas to get you started:
Conversion-Boosting Popup Ideas
The 'Popups for Divi' plugin opens up a world of possibilities for interacting with your visitors. The key is to match the right trigger with the right message to achieve a specific goal. Here are some effective strategies you can implement right away.
| Popup Trigger | Content Idea | Conversion Goal |
|---|---|---|
| On Exit Intent | A last-minute discount code ("10% off to complete your order!") | Recover Abandoned Carts |
| On Page Load | A site-wide banner announcing a flash sale or free shipping | Increase Average Order Value |
| After Time Delay | A newsletter signup form offering a "welcome" discount | Build Your Email List |
| On Scroll Depth | A related products showcase after scrolling 75% down a page | Cross-Sell & Up-Sell |
| On Click | A quick video tutorial when a user clicks an "info" icon | Educate Customers |
Think of these as conversation starters. By strategically placing these messages, you're not interrupting the user experience—you're enhancing it by providing timely, relevant information that helps them make a decision.
Building Your Email List with Smart Signup Forms
Finally, let's touch on growing your most valuable marketing asset: your email list. A static signup form buried in your footer is okay, but it's not going to set the world on fire.
A much better approach is to use a triggered popup to ask for an email at the perfect time—right after a visitor has shown they're genuinely interested in what you have to offer.
For example, you could set up a newsletter signup form to appear only after a visitor has scrolled 50% of the way down a blog post. Or maybe trigger it after they've spent at least 60 seconds on a specific product page.
This kind of targeting ensures you’re asking users who are already engaged. This leads to a much higher subscription rate and, more importantly, a more valuable email list in the long run.
Common Questions About Building a WordPress Store
Even with a detailed guide in hand, it's totally normal for questions to pop up when you're building an ecommerce site with WordPress. Let's tackle some of the most common ones we hear from folks who are just getting started.

How Much Does a WordPress Ecommerce Site Cost?
This is the big one, and the cost can definitely vary. But it’s almost always more affordable than you'd expect.
Your main recurring costs are straightforward: a domain name, which is usually around $10-20 per year, and good web hosting. For a solid, managed hosting plan, you can expect to pay anywhere from $10-30 per month.
While WordPress and WooCommerce are both free (which is a huge plus), your real investment comes from premium tools that give you an edge. A powerful theme like Divi and specialized plugins are typically one-time or annual fees. You can get a professional-grade setup off the ground with a starting budget between $200 and $500. When you compare that to platforms with ever-increasing monthly fees, it's a very smart long-term investment.
Is WordPress Secure Enough for an Online Store?
Absolutely, as long as you stick to well-known security practices. When it's managed the right way, a WordPress site is incredibly secure. The beauty of open-source software like WordPress is that you are in the driver's seat when it comes to security, and that’s a powerful place to be.
It really boils down to a few key habits:
- Pick a reputable host that takes security seriously and offers built-in protections.
- Keep everything updated. This is non-negotiable. It means your WordPress core, your theme, and all of your plugins.
- Use strong, unique passwords for every single user account.
- Install a trusted security plugin like Wordfence or Sucuri.
These simple actions create a hardened environment that is more than ready to handle secure online transactions.
Can I Move My Store From Another Platform?
Yes! Making the jump from a platform like Shopify to WooCommerce is a path many store owners take when they want more control and want to ditch high transaction fees. You're never locked into one ecosystem.
There are some fantastic plugins and services out there designed specifically to help you move your products, customer information, and order history. The key is careful planning to make sure no data gets left behind, but it’s a very achievable process. Once you make the switch, you gain the complete freedom that only comes with truly owning your digital storefront. To stay ahead of the game after you've settled in, it’s always a good idea to keep an eye on the top ecommerce trends that are shaping what customers want.
The primary benefit of using a visual builder like Divi is that it democratizes web design. You don’t need to be a developer to create a professional, unique, and high-converting online store.
Do I Need Coding Skills to Use Divi?
Not even a little bit. In fact, this is one of Divi's biggest selling points. It was built from the ground up to remove the need for coding.
Divi gives you a complete drag-and-drop interface, letting you design every pixel of your site visually. You can build completely custom headers, dream up unique product page layouts, and even style your checkout flow without ever touching a line of code. It truly empowers you to bring your creative vision to life yourself.
At Divimode, we build the tools that help you create more dynamic, interactive, and successful Divi websites. Elevate your store with advanced popups, fly-ins, and more by visiting https://divimode.com.
More Articles You Will Like