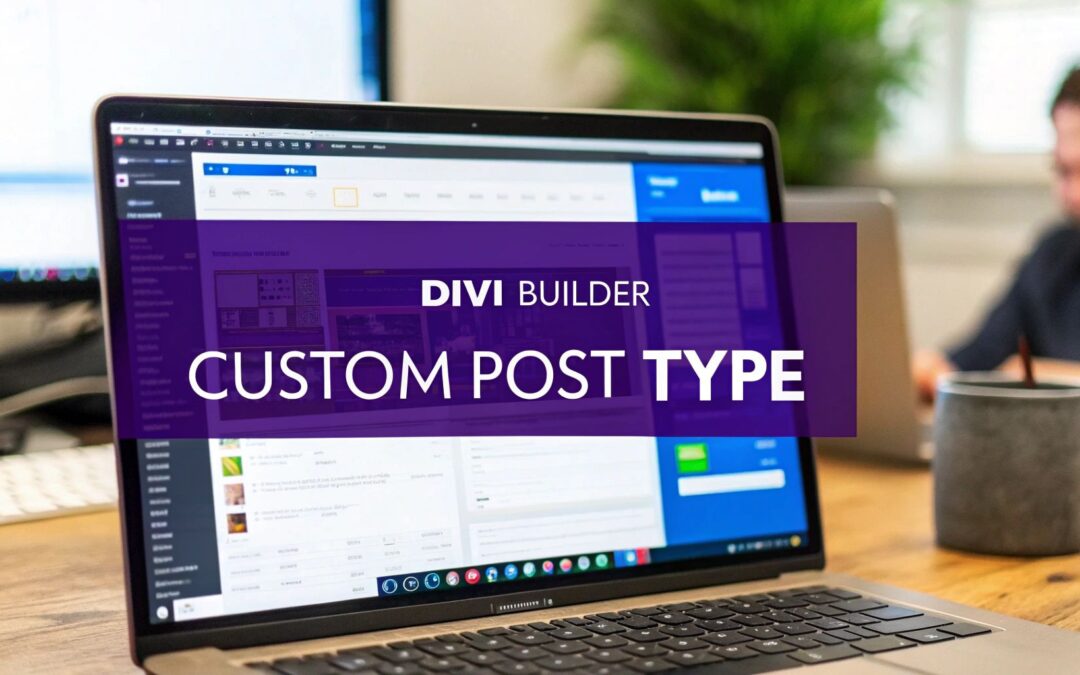
A custom post type in WordPress is your ticket to creating and managing unique kinds of content that go way beyond the standard Posts and Pages. Think of them as dedicated containers for specific information, like team members, portfolio projects, or client testimonials. This organizational power is the key to building a structured, scalable, and genuinely easy-to-manage website.
Why Custom Post Types Are a Game Changer
Let's cut through the technical jargon and get straight to why custom post types (or CPTs) are so essential for any serious Divi website. Out of the box, WordPress gives you two main content buckets: Posts and Pages. This is perfectly fine for a simple blog or a basic brochure site, but what happens when your content needs to get more complex?
Imagine trying to manage a growing list of real estate properties, client case studies, or company services using only standard blog posts. It quickly becomes a chaotic mess.
This is where a custom post type wordpress implementation becomes your secret weapon. By creating a CPT for each distinct type of content, you transform a generic WordPress installation into a highly structured content system. For you and your clients, this means a clean, intuitive backend that’s an absolute breeze to manage.
Real-World Scenarios for Divi Designers
Instead of talking in hypotheticals, let’s look at how this plays out in the real world. A marketing agency could create CPTs for:
- Services: To manage individual offerings like 'SEO Audits' or 'Content Strategy'. Each service could have its own details, pricing, and associated case studies.
- Case Studies: To showcase client successes. Each entry would be a separate case study with fields for the client's name, the challenge, the solution, and the results.
- Team Members: To display employee profiles with dedicated fields for job titles, biographies, and social media links.
Each of these CPTs functions independently, keeping your content neatly separated and simple to update. But this structured approach isn't just for organization; it also unlocks some powerful design and SEO benefits. In fact, optimizing your site with CPTs is a huge part of effective content writing and SEO strategies.
To help clarify the difference, here's a quick side-by-side comparison.
Default Post Types vs Custom Post Types at a Glance
This table breaks down the core differences between what WordPress gives you by default and what you can build yourself.
| Feature | Default Post Types (Posts & Pages) | Custom Post Types (e.g., 'Projects') |
|---|---|---|
| Purpose | General-purpose content like blog articles and static information. | Specialized, structured content for specific needs (portfolios, staff, etc.). |
| Organization | Organized by Categories and Tags (for Posts). | Organized by custom taxonomies (e.g., 'Project Type', 'Technology Used'). |
| Custom Fields | Possible, but not inherent to the structure. | Designed to have custom fields for specific data (e.g., 'Client Name', 'Budget'). |
| URL Structure | /category/post-name/ or /page-name/. |
Fully customizable permalinks like /projects/project-name/. |
| Backend Management | Mixed in with all other Posts or Pages. | A dedicated menu item in the WordPress admin for easy management. |
| Template Control | Uses single.php and page.php. |
Can have its own dedicated templates (single-projects.php, archive-projects.php). |
As you can see, CPTs give you a level of control and organization that's simply not possible with the standard setup.
The Power of Organized, Queryable Content
The true magic happens when you realize that all this structured content is queryable. With your content neatly sorted into different types, you can use the Divi Theme Builder to create custom templates for each CPT. You can design a unique layout for a single service page and a beautiful grid archive that displays all your services.
This brings a clean, logical order to your content and creates organized hubs of information that search engines absolutely love.
By creating dedicated archives and single layouts for specific content like 'Portfolio' or 'Events,' you're building a predictable site architecture. This clarity helps search engines understand your site's expertise, which can directly improve your rankings and user engagement.
This practice has been a cornerstone of WordPress development ever since CPTs were introduced back in version 3.0. With WordPress now powering an incredible 43.6% of all live sites, CPTs are more indispensable than ever for managing data.
The most prominent example? WooCommerce. It registers a 'product' CPT on installation and has been downloaded over 329 million times. To explore more fascinating WordPress usage data, you can read the full statistics on this topic.
How to Create Your First Custom Post Type
Alright, let's get our hands dirty and build your first custom post type. There are really two solid ways to get this done, and the best path for you comes down to one thing: your comfort level with code. We'll walk through both a super user-friendly plugin method and the manual code approach, so you can get up and running no matter where you're at technically.
For our example, we'll create a "Portfolio" CPT. This is a classic, real-world scenario for any designer, developer, or agency website—perfect for showing off your best work in a way that’s organized and easy to manage.
This diagram shows how CPTs bring order to the chaos, turning a jumble of content into a beautifully structured website.
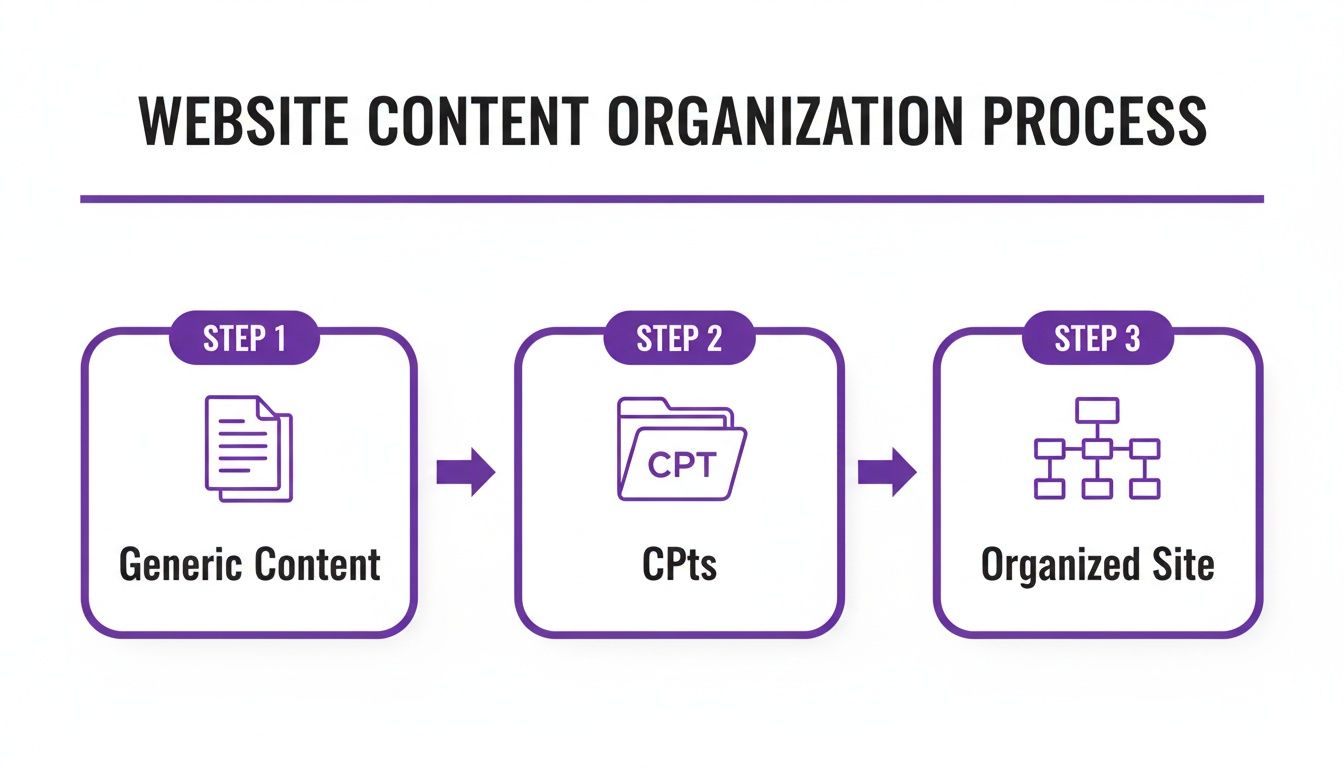
As you can see, CPTs are the bridge. They take generic content and give it a purpose, building a logical architecture. This isn't just a backend tidiness thing; it has a direct impact on user experience and, you guessed it, SEO.
Using a Plugin: The Easy No-Code Way
For the vast majority of people, especially those who practically live inside the Divi Builder, a plugin is the fastest and safest bet. You get a simple graphical interface, you don't have to worry about a typo in your code taking down your entire site, and you can have it all done in a matter of minutes.
Our go-to tool for this job is Custom Post Type UI (CPT UI).
With over one million active installations, CPT UI is pretty much the industry standard, and for good reason. It’s free, it’s intuitive, and it gives you fine-grained control over every little detail of your new post type without ever having to look at a line of code.
Just install and activate the plugin from the WordPress repository like you normally would. Once it’s active, you’ll see a new "CPT UI" menu item pop up in your admin sidebar.
Configuring Your CPT with CPT UI
Head over to CPT UI » Add/Edit Post Types. This is where the magic happens. To get our 'Portfolio' CPT registered, you just need to fill out a few key fields.
The whole interface is refreshingly straightforward. All the options you need to define your new content type are laid out right in front of you.
Here’s a quick rundown of the essential settings to fill out:
- Post Type Slug: This is the URL-friendly name. Let's use
portfolio. It has to be all lowercase with no spaces. - Plural Label: This is what you'll see in the admin menu. Go with
Portfolio Projects. - Singular Label: This is for a single item. Let's use
Portfolio Project.
Once you’ve got those three, just click the "Populate additional labels based on chosen labels" button to save yourself some typing. It automatically generates all the other interface text, like "Add New Portfolio Project."
Next, scroll down to the Settings section. This is where you tell WordPress what features your CPT should have. For a portfolio, you'll definitely want to enable a few key things:
- Title: The project's name.
- Editor: For the project description.
- Featured Image: For the main project image.
- Revisions: Super helpful for tracking changes.
Click "Add Post Type," and you’re done! A brand new "Portfolio Projects" menu will instantly appear in your dashboard, all set for you to start adding your amazing work.
Using Code: The Manual Developer Method
If you're someone who likes to keep your plugin list lean or you need to bundle CPTs directly into a custom theme you're building, then the manual code method is for you. This means adding a PHP snippet to your site. The safest place for this is either in a child theme's functions.php file or by using a code snippets plugin.
Pro Tip: Whatever you do, never add custom code directly to your parent theme's
functions.phpfile. The next time you update the theme, all your changes will be gone. Worse, a single typo could bring your entire site down.
The workhorse for this method is a WordPress function called register_post_type(). You just need to feed it an array of arguments that define your CPT, which are very similar to the options you saw in the CPT UI plugin.
Here’s a complete, ready-to-use snippet that registers the exact same "Portfolio" CPT we just made with the plugin.
function divimode_register_portfolio_cpt() {
$labels = array(
'name' => _x( 'Portfolio Projects', 'Post type general name', 'textdomain' ),
'singular_name' => _x( 'Portfolio Project', 'Post type singular name', 'textdomain' ),
'menu_name' => _x( 'Portfolio', 'Admin Menu text', 'textdomain' ),
'add_new_item' => __( 'Add New Portfolio Project', 'textdomain' ),
'edit_item' => __( 'Edit Portfolio Project', 'textdomain' ),
'view_item' => __( 'View Portfolio Project', 'textdomain' ),
'all_items' => __( 'All Portfolio Projects', 'textdomain' ),
'search_items' => __( 'Search Portfolio Projects', 'textdomain' ),
'not_found' => __( 'No portfolio projects found.', 'textdomain' ),
);
$args = array(
    'labels'             => $labels,
    'public'             => true,
    'publicly_queryable' => true,
    'show_ui'            => true,
    'show_in_menu'       => true,
    'query_var'          => true,
    'rewrite'            => array( 'slug' => 'portfolio' ),
    'capability_type'    => 'post',
    'has_archive'        => true,
    'hierarchical'       => false,
    'menu_position'      => 20,
    'menu_icon'          => 'dashicons-art',
    'supports'           => array( 'title', 'editor', 'thumbnail', 'revisions' ),
    'show_in_rest'       => true, // Important for Gutenberg editor
);

register_post_type( 'portfolio', $args );
}
add_action( 'init', 'divimode_register_portfolio_cpt' );
In this code, the $labels array controls all the text you see in the admin dashboard. The $args array defines the functionality, like setting 'has_archive' to true, which tells WordPress to automatically create a page to display all your portfolio projects. The 'supports' array mirrors the checkboxes we ticked in CPT UI, enabling the title, editor, and featured image (which is called 'thumbnail' in the code).
Once you add this code, the "Portfolio" menu will pop up in your dashboard. You get the exact same result as the plugin method, but with the added benefit of having direct control over the code.
Adding Power with Custom Fields and Taxonomies
Registering your custom post type is a brilliant first step, but let's be honest—on its own, a CPT is basically just an empty box. The real magic happens when you start filling that box with structured data using custom fields and organizing everything with custom taxonomies. This is what transforms your CPT from a simple entry into a rich, queryable dataset.
To get this done, we're going to lean on the industry-standard plugin, Advanced Custom Fields (ACF). It gives you a super clean interface for adding all sorts of data fields—text, images, URLs, dates, and more—to your CPTs without having to touch a single line of code.
What Are Custom Fields?
At their core, custom fields are just individual bits of metadata you can attach to a post. Think about our 'Portfolio' CPT. Out of the box, the WordPress editor only gives us a title, a main content area, and a featured image. That's hardly enough to properly showcase a project, right?
We need specific, structured data points, and this is where ACF really comes into its own. We can create what's called a "field group" and tell it to show up only for our 'Portfolio' post type. This gives editors a neat, organized panel to input all the important project details.
Here's a look at the ACF field group editor. It’s where you define the exact data fields you want to attach to your custom post type.
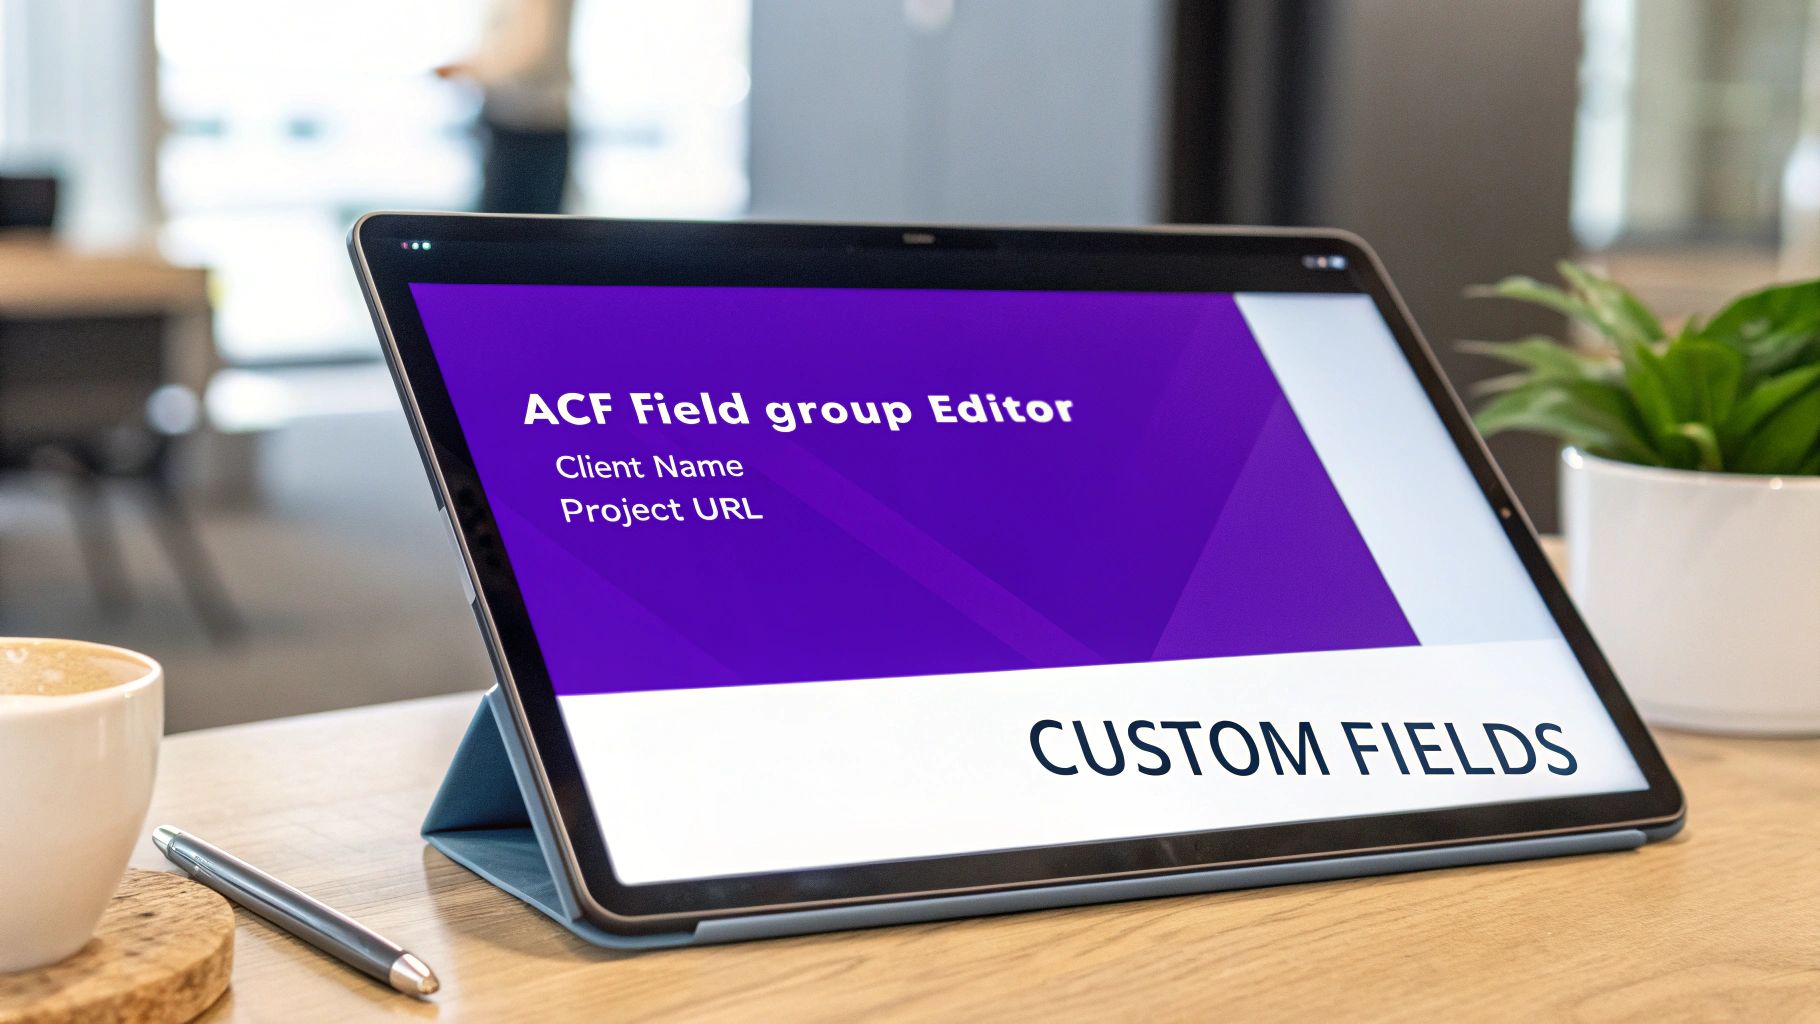
The interface is incredibly straightforward. You just add a field, give it a name, and pick what type of data it should hold.
Let's put together a field group for our 'Portfolio' projects. We'll add fields for:
- Client Name: A simple text field.
- Project URL: A URL field to link straight to the live project.
- Completion Date: A date picker field to select when it was finished.
- Project Gallery: A gallery field for uploading a bunch of project images.
Once you hit save, these fields will instantly appear on the editing screen for every single 'Portfolio Project' you create. Now, instead of one big, generic content box, you have a purpose-built form for entering all the crucial project information. This structured data isn't just for show; it’s the foundation for building dynamic layouts. You can dive deeper into how this works in our guide on using Divi dynamic content, which is the perfect partner for ACF.
Differentiating Custom Taxonomies
So, custom fields are for unique, one-off data points. Custom taxonomies, on the other hand, are all about grouping and categorizing your content. This is a critical distinction to make. WordPress already gives you two taxonomies for blog posts: Categories and Tags. Custom taxonomies just let you create your own systems for any post type.
Here's a simple rule of thumb: Use a custom field for data unique to a single post (like a "Project URL"). Use a custom taxonomy for data that groups multiple posts together (like a "Service Type").
For our 'Portfolio' CPT, being able to filter projects by the type of work we did would be incredibly useful. This is a perfect job for a custom taxonomy. We can create one called 'Service Type' and assign it to our Portfolio CPT.
This lets us categorize each project with terms like:
- Web Design
- Branding
- SEO Strategy
- E-commerce Development
Just like blog post categories, these taxonomy terms will automatically get their own archive pages (e.g., yoursite.com/service-type/web-design/), creating neatly organized collections of your work. This builds a logical site structure that's great for both users and search engines, as it helps them understand the relationships between different pieces of content.
You can create custom taxonomies using the same tools we used for CPTs. The CPT UI plugin has a dedicated tab for adding and managing them, or you can register them with code using the register_taxonomy() function. By combining a custom post type wordpress setup with both custom fields and custom taxonomies, you create a robust, flexible, and highly organized content architecture that’s ready to be brought to life with the Divi Builder.
Designing CPT Layouts with the Divi Theme Builder
Alright, you’ve done the hard part. Your custom post type is set up, your custom fields are in place, and your taxonomies are ready to go. Now for the fun stuff: making it all look great on the front end.
This is where the Divi Theme Builder really shines. It lets you create completely custom, dynamic templates that pull data straight from your CPTs. No code, just pure design power. We'll build out two essential templates for our 'Portfolio' CPT: one for the single project view and another for the archive page that lists all the projects.
Building the Single CPT Template
First up, the individual portfolio project page. This is the detailed view a visitor sees when they click on a specific project from your main portfolio grid. Our goal is to craft a layout that automatically pulls in the project's title, featured image, description, and all those ACF custom fields we just created.
Head over to Divi » Theme Builder and click "Add New Template." A modal will pop up, asking where you want to apply this new design.
- Under the "Specific Posts" tab, scroll until you find your 'Portfolio Project' post type.
- Tick the box next to "All Portfolio Project Posts."
- Click "Create Template" to lock it in.
You'll see a new template block appear. Click "Add Custom Body" and select "Build From Scratch" to jump into the Divi Builder. This blank canvas is where you'll design the master layout for every single portfolio item you ever create.
Populating Your Layout with Dynamic Content
Here’s where the real magic happens. Instead of typing in static text or uploading one-off images, we’ll use Divi’s dynamic content feature to create a living, breathing template.
Let's start with the title. Add a Text module, but don't type anything. Instead, click the little database icon that appears when you hover over the content area. From the dynamic content list, just select "Post Title." Done. This module will now automatically display the title of whatever portfolio project is being viewed.
You can repeat this process for all your other data:
- Featured Image: Add an Image module. Use the dynamic content icon and select "Featured Image."
- Project Description: Drop in a Text or Code module and choose "Post Content" to pull in the main description you wrote in the WordPress editor.
- Custom Fields: For fields like 'Client Name' or 'Project URL', add another Text module. Click the dynamic content icon, scroll down to the "ACF Field" section, and pick the exact field you want, such as
Client Name.
By mapping standard Divi modules to the dynamic data from your CPT, you’re creating a single, reusable template. Every time you add a new portfolio project, Divi automatically wraps it in this layout. You design it once, and it works forever.
Once you’ve arranged all your dynamic modules, save the layout and exit the builder. Crucially, don't forget to click the main "Save Changes" button in the Theme Builder dashboard to push your new template live.
Crafting the CPT Archive Page
An archive page is just as important as the single view. It’s the main hub—think yoursite.com/portfolio/—that showcases all your projects in one place. We’ll build this using Divi's Blog module, which is surprisingly versatile for this task.
Back in the Theme Builder, create another new template. This time, assign it to "All Portfolio Project Archive."
Design the custom body just like before, but this time, the star of the show is a Blog module. This module is the key to displaying a list of your CPT entries. To get it working correctly, you need to make one critical adjustment in the module settings.
Under the "Content" tab, you'll see an option for "Posts for Current Page." By default, it's enabled. You need to switch this off. Disabling it unlocks the "Post Type" setting, where you can now explicitly tell the module to pull from your 'Portfolio Project' CPT instead of regular blog posts.
From there, you can dive into the design settings to style your grid, customize what information appears (like the featured image and title), and perfect the layout. If you want to jumpstart the design process, you can find tons of professionally designed templates for Divi that can be easily adapted for any CPT archive.
With both a single and an archive template in place, your CPT workflow is complete. You have a structured backend for easy data entry and a set of beautiful, automated front-end layouts ready to bring your custom content to life.
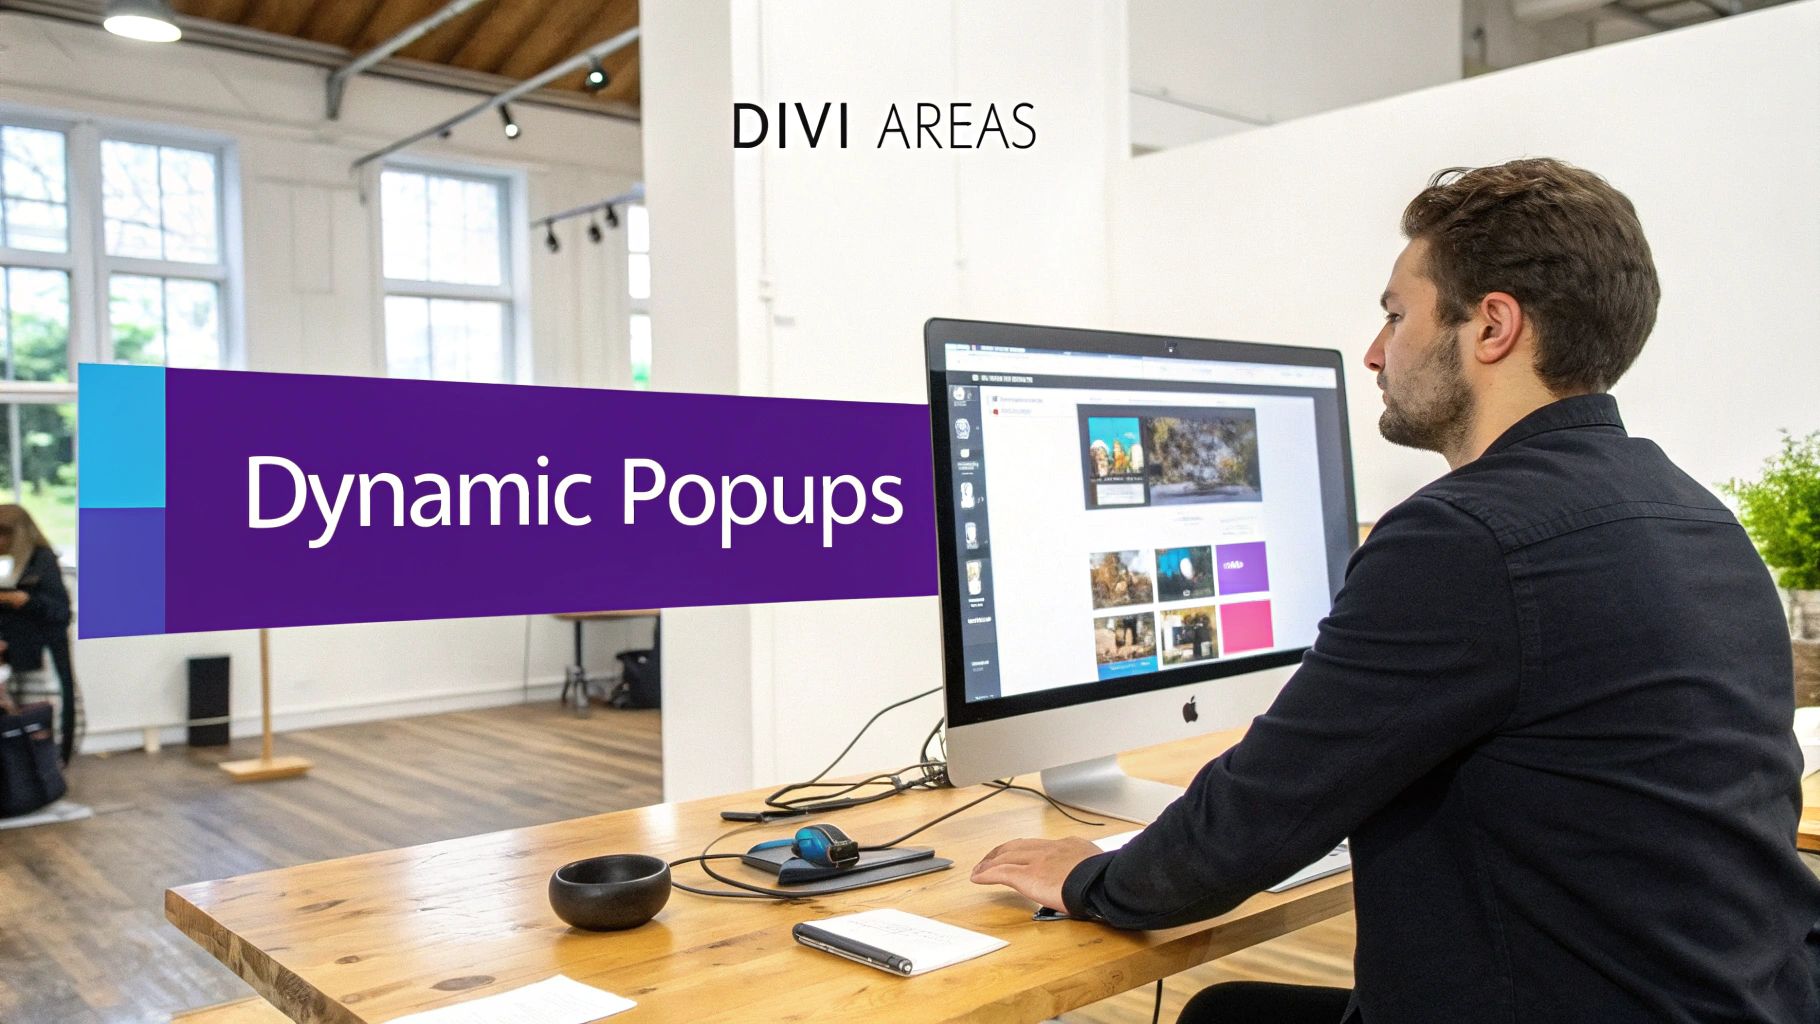
Advanced CPT Integration Using Divi Areas Pro
Once you've got your content neatly structured inside a custom post type, you can start solving some really interesting marketing challenges. This is where we move past simple display templates and plug your CPTs into a powerful tool like Divi Areas Pro. It’s how you turn static content into a dynamic, interactive experience for your users.
Imagine you have a 'Testimonials' CPT. With Divi Areas Pro, you could set up a popup that triggers on exit-intent, dynamically pulling a random testimonial from your CPT to show a visitor who's about to leave. That's the kind of targeted engagement that can seriously boost conversions and build trust.
Triggering Popups with CPT Content
Let's stick with that 'Testimonials' CPT example. You've created the post type and added a few entries, each with a customer's name, their quote, and maybe a star rating in custom fields. Now, you can jump into a Divi Area and design a beautiful testimonial layout.
Using the dynamic content features baked into Divi Areas Pro, you can tell this Area to:
- Query the 'Testimonials' CPT. You can configure it to fetch one random post from this specific post type every time it loads.
- Display dynamic data. Your Divi modules can pull the testimonial text, author name, and star rating directly from the CPT's fields.
Next, you just need to set the trigger. How about making this testimonial Area appear as a slide-in when a user scrolls 70% down any of your 'Service' pages? The result is a highly relevant, automated system that delivers social proof at the perfect moment. For a full walkthrough on this, check out our guide on how to use Divi Areas Pro to design dynamic content.
Automatic Content Injection
Content injection is another incredibly powerful technique. Picture a 'Promotions' CPT where you manage current offers, each with its own banner image and call-to-action link. Instead of manually adding these banners to relevant pages and posts, you can automate the entire thing.
With Divi Areas Pro, you'd design your promotional banner inside a Divi Area. Then, you can set up a rule to automatically inject this Area at a specific location—say, right after the first paragraph—on every single post within another CPT, like 'Events' or 'Courses'.
This creates a “set it and forget it” marketing machine. When a promotion ends, you simply update the 'Promotions' CPT entry, and the change is reflected everywhere instantly. You never have to hunt down and edit individual pages again.
This kind of advanced integration is especially valuable in the Divi ecosystem. As the second most popular WordPress theme with over 10,000 websites in top usage stats, Divi powers countless high-performing sites where interactivity is key. WooCommerce’s 'product' CPT, found on over 329 million installations, is a prime example where designers use Divi Areas Pro to inject custom upsell banners or tooltips based on product categories, turning standard product pages into conversion-focused experiences.
Conditional Targeting Based on CPTs
The real power emerges when you combine CPTs with Divi Areas Pro's conditional display rules. Your custom post types provide the structured foundation, and Divi Areas Pro supplies the logic that determines who sees what and when.
Think about these real-world scenarios:
- Event-Specific Banners: You have an 'Events' CPT. You could create a Divi Area promoting a specific webinar and set it to only appear as a top bar on event posts that belong to the 'Webinar' custom taxonomy term.
- Course Pre-requisites: On a learning site with a 'Courses' CPT, you could display a fly-in promoting an advanced course, but only show it to users who are currently viewing a beginner-level course.
- Portfolio Case Studies: On a 'Portfolio' CPT archive page, you could trigger a popup offering a free consultation, but only if the visitor is filtering by the 'Web Design' service type.
By linking the structured data from your CPTs to the powerful targeting rules in Divi Areas Pro, you move beyond generic popups and create truly contextual, personalized user interactions. It’s this strategic combination that turns your well-organized content into a high-performance conversion tool.
Common CPT Questions for Divi Users
Jumping into custom post types feels like unlocking a whole new level in WordPress, but it’s natural to have a few questions. Let's clear up some of the most common things Divi users ask, so you can start building with total confidence.
What Is the Difference Between a CPT and a Custom Field?
Think of it this way: a custom post type is the filing cabinet, and custom fields are the labeled folders you put inside it.
A CPT like ‘Recipes’ carves out an entirely new content section in your WordPress admin, keeping it separate from your regular Posts and Pages. Custom fields then let you add specific, structured data to each recipe—things like ‘Prep Time,’ ‘Cook Time,’ and ‘Servings.’
So, the CPT organizes the type of content, while the custom fields structure the unique data within each piece of that content.
Can I Use Divi Dynamic Content with Any Custom Post Type?
Yes, absolutely. This is one of the most powerful combos in the entire Divi ecosystem. The Divi Builder's dynamic content feature is built to work flawlessly with any CPT and its custom fields.
When you're editing a Divi Theme Builder template for your CPT, any module that supports dynamic content can pull data straight from your post. This isn't just limited to the post title or featured image; it includes every custom field you’ve created with a plugin like ACF. This is the secret to building completely unique, data-driven layouts without touching a line of code.
By linking Divi's design modules to your CPT's data, you're building a system that's not only beautiful on the front end but incredibly simple for clients to manage. They just fill out the fields, and your design handles the rest.
Do Custom Post Types Affect My Website SEO?
They can have a huge positive impact on your SEO, but only when you set them up correctly. Using a custom post type wordpress setup structures your content in a logical way that search engines love.
WordPress automatically creates archive pages for your CPTs (for example, yourdomain.com/portfolio/). These become organized hubs of related content that can start ranking for specific keywords. When you layer on custom taxonomies to filter those archives (like 'Service Type' for a portfolio), you improve your site's structure even more, signaling to Google exactly what your areas of expertise are.
Should I Use a Plugin or Code to Create My CPTs?
This really comes down to your personal workflow and comfort level with code. There’s no right or wrong answer, just the one that works for you.
- Plugin (like CPT UI): For most designers and site builders, this is the way to go. It's fast, visual, and you don’t have to worry about a PHP error bringing your site down. You get a clean interface to manage everything.
- Code Method: This is a better fit for developers who want to keep plugin installs to a minimum, bundle CPTs directly into a client's theme, or need absolute control over every registration detail.
At the end of the day, both methods produce the exact same result. The key is to pick the path that lets you work safely and efficiently. For the vast majority of Divi users, starting with a trusted plugin is the smartest and most practical choice.
Ready to turn your structured content into high-converting, interactive experiences? With Divimode, you can use Divi Areas Pro to create dynamic popups, tooltips, and content injections that are powered by your custom post types. Explore Divi Areas Pro and start building smarter Divi websites today.
More Articles You Will Like