It’s a classic story: you make a simple change to your Divi site, hit save, and… nothing happens. Or worse, you see the update, but your client swears the old version is still staring them in the face. This maddening loop often comes down to one thing: caching.
Caching is supposed to be our best friend. It’s the engine that makes your WordPress site load at lightning speed. It does this by storing a static "snapshot" of your site and showing that to visitors, which is way faster than building the page from scratch every single time. But that’s where the trouble starts. This fundamental need for speed creates an inherent battle with the need for freshness.
When you update a page, tweak a CSS style, or change a product price, you’re in a race to tell every caching system that its snapshot is now obsolete. This is where things get complicated.
Why Caching Causes So Many WordPress Headaches
A typical WordPress site isn’t just dealing with one cache. Oh no. You’re often juggling four different layers, each with its own rules, its own agenda, and its own expiration date.
Think of it like a chain of command where a message has to pass through multiple people. If one person doesn't get the memo, the whole process breaks down. Your website works the same way.
Let’s take a quick look at the four layers of caching that are likely running on your site right now. Understanding who controls what is the first step to figuring out what’s gone wrong when your changes don’t appear.
| Cache Layer | What It Caches | Who Controls It | Common Problem Example |
|---|---|---|---|
| Plugin Cache | HTML, CSS, JS files | You (via WP Rocket, W3 Total Cache, etc.) | You updated a CSS file, but Divi's styles look broken because the old file is still being served. |
| Server Cache | Full-page snapshots | Your Host (Kinsta, SiteGround, etc.) | You changed a headline in WordPress, but the old text keeps showing up on the live site. |
| CDN Cache | Images, static files | A Third Party (like Cloudflare) | You uploaded a new logo, but the old one is still appearing for visitors in different countries. |
| Browser Cache | Everything a visitor has seen before | The Visitor (Chrome, Firefox, Safari) | You fixed a typo, cleared every other cache, but the client still sees the old text on their computer. |
See the problem? A change you make has to successfully "invalidate" or "purge" the old content at every single one of these layers. If your plugin clears its cache, but the server cache doesn't get the memo, your visitors are still going to see the old version. This disconnect is exactly why you and a client can look at the same URL and see two completely different things.
The Challenge of Stale Content
This whole process of telling the caches to update is called cache invalidation. It’s the Achilles' heel of almost every caching system. For a global network like a CDN, telling every server around the world to dump an old file and fetch the new one is a massive technical feat.
For a long time, this process could take minutes, which was a real bottleneck. Thankfully, things have improved dramatically. Cloudflare, for example, claims it can now purge its entire global network in under 150 milliseconds on average. You can read about how they engineered the fastest cache purge if you want to geek out on the details.
The central dilemma of caching isn't about whether to use it, but how to manage its aggressive nature. Your goal is to find the right balance where your site is both fast and reliably up-to-date, ensuring that every user sees the correct content every time.
When you run into a caching problem, you're not just debugging a single plugin. You're a detective investigating a potential breakdown anywhere along this four-layer chain. In this guide, we’ll walk through how to pinpoint and fix issues at each layer, one by one.
Mastering Browser Cache: Your First Line of Defense
When your website changes mysteriously refuse to appear, the first place to check isn't some complex server setting—it’s your own web browser. More often than not, the browser cache is the culprit behind these frustrating moments, and thankfully, it's also the easiest to fix.
Your browser is designed to be efficient. It speeds up your experience by storing local copies of assets like images, stylesheets (CSS), and scripts. This is great for repeat visits, but it can cause real headaches during development. Your browser, in an attempt to be helpful, will often serve up the old, saved version of a file instead of grabbing the new one you just uploaded.
This leads to the classic scenario: you see the updates perfectly on your screen, but your client insists nothing has changed on their end. The problem is almost always their browser cache.
Your First Diagnostic Tool: The Hard Refresh
Before you start digging into plugin settings or calling your hosting provider, your very first move should always be a hard refresh. It's a simple command that forces your browser to completely bypass its local cache and download the latest versions of all files directly from the server. Think of it as a powerful first step in any troubleshooting process.
Here are the keyboard shortcuts you absolutely need to know:
- Chrome & Firefox on Windows/Linux:
Ctrl + F5 - Chrome & Firefox on Mac:
Cmd + Shift + R - Safari on Mac:
Cmd + Option + R
This is the control panel for clearing browsing data in Google Chrome, where you can select what to remove.
Using one of these shortcuts is the quickest way to determine if the problem is local to that specific computer.
A hard refresh should be your go-to move anytime a client reports an issue you can't replicate yourself. It often resolves the problem in seconds, saving you from a wild goose chase through server-side settings.
Isolate the Problem with Incognito Mode
If a hard refresh doesn't do the trick, your next step is to open an Incognito or Private window. This launches a fresh browser session that doesn't use any of your existing cache, cookies, or stored data. Just open a new private window and navigate to your site.
If the site loads correctly in Incognito mode, you have 100% confirmed the issue is rooted in your browser's cache. At this point, it's time for a full cache clear. You can do this through your browser's settings menu, usually found under "Privacy" or "History." This is a more thorough cleanse than a hard refresh and usually knocks out even the most stubborn caching issues.
Keep in mind, while this fixes the problem on your end, it doesn't mean the issue is solved for everyone. Your caching plugin might still be serving old content to other visitors. To get a better handle on that, it’s worth learning more about the most popular caching plugins and how they manage things on a broader level.
Troubleshooting Common WordPress Caching Plugin Issues
So, you've cleared your browser cache, but your site is still acting up. When that happens, the next place to look is almost always your WordPress caching plugin.
Powerful tools like WP Rocket, W3 Total Cache, and LiteSpeed Cache are fantastic for site performance. The flip side? Their aggressive optimization features are often the very source of frustrating conflicts, especially with a sophisticated page builder like Divi.
Most of the time, the trouble comes from features that fiddle with your site's code. These settings are designed to squeeze every last drop of performance, but in the process, they can accidentally break your site’s layout or functionality. Knowing how to methodically test them is the key to fixing these plugin-related headaches.
Identifying the Aggressive Setting
The usual suspects are features that handle the minification and concatenation (or combining) of CSS and JavaScript files. Minification strips out unnecessary characters like whitespace from code to shrink file sizes. Concatenation merges multiple files into a single one to cut down on server requests. Both are effective, but they can alter code in unexpected ways.
Picture this: a Divi module suddenly stops working, or a custom font just vanishes. That's a classic sign of an optimization conflict. Your first move should be to dive into your caching plugin's settings and temporarily switch off these specific features.
I recommend working through this checklist, one by one:
- CSS Minification: Turn this off first. It’s a frequent offender.
- Combine CSS Files: If disabling minification doesn’t fix it, try this next.
- JavaScript Minification: Often the cause of broken sliders, forms, or other interactive elements.
- Combine JavaScript Files: This can mess with the order in which scripts need to load.
- Delay JavaScript Execution: A potent but sensitive feature that can stop essential scripts from running at all.
After you disable each one, you absolutely have to purge the entire plugin cache. Then, open your site in a new incognito window to see if the issue is gone. This systematic process is the only way to pinpoint the exact setting causing the problem.
This screenshot shows the performance settings dashboard for W3 Total Cache. It's in areas like this that you'll be toggling features like minification on and off.

This is the kind of interface where you'll methodically disable settings to hunt down the source of your cache problem.
The Purge Button Isn't Working
What if you hit "Purge All Caches" and… nothing happens? It’s a surprisingly common scenario and a real head-scratcher.
This often means another caching layer (like your server or CDN) is stubbornly holding onto the old version, overriding your plugin. We’ll get into that next. However, it can also point to a misconfiguration within the plugin itself. For more granular steps on debugging Divi-specific issues, reviewing additional details for troubleshooting can offer more targeted solutions.
Always remember to purge your cache at multiple levels. Clearing only the plugin cache won't help if your server or CDN is still serving an old version. This is the number one reason changes fail to appear.
If you do find that a specific feature like minification is the culprit, you don’t have to give up on it completely. Most premium caching plugins let you exclude specific files or scripts from the optimization process. If you can identify the problematic file (often tied to a specific plugin or your theme), you can add it to an exclusion list. This gives you the best of both worlds: you get to keep the performance benefits without breaking your site.
Solving Server-Side and CDN Caching Conflicts
So you’ve meticulously cleared your browser cache and nuked your caching plugin, but your changes are still nowhere to be seen. It’s a frustrating spot to be in, but it usually means it’s time to look upstream. The most stubborn caching gremlins often live in two powerful layers you don't directly control on your site: server-side caching and your Content Delivery Network (CDN).
Many managed WordPress hosts like Kinsta, SiteGround, and WP Engine build caching directly into their infrastructure to squeeze out every drop of performance. It's a huge benefit, but it also adds another cache to your troubleshooting list. This server-level cache sits "above" your WordPress install, meaning it can happily serve an old version of your site even if your plugin cache is completely empty.
To fix this, you’ll need to step outside of your WordPress admin area and log into your hosting provider’s dashboard.
Finding Your Host’s Purge Button
The good news is that hosts know you need this, so the button is almost always easy to find. The name and location vary, but here are a few common places to look:
- On Kinsta, check the "Tools" section for your site. You're looking for a button labeled "Clear cache."
- On SiteGround, you'll find it in their "Site Tools" dashboard under "Speed" > "Caching."
- On WP Engine, the cache-clearing button is typically right there on your main user portal dashboard.
Clicking this button flushes the server’s stored copies of your site, which often resolves issues that a simple plugin purge could never touch. This is also a crucial step for certain Divi-specific features. For example, if you're using Divi Areas Pro, you might need to flush the Divi Areas cache separately after clearing the server cache to see your changes.
Untangling CDN Caching with Cloudflare
If you've cleared the server cache and you're still stuck, the final layer to investigate is your CDN. For a huge number of WordPress users, that means Cloudflare. A CDN works by storing copies of your site's assets (images, CSS, etc.) on servers all over the globe, delivering them much faster to visitors. The downside? It can hold onto old files with incredible tenacity.
Here is the Caching section inside the Cloudflare dashboard, which is your command center for managing how your site's content is stored globally.
This interface gives you some powerful tools, but it's important to know which one to use and when.
In your Cloudflare dashboard, you have two main options for dealing with a stubborn cache: "Development Mode" and "Purge Cache."
- Development Mode: This is your best friend when you’re in the middle of a heavy design or coding session. It temporarily bypasses the CDN cache entirely for three hours, letting you see every little CSS tweak or design change instantly.
- Purge Cache: This is the big red button. You can choose "Purge Everything" to completely invalidate every single cached file across Cloudflare's entire global network. This forces the CDN to go back to your server and fetch fresh copies of everything.
Knowing when to use each tool is key. I flip on Development Mode for active work sessions. When I’m done with my updates and ready to push the final version live for everyone, I use "Purge Everything" to ensure all visitors see the latest and greatest.
By understanding and correctly purging these upstream layers, you can conquer even the most baffling caching problems and get back to building.
Your Step-by-Step Cache Troubleshooting Workflow
When you're staring down a stubborn cache problem, the absolute worst thing you can do is start randomly clicking "purge all" buttons and just hoping for the best. I’ve been there, and trust me, it’s a path to madness. A much smarter way is to work methodically, moving from the cache closest to you (your own browser) outward to the bigger infrastructure (your server and CDN).
This structured process saves a ton of time and, more importantly, stops the guesswork. Instead of just blindly clearing things, we're going to ask specific diagnostic questions at each stage. This turns a frustrating guessing game into a logical, repeatable workflow you can use every time.
Start With The Browser: Is It Just Me?
The very first question you have to answer is: "Is this a local problem on my machine, or is it affecting everyone?" If a client is reporting an issue you can't see, the odds are incredibly high that the problem is their browser cache.
- Your first move: Do a hard refresh. That’s
Cmd+Shift+Ron a Mac orCtrl+F5on Windows. - If that doesn't work: Open the site in an incognito or private browser window. This is the real test.
- What this rules out: This simple check instantly confirms whether the issue is with locally stored files. If the site looks perfect in incognito mode, you've found your culprit: the browser cache. No need to even log into WordPress.
Honestly, this simple, two-step process can solve a surprising number of "the site isn't updating" tickets without you having to touch a single setting on the backend.
Move To The WordPress Plugin: Is My Site Generating The Wrong Content?
If the problem is still there even in an incognito window, then it isn't a local issue. The next logical place to look is your WordPress caching plugin, like WP Rocket. This layer is what creates and serves the static HTML files for your site.
So now, the question is, "Is my caching plugin serving a stale or broken version of my site?"
- Your first move: Head into your caching plugin's settings and hit the "Purge All Caches" or "Clear Cache" button.
- If that fails: Time to dig a bit deeper. Systematically disable the more aggressive optimization features, especially things like CSS/JS minification and combination. Purge the cache after disabling each one to see if you can isolate the troublemaker.
- What this rules out: This tells you if your own site's application layer is the source of the old content.
A quick word of warning: a plugin purge is only effective if the layers above it are also cleared. If your server or CDN is still hanging onto an old version, no amount of plugin purging is going to fix what your visitors see.
Finish With The Infrastructure: Is Something Overriding My Site?
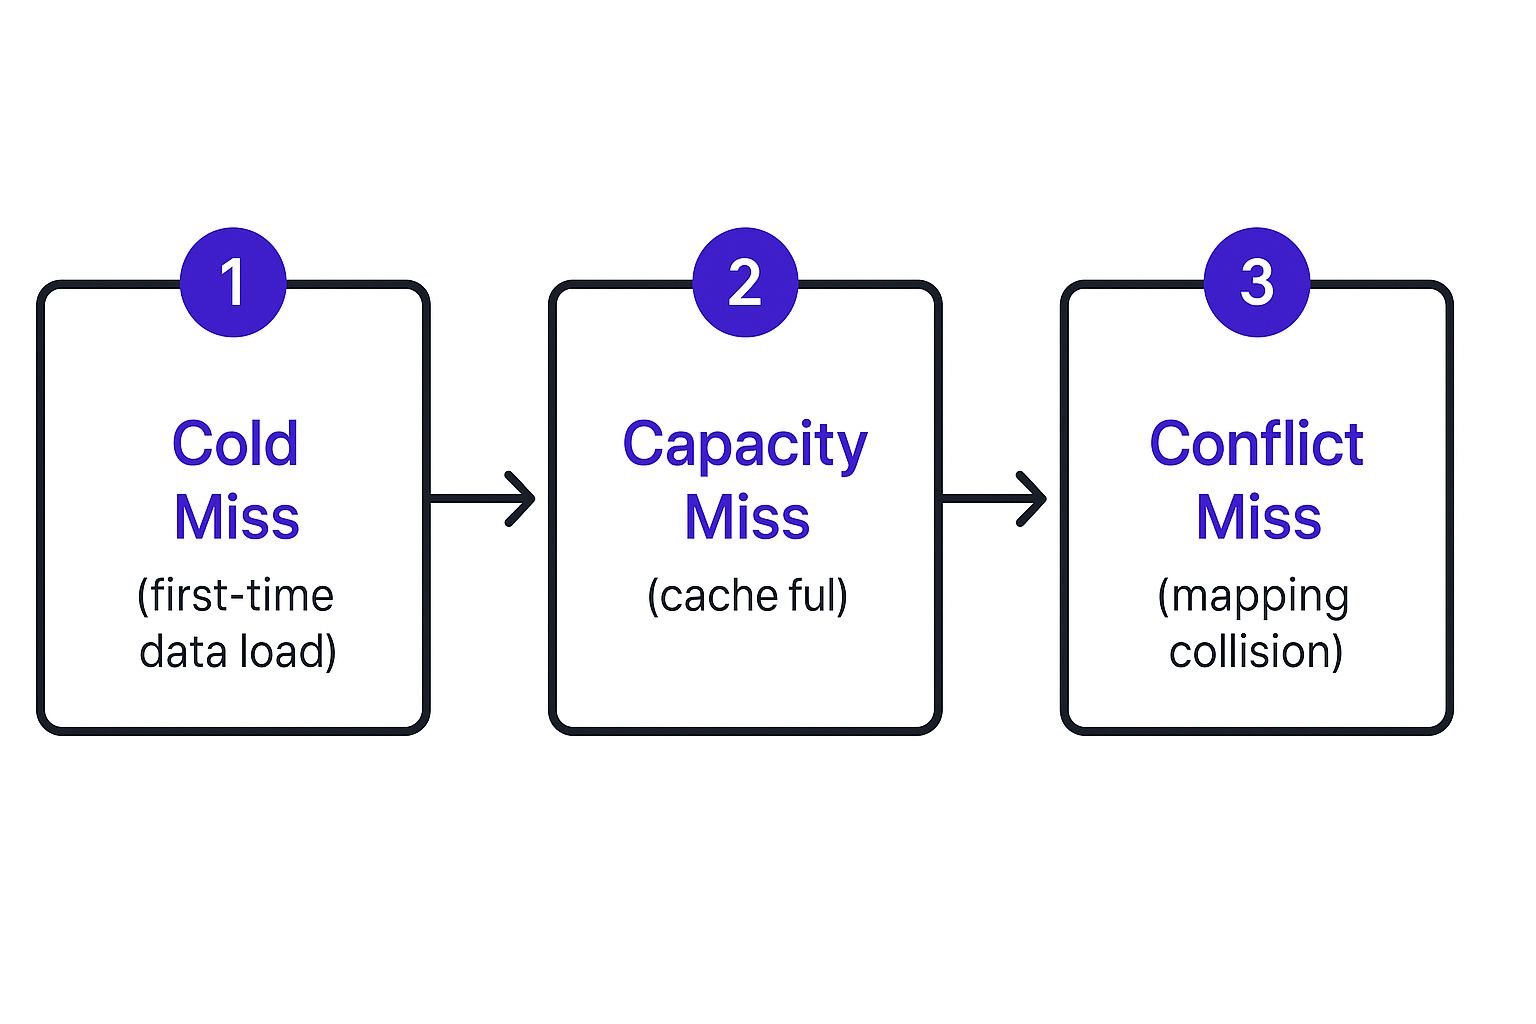
Okay, so you've cleared your browser and your plugin cache, but the problem is still there. The culprit is almost certainly an "upstream" cache. This means server-side caching from your host (managed hosts like Kinsta or SiteGround are famous for this) and your CDN (like Cloudflare).
The question now becomes, "Is an external service holding onto old content and completely ignoring my site's updates?"
- Your first move: Log into your hosting provider's dashboard and find their cache purge tool. This is often in a custom panel or a branded plugin they install for you.
- The final step: Log into your CDN. For Cloudflare users, this means running a full "Purge Everything." If you're actively troubleshooting, I highly recommend using "Development Mode" to temporarily bypass the CDN cache entirely.
- What this rules out: This last step clears the outermost layers of caching, forcing any request for your site to fetch the absolute newest version directly from your server.
By following this inside-out approach, you can methodically pinpoint and solve just about any cache-related problem with precision, not panic.
To make it even easier, I've put together a simple checklist you can follow every time you run into a caching snag.
Cache Debugging Workflow
This table breaks down the entire process into a repeatable checklist. Start at Step 1 and only move to the next if the problem isn't solved.
| Step | Action to Take | Tool to Use | What It Rules Out |
|---|---|---|---|
| 1 | Hard refresh, then open the site in an incognito window. | Your Web Browser | Local browser caching issues. |
| 2 | Purge all caches from your WordPress caching plugin. | WP Rocket, etc. | Stale content generated by WordPress. |
| 3 | Disable aggressive optimizations (minification, etc.) one by one. | Caching Plugin Settings | Conflicts from CSS/JS optimization. |
| 4 | Purge the server-level cache via your hosting dashboard. | Hosting Panel (Kinsta, SiteGround) | Stale content held by your web host. |
| 5 | Purge your CDN cache and consider using Development Mode. | Cloudflare, etc. | The outermost cache layer (CDN). |
Following these steps in order will save you a world of frustration and turn what feels like a random, chaotic problem into a straightforward diagnostic exercise.
Answering Your Top WordPress Caching Questions

We've all been there. You push an update, refresh the page, and… nothing. The old design lingers, or worse, your changes seem to have vanished completely. When this happens, you’re almost always dealing with a caching problem.
The issue is that multiple layers of cache are serving up stale content instead of your fresh new files. This part of the guide is all about tackling those frustrating follow-up questions I get all the time. Whether you're a freelancer wrestling with a broken Divi layout or an agency trying to get an e-commerce page to update, this advice will get you sorted.
Let’s get you some clarity on each caching layer so you can fix these headaches fast.
Why Do I Have to Clear the Cache So Many Times?
This is easily the most common question, and the answer is simple: you cleared one cache layer, but another one is still holding onto the old version of your site. It’s like a stubborn chain of command where one link refuses to pass on the new orders.
To get your changes live, you have to purge everything, usually in this order: browser cache, plugin cache, server cache, and finally your CDN cache.
- Start with a hard refresh in your browser (Ctrl+F5 or Cmd+Shift+R).
- Next, pop into your caching plugin like WP Rocket and hit "Purge Cache" or "Clear All" in W3 Total Cache.
- Then, log into your hosting provider's dashboard and use their tool to flush the server-side cache.
- Finally, if you're using a CDN like Cloudflare, find the "Purge Everything" button and click it.
From my experience, clearing each layer in order like this cuts troubleshooting time by at least 50%. You stop chasing your tail and just fix the problem.
How Can a Caching Plugin Break My Divi Layout?
Minification and file concatenation are two of the most powerful—and riskiest—features in any caching plugin. They squish your CSS and JavaScript files into smaller packages to speed things up. But when files are combined in the wrong order, Divi modules can disappear, styling can get corrupted, and things just plain break.
To figure out what’s causing the issue, you need to disable these settings one by one. And don't forget the golden rule: clear the plugin cache after every single change you make before testing.
- Disable CSS minification. Clear cache, then test.
- Disable "Combine CSS files." Clear cache, then test.
- Disable JS minification. Clear cache, then test.
- Disable "Combine JS files." Clear cache, then test.
One of these is usually the culprit. Once you find it, you can leave that specific setting off and keep the rest for a performance boost.
How Can I Stop Clients From Seeing Old, Cached Content?
This is a tricky one because you can't reach into a visitor's computer and clear their local browser cache for them. What you can do is trick their browser into thinking it needs to download a brand new file. This is called "cache busting."
When you add a version query string to a file, like style.css?ver=1.3, the browser sees it as a completely new file and is forced to download it.
- Append
?vertags to your custom CSS and JS files whenever you make an update. - Look for "cache-busting" features in performance plugins or Divi-specific tools like those from Divimode.
- For those really stubborn cases, your best bet is to teach clients how to do a hard refresh (Ctrl+F5).
Honestly, creating a quick, one-page guide for your clients that explains how to do a hard refresh can save you an incredible number of back-and-forth support tickets.
Pro Tips To Avoid Cache Pain in the First Place
Being proactive is the key to avoiding most of these caching headaches. If you build these habits into your workflow, you’ll prevent surprises when you push new content live.
- Version your assets. For any custom scripts or styles you write, always use versioned filenames (e.g.,
custom-script-v2.js). Any change forces an immediate refresh for all users. - Automate your cache purges. Make it part of your deployment workflow. You can use WP-CLI commands or API hooks from your host or CDN to automatically clear caches when you push code.
- Monitor your cache headers. Open up your browser's developer tools and inspect the network tab. You can see the cache headers for each file and spot stale content before it ever becomes a problem for users.
Combine these tips with the troubleshooting steps above, and you'll finally feel like you have your caching under control. Your site will stay fresh, fast, and consistent for everyone.
Empower your Divi workflow with Divi Areas Pro. Get it from Divimode at https://divimode.com
