WordPress user roles are basically the job titles for your website's team, spelling out exactly what each person can and can't do.
Think of it like a set of keys for a building. The Administrator gets the master key that opens every single door, while a Subscriber just gets a key to the front entrance. This system is absolutely critical for keeping your site secure and your workflow sane.
Why Managing WordPress User Roles Matters
Imagine giving every employee a master key to your entire office—from the server room to the CEO's office. It sounds crazy, but that's precisely what happens when you ignore WordPress user roles. This system isn't just a technical feature; it's a fundamental business practice that brings much-needed order and security to your digital workspace.
When you get it right, WordPress user roles act as a strategic control system. They make sure team members only have access to the tools and content they need for their specific job. This simple act of assigning the right permissions is your first line of defense against both accidental screw-ups and malicious attacks.
Securing Your Digital Assets
For any serious website owner, the stakes are high. Without a clear permission structure in place, you’re opening yourself up to some serious risks:
- Accidental Deletions: An inexperienced user could unintentionally wipe out a critical page, a top-performing blog post, or even a whole section of your site.
- Security Breaches: If a hacker gets into an account with too many permissions, they could gain full control over your entire website.
- Workflow Chaos: When everyone can touch everything, it becomes a nightmare to manage content creation, editing, and publishing cycles efficiently.
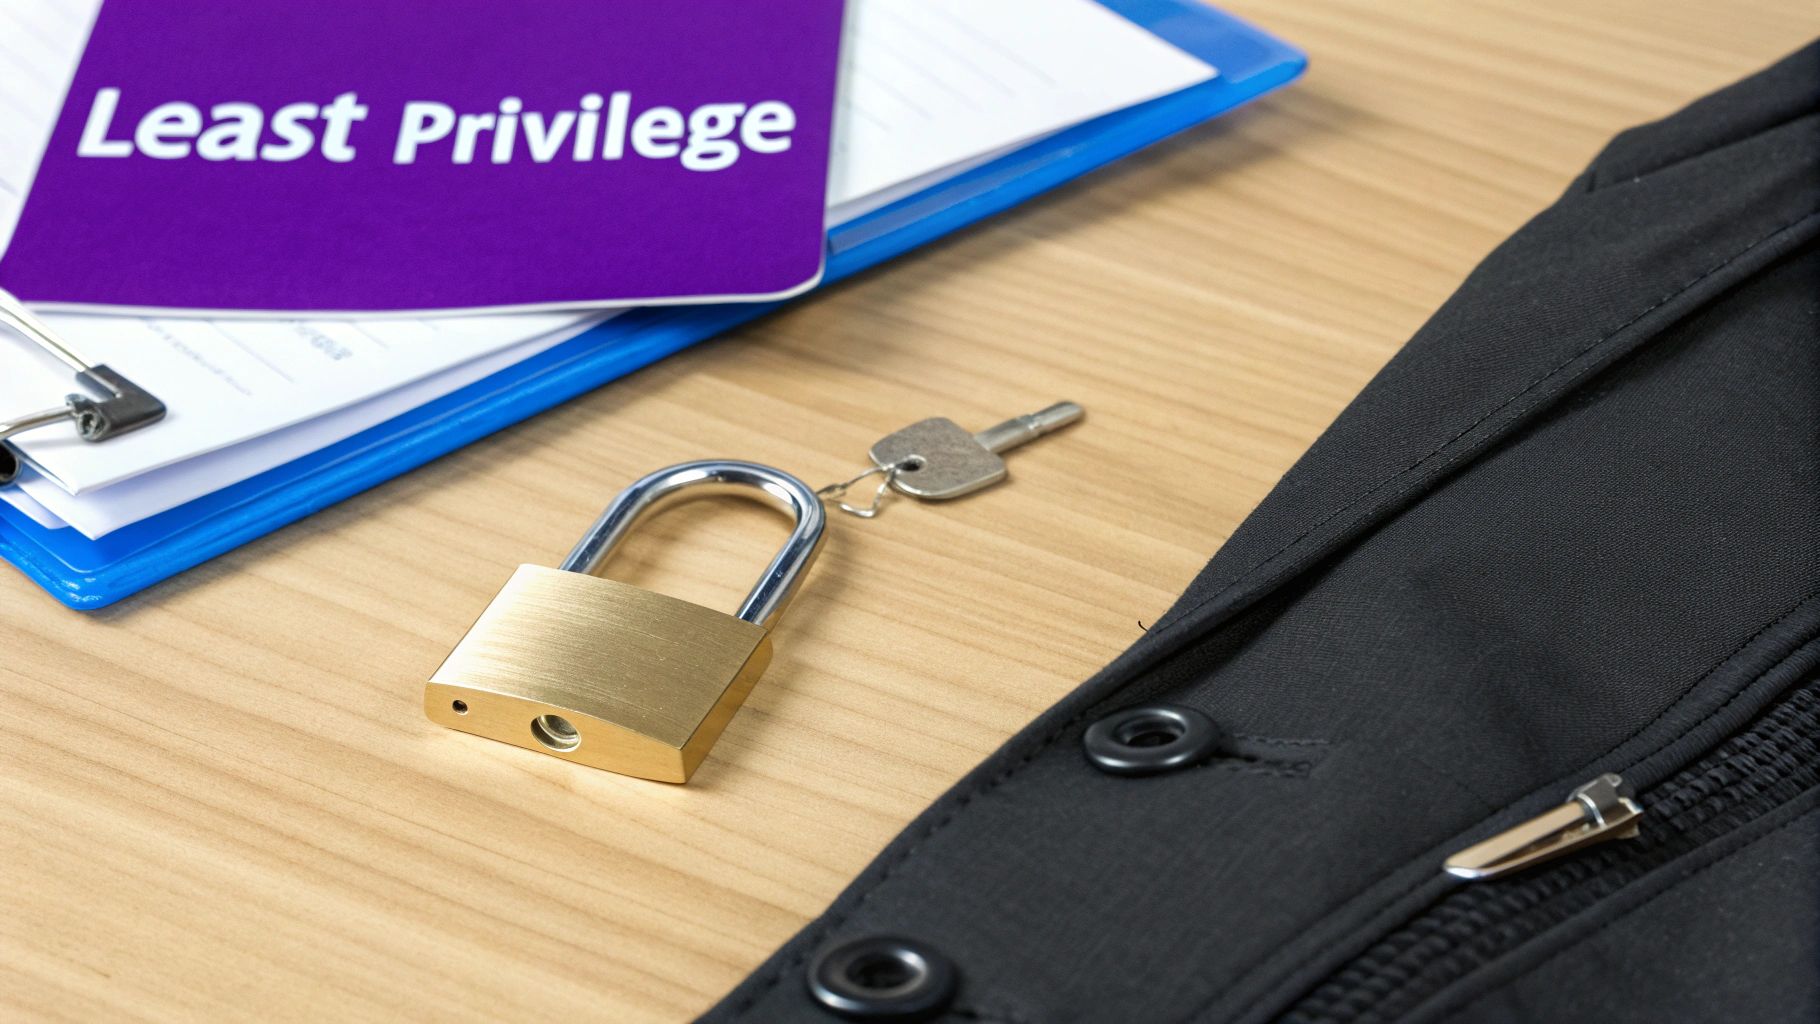
The core idea here is the principle of least privilege—giving users the absolute minimum level of access they need to do their job, and nothing more. This single practice drastically reduces your website’s vulnerability.
The sheer scale of WordPress makes this even more critical. With WordPress powering 43.2% of all websites globally, its security features are a prime target for attackers. Understanding that user roles are the backbone of site management is non-negotiable when so many businesses depend on the platform. You can learn more about the widespread use of WordPress from this WPZOOM report.
Ultimately, mastering user roles transforms your website from a chaotic free-for-all into a secure, organized, and efficient operation. Getting this right isn't just a good idea—it's an essential first step.
The 6 Default WordPress User Roles
Think of your WordPress site like a secure office building. Not everyone gets the same keycard, right? The CEO needs access to every room, while a visiting freelancer might only need a temporary pass to the content department. WordPress user roles work the same way, giving you six default "job titles" to hand out, each with its own level of clearance.
This built-in hierarchy is fantastic because it ensures everyone on your team has exactly the tools they need to do their job—and nothing more. It keeps things secure and prevents someone from accidentally breaking something they shouldn't be touching.
This infographic gives you a great visual of how different roles get access to different parts of your digital "office."
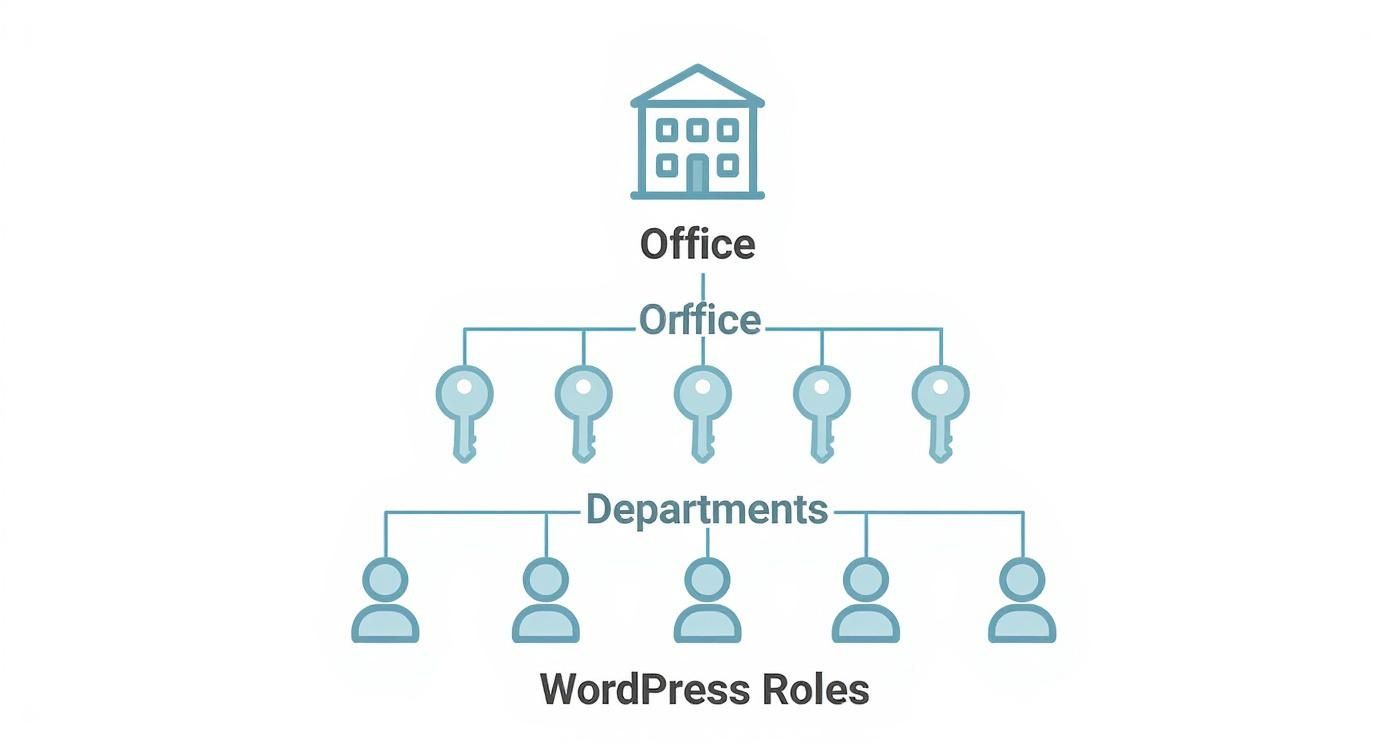
Just like a company has secure departments, WordPress uses these roles to grant specific "keycard" access, making sure users only enter the areas relevant to their job.
For a quick overview of what each role can and can't do, check out this handy table.
Default WordPress User Roles at a Glance
Use this quick-reference table to compare the key capabilities of each default WordPress user role and choose the right level of access for your team.
| User Role | Content Management | Plugin and Theme Control | User Management | Best For |
|---|---|---|---|---|
| Administrator | Full control over all content | Can install, edit, and delete | Full control over all users | Site owners, lead developers |
| Editor | Can publish and manage all posts/pages | None | None | Content managers, editors-in-chief |
| Author | Can publish and manage their own posts | None | None | Staff writers, regular bloggers |
| Contributor | Can write and edit their own posts (no publish) | None | None | Guest authors, freelancers |
| Subscriber | Can only manage their own profile | None | None | Members, commenters |
| Super Admin | Full control over all sites in a network | Can install themes/plugins network-wide | Manages network users and sites | Multisite network managers |
Now, let's dive into what each of these roles really means in practice.
Administrator: The CEO
The Administrator is the top dog, the CEO of your website. They hold the master key and have complete, unrestricted access to every single part of the site. This is by far the most powerful role.
An Administrator can:
- Install, manage, and delete any plugins and themes.
- Add, edit, and remove any user, including other administrators.
- Access and change core site settings.
- Edit code and make sitewide structural changes.
Because of this immense power, you should hand out the Administrator role very carefully. It's best reserved for the site owner or the lead technical manager. Having too many Admins running around is a major security risk waiting to happen.
Editor: The Department Head
Think of the Editor as the head of your content department. They oversee the entire content strategy and have full control over every post and page on the site, no matter who wrote it.
An Editor's main job is to manage the editorial workflow. They can edit, publish, and delete any post or page. They also handle comment moderation and can manage content categories and tags. Critically, they can't mess with site settings, plugins, or themes, which keeps them laser-focused on content quality.
Author: The Staff Writer
The Author is your trusted in-house staff writer. These are the folks responsible for creating their own material and have the autonomy to see it through from draft to publication.
Authors can write, edit, and publish their own posts. They're also able to upload media files for their articles and can even delete their own published work. What they can't do is touch anyone else's posts or access any of the higher-level settings. This role is perfect for the regular content creators on your team.
Contributor: The Freelancer
The Contributor role is absolutely ideal for guest writers, interns, or new team members you're still training. Think of them as freelance contributors whose work needs a second pair of eyes before it goes live.
A Contributor can write and edit their own posts, but they cannot publish them. Their work has to be submitted to an Editor or Administrator for review and approval, creating a vital quality control checkpoint. One key limitation to remember is that Contributors can't upload media files—a smart security measure to prevent untrusted users from adding potentially harmful files to your site.
Subscriber: The Visitor with a Login
The Subscriber role has the most limited permissions of all. It’s basically for users who need an account to log in, maybe to read members-only content or leave comments (if you require registration). They can manage their own profile and change their password, but that’s it. No content creation, no administrative powers.
Super Admin: The Building Owner (Multisite Only)
Last but not least, we have the Super Admin. This role only exists on a WordPress Multisite installation. If an Administrator is the CEO of a single company, the Super Admin is the owner of the entire office park.
They have administrator-level control over every single site within the network. This includes the power to install themes and plugins that can then be used across all the sites in the network, something a regular site Administrator can't do.
To really get a handle on WordPress user roles, you have to look under the hood at what actually gives them their power. Think of a role like ‘Editor’ as just a job title. It's a handy label, but the title itself doesn’t really do anything. The real muscle comes from the specific permissions assigned to that job, which WordPress calls capabilities.
A capability is a single, specific permission to do one thing. For example, publish_posts is a capability. So is edit_others_posts and install_plugins. A role is really just a pre-packaged bundle of these individual capabilities.
I like to think of it like a hotel keycard. The role you’re assigned—say, ‘Standard Guest’ vs. ‘VIP Guest’—determines what kind of keycard you get. That keycard is then programmed with specific permissions (the capabilities) that dictate which doors you can actually open. You can get into your room and the gym, but you can’t get into the manager's office.
A role is just a container for a set of capabilities. It’s the capabilities inside that container that give a user the authority to perform actions on your website.
Once this clicks, you've unlocked the secret to mastering WordPress permissions. As soon as you see that roles are just convenient shortcuts for managing groups of capabilities, you’re ready to go beyond the defaults and start crafting permissions that fit your team’s exact workflow.
How Capabilities Evolve with WordPress
The list of available capabilities isn't set in stone; it has grown and been fine-tuned over the years. WordPress has seen over 760 releases in total, and each major version has the potential to introduce new tweaks to how roles and permissions work. This constant development is what keeps the system secure and aligned with modern needs.
This evolution is a big reason why keeping your site updated is so critical. As of 2025, over 61% of WordPress users are on the latest version, which means they're benefiting from the most current permission structures. But there's a small yet significant chunk of users on older versions, stuck with outdated capability sets. You can dig into the numbers yourself with these WordPress version adoption rates on AIOSEO.
Ultimately, wrapping your head around this role-capability relationship is the first huge step toward building perfectly tailored custom roles for your team.
How to Create Custom User Roles Without Code
The default WordPress roles are a great starting point, but let's be honest—they're rarely a perfect fit for a real-world team workflow. What happens when you need someone to manage blog posts but not touch your site's design? Or approve comments without having access to plugins?
That’s when you need to create a custom user role. And the good news is, you don't need to touch a single line of code. A dedicated plugin can handle all the heavy lifting.
After all, the WordPress community is a mixed bag. While nearly 49.6% of users are developers, a massive 32% are small business owners running their own sites. This huge range of technical skill is exactly why no-code development solutions have become so essential for managing a site effectively.
Getting Started with a User Role Editor Plugin
For this walkthrough, we’re going to use a super popular and straightforward plugin called “User Role Editor.” It gives you a simple interface to manage every permission on your site.
First things first, you’ll need to install and activate it from your WordPress dashboard. If you need a quick refresher on that process, we have a complete guide on https://divimode.com/how-to-use-plugins-in-wordpress/.
Once it's active, just head over to Users → User Role Editor in your admin menu.
You’ll be greeted with a massive checklist of every single capability available on your website, all neatly organized into groups.
Think of this screen as your mission control for user permissions. Granting or revoking access for any role is as simple as checking a box.
Creating a New Custom Role Step-by-Step
Let's walk through a practical example. Imagine you're hiring a "Marketing Assistant." This person needs to write and publish blog posts, upload images, and manage comments, but you definitely don't want them anywhere near your themes, plugins, or core site settings.
Here’s how you’d set that up in just a few clicks:
- Add New Role: Look for the Add Role button on the right side of the User Role Editor screen and click it.
- Name Your Role: You’ll need to give it a Role ID (like
marketing_assistant) and a more human-friendly Display Name (like "Marketing Assistant"). - Clone an Existing Role: This is the real time-saver. Instead of starting from a blank slate, you can make a copy of a role that’s almost right. For our assistant, cloning the "Author" role is the perfect starting point.
Once the role is created, it will show up in the main dropdown menu, ready for you to tweak its permissions.
Pro Tip: Always clone an existing role if you can. It’s far more efficient than building one from scratch. You get a solid baseline of permissions that you can then add to or subtract from, getting you to your goal much faster.
For our Marketing Assistant, the cloned Author role is pretty close to perfect. They can already write, edit, and publish their own posts and upload media files. But what if you need them to edit posts written by other team members? Easy. Just find the edit_others_posts capability in the list, check the box, and hit the "Update" button.
That's it! You've just created a tailor-made role that fits your team's workflow perfectly, all without writing a single line of code. It’s this kind of granular control that helps you build a secure, efficient, and scalable permission structure for your entire team.
Essential Best Practices for User Role Security
Properly managing your user roles is the bedrock of a secure WordPress site. Honestly, you should think of it less as a feature and more as a fundamental security protocol. By putting a few key practices into place, you can seriously harden your site against common threats, accidental damage, and plain old human error.
The single most important concept to wrap your head around is the principle of least privilege. It’s simple: every user should have the absolute minimum level of access needed to do their job—and nothing more. An author doesn't need to touch plugins, and a contributor certainly shouldn't be able to publish posts. This one practice dramatically shrinks your site's attack surface. If a low-level account gets compromised, the potential for damage is kept to a minimum.
Hardening Your User Accounts
Beyond just assigning the right roles, you have to enforce strong account hygiene. It's the simple habits that often make the biggest difference in keeping unauthorized folks out.
Start by making a habit of auditing your user list. Are there accounts for former employees, old freelancers, or forgotten test profiles just sitting there? These are dormant security risks waiting to be exploited. A quick quarterly audit to clear out inactive or unnecessary users is a smart, proactive move.
On top of that, you should treat the following as non-negotiable rules for your team:
- Never Use 'admin' as a Username: This is the very first username hackers will try. If your main account is still named 'admin', do yourself a favor: create a new administrator account with a unique name, log in with it, and then delete the old one.
- Discourage Login Sharing: One user, one account. Period. Sharing login details creates accountability gaps and makes it impossible to trace who did what. That's a nightmare when you're trying to troubleshoot a problem.
- Limit the Number of Administrators: The Administrator role holds the keys to the entire kingdom. Ideally, your site should have only one. For every extra person you give this level of power, your security risk grows exponentially.
Limiting high-privilege accounts is one of the most effective security strategies you can implement. Each Administrator account is a potential point of failure; keeping them to an absolute minimum is crucial for a robust defense.
Reinforcing Your Security Posture
While careful user role management provides a strong foundation, it works best when you pair it with other security measures. You can further protect your user accounts by using robust tools designed to fend off common attacks.
For a deeper dive into this topic, check out our guide on essential WordPress security plugins. These tools can help you enforce strong passwords, monitor login attempts, and add another layer of defense.
Properly explaining WordPress user roles is about understanding not just what they do, but how they protect your digital assets. By following these best practices, you ensure your team can work efficiently while keeping your website safe, secure, and completely under your control.
Frequently Asked Questions About User Roles
Even when you have a good handle on WordPress user roles, questions always seem to pop up during the day-to-day grind of managing a website. This last section is all about giving you clear, straightforward answers to the most common ones.
Think of it as your go-to guide for those "wait, what's the difference between…" or "how do I…" moments. Let's clear up any confusion you might still have.
What Is the Difference Between an Author and a Contributor
The biggest difference between an Author and a Contributor really just comes down to one thing: the publish button. An Author can write, edit, and—most importantly—publish their own posts directly. They are a trusted member of your team who has the green light to push content live.
A Contributor, on the other hand, can write and edit their own posts, but they cannot publish them. When they're finished, their post goes into a queue for an Editor or Administrator to review. This creates a natural quality control step, making the Contributor role perfect for guest writers, new hires, or anyone whose work needs a second set of eyes before it hits the site.
In short: Authors can publish their own work; Contributors cannot. This simple difference defines their place in your content workflow, separating trusted, autonomous creators from those who need editorial oversight.
Can I Give a User Access to Only One Specific Plugin
Out of the box, WordPress doesn't quite get that specific. But you can absolutely make it happen by creating a custom user role with a plugin like User Role Editor. Here's how it works: many plugins, especially the more complex ones, add their own unique "capabilities" to WordPress when you install them.
For example, a big SEO plugin might add capabilities like manage_seo_settings. You could then create a brand-new role, maybe call it "SEO Manager," and give it only the specific capabilities tied to that one plugin. It’s a fantastic way to grant specialized access without handing over the keys to unrelated parts of your site, like themes or user management.
How Do I Change a User's Role in WordPress
For any Administrator, changing a user's role is a piece of cake. The whole process takes just a few seconds right from your WordPress dashboard.
- From your admin menu, head over to Users > All Users.
- Find the user you want to change and hover over their username.
- Click the Edit link that pops up.
- On their profile page, look for the Role dropdown menu.
- Pick the new role you want to give them from the list.
- Scroll all the way down and hit the Update User button to save everything.
That's it! Their permissions will update instantly. On a related note, it's also helpful to know how to log into a WordPress account without a password if you ever need to troubleshoot an account issue.
Is It Safe to Have Multiple Administrators
Technically, you can have as many Administrators as you want, but it's a huge security risk and strongly discouraged. The Administrator role gives someone complete and total control over your website. They can install or delete anything, change any setting, and even remove other users—including you.
Think of it like having multiple master keys to your business floating around. Every extra Administrator account is another potential weak spot. If just one of those accounts gets compromised, your entire site is wide open. For this reason, it's a core security best practice to have only one, or at the absolute most two, highly trusted Administrators. For everyone else, always stick to the principle of least privilege.
At Divimode, we build tools that give you precise control over your website's content and user experience. With Divi Areas Pro, you can even display specific popups or injected content based on a user's role, creating a truly dynamic experience for your team and visitors. Discover how Divimode can elevate your Divi website.
More Articles You Will Like