
A WordPress table of contents is essentially a clickable map for your article. It’s a list of links, almost always sitting near the top of a post, that lets your readers zip right to the sections they care about most. Done right, it transforms a long, intimidating article into a super navigable, user-friendly guide, which is a win for both reader engagement and your SEO.
Why a Table of Contents Is a Game Changer for Long Posts
Let’s be honest: staring at a massive wall of text is one of the quickest ways to send a visitor packing. When people can't find what they're looking for in a few seconds, they’ll hit the "back" button without a second thought. This spikes your bounce rate and tells search engines your content isn't hitting the mark. This is the exact problem a table of contents (TOC) was born to solve.
A good TOC acts like a roadmap for your content. It gives readers a bird's-eye view of the entire article and lets them jump straight to the parts that matter to them. This one simple addition can make a huge difference in the user experience, especially for those beefy, in-depth guides, tutorials, or pillar posts that run over 2,000 words.
Enhancing User Engagement and SEO
The payoff from a WordPress table of contents goes way beyond just helping people get around. By making your content easier to scan and digest, you’re giving visitors a reason to stick around longer. That extra "time on page" is a big green flag for Google, signaling that your content is valuable and holds people's attention.
Even better, Google often grabs the anchor links from a TOC to create "jump to" links right inside its search results. These sitelinks make your search listing stand out and can seriously boost your click-through rate by showing searchers that you’ve got the exact answer they need, right down to the specific section.
By breaking down a daunting article into manageable, clickable sections, a table of contents turns user frustration into a guided, positive experience. It’s a small change that delivers a substantial impact on both usability and search visibility.
A Thriving Ecosystem for Content Structure
The need for clear, organized content isn't a secret. As of 2025, WordPress now powers an incredible 43.5% of all websites, a number that speaks volumes about its flexibility and the massive ecosystem of over 65,000 plugins built around it. A huge chunk of these tools are designed specifically to improve content navigation, which just goes to show how vital a table of contents is for today's web standards.
For anyone looking to get the most out of the platform, learning how to make money with WordPress is often the end goal, and a fantastic user experience is the foundation you build that success on.
The Easiest Way to Add a TOC Using a Plugin
For most WordPress users, jumping straight to a plugin is the fastest and smartest way to get a table of contents on your site. Forget wrestling with manual code—this route automates the whole process and gives you a ton of customization options right out of the box. Instead of getting tangled up in HTML anchors and CSS, you can have a slick, functional TOC running in just a few minutes.
Plugins are built to do the heavy lifting for you. They automatically scan your content for headings (like H2s and H3s) and build the navigation list on the fly. That means when you add, remove, or shuffle sections in a post, the TOC updates itself. It’s a true “set it and forget it” solution that saves a massive amount of time, especially if you’re managing a content-heavy website.
Choosing the Right TOC Plugin
A quick search in the WordPress plugin directory will show you plenty of options, but a few consistently stand out for their features and reliability. Before you pick one, here are the key things I always consider:
- Performance: A lightweight plugin is non-negotiable. You absolutely do not want your TOC slowing down your site. Always look for plugins that are built with speed in mind.
- Customization: Your TOC should feel like part of your brand, not a generic add-on. The best plugins give you deep control over colors, fonts, borders, and layout.
- Automation: Can the plugin automatically pop a TOC onto certain post types? Can you set rules, like only showing it on articles that have more than four headings? Good automation is a huge time-saver.
- Ease of Use: A clean, intuitive interface makes all the difference. The setup should be straightforward, not a headache.
Some of the most popular and well-regarded plugins I've used are Easy Table of Contents, LuckyWP Table of Contents, and the TOC block that comes bundled with powerhouse plugins like Kadence Blocks or All in One SEO. They all get the job done, just with slightly different workflows.
If you need a quick refresher on the basics, our guide on how to install a WordPress plugin will get you started.
I've put together a quick comparison to help you decide which plugin might be the best fit for your project.
Top WordPress Table of Contents Plugin Comparison
Choosing the right tool can make all the difference. This table breaks down the key features of the most popular TOC plugins to help you find the perfect match for your needs.
| Feature | Easy Table of Contents | LuckyWP Table of Contents | Kadence Blocks TOC |
|---|---|---|---|
| Ease of Use | Very beginner-friendly with a simple settings page. | Intuitive interface with extensive customization. | Integrated block, seamless with Gutenberg/Kadence. |
| Auto-Insertion | Yes, with rules for post types and heading count. | Yes, highly configurable auto-insert options. | No, must be added manually as a block to each post. |
| Customization | Good control over colors, fonts, and width. | Excellent styling options, including presets. | Deep design control via the Kadence block settings. |
| Gutenberg Block | Yes, provides a dedicated block. | Yes, includes a block for easy placement. | Yes, it's a native block within the Kadence suite. |
| Best For | Users who want a simple, "set-it-and-forget-it" tool. | Users needing granular control and styling freedom. | Kadence theme/block users looking for tight integration. |
Ultimately, you can't go wrong with any of these. LuckyWP offers incredible flexibility, Easy TOC is dead simple, and Kadence is a no-brainer if you're already in its ecosystem.
Configuration and Customization Tips
Once you’ve installed your chosen plugin, the real fun begins in the settings. This is where you tell your TOC exactly how to behave. A great starting point is setting the "counter," which tells the plugin when to generate a TOC—for example, only on posts with three or more headings.
You also get to pick which heading levels to include. I generally stick to H2 and H3 tags to create a clean, structured outline. If you have incredibly long, detailed content, you might want to include H4s, but be careful not to make the list too cluttered.
Most plugins also let you exclude specific headings. This is super handy for keeping sections like an FAQ or a "Final Thoughts" conclusion out of the navigation list. Usually, all it takes is adding a simple CSS class to the heading you want to skip.
The real power of a plugin is its ability to automate placement. You can typically configure it to auto-insert the TOC right before the first heading of every post. This alone saves you from having to manually add it every single time you hit publish.
This flowchart gives a simple visual for when a table of contents really starts to pay off.
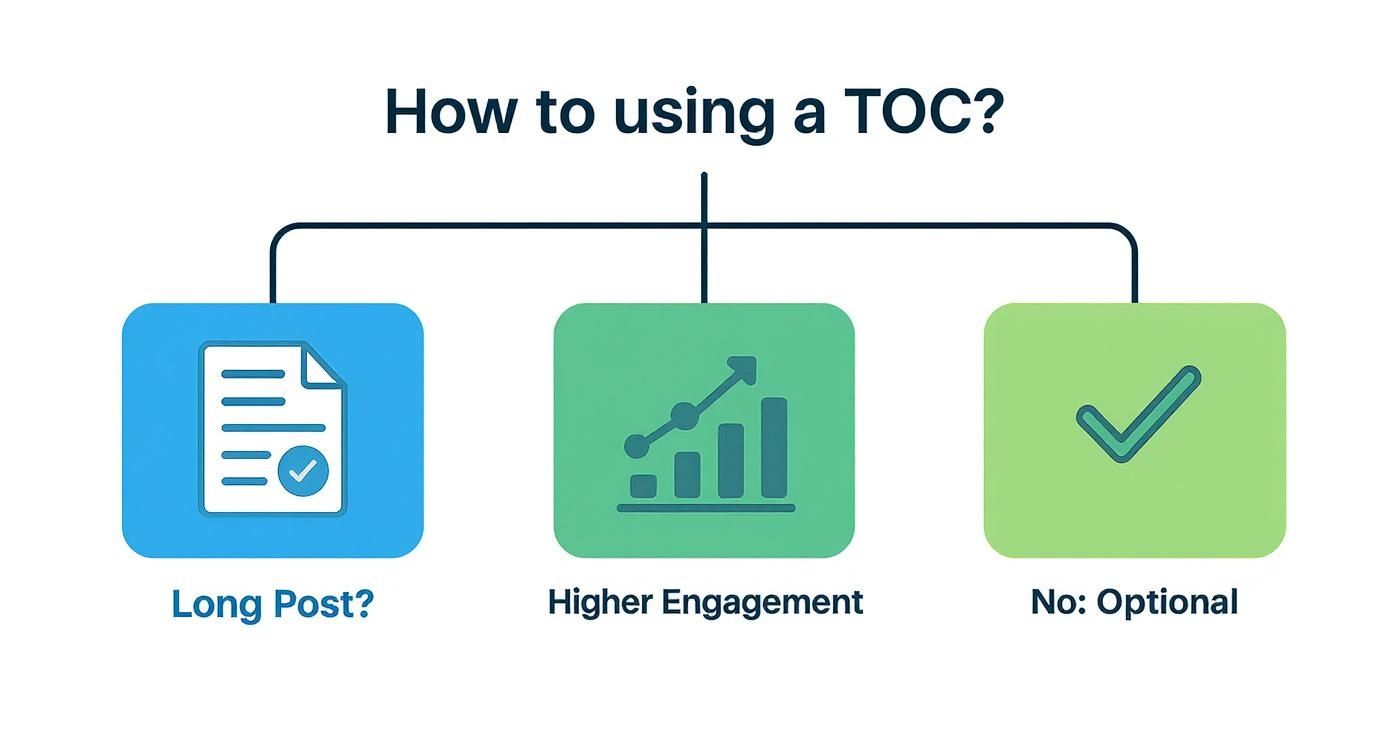
The takeaway here is pretty clear: for your longer, more in-depth articles, a TOC isn't just nice to have—it's an essential tool for keeping readers engaged.
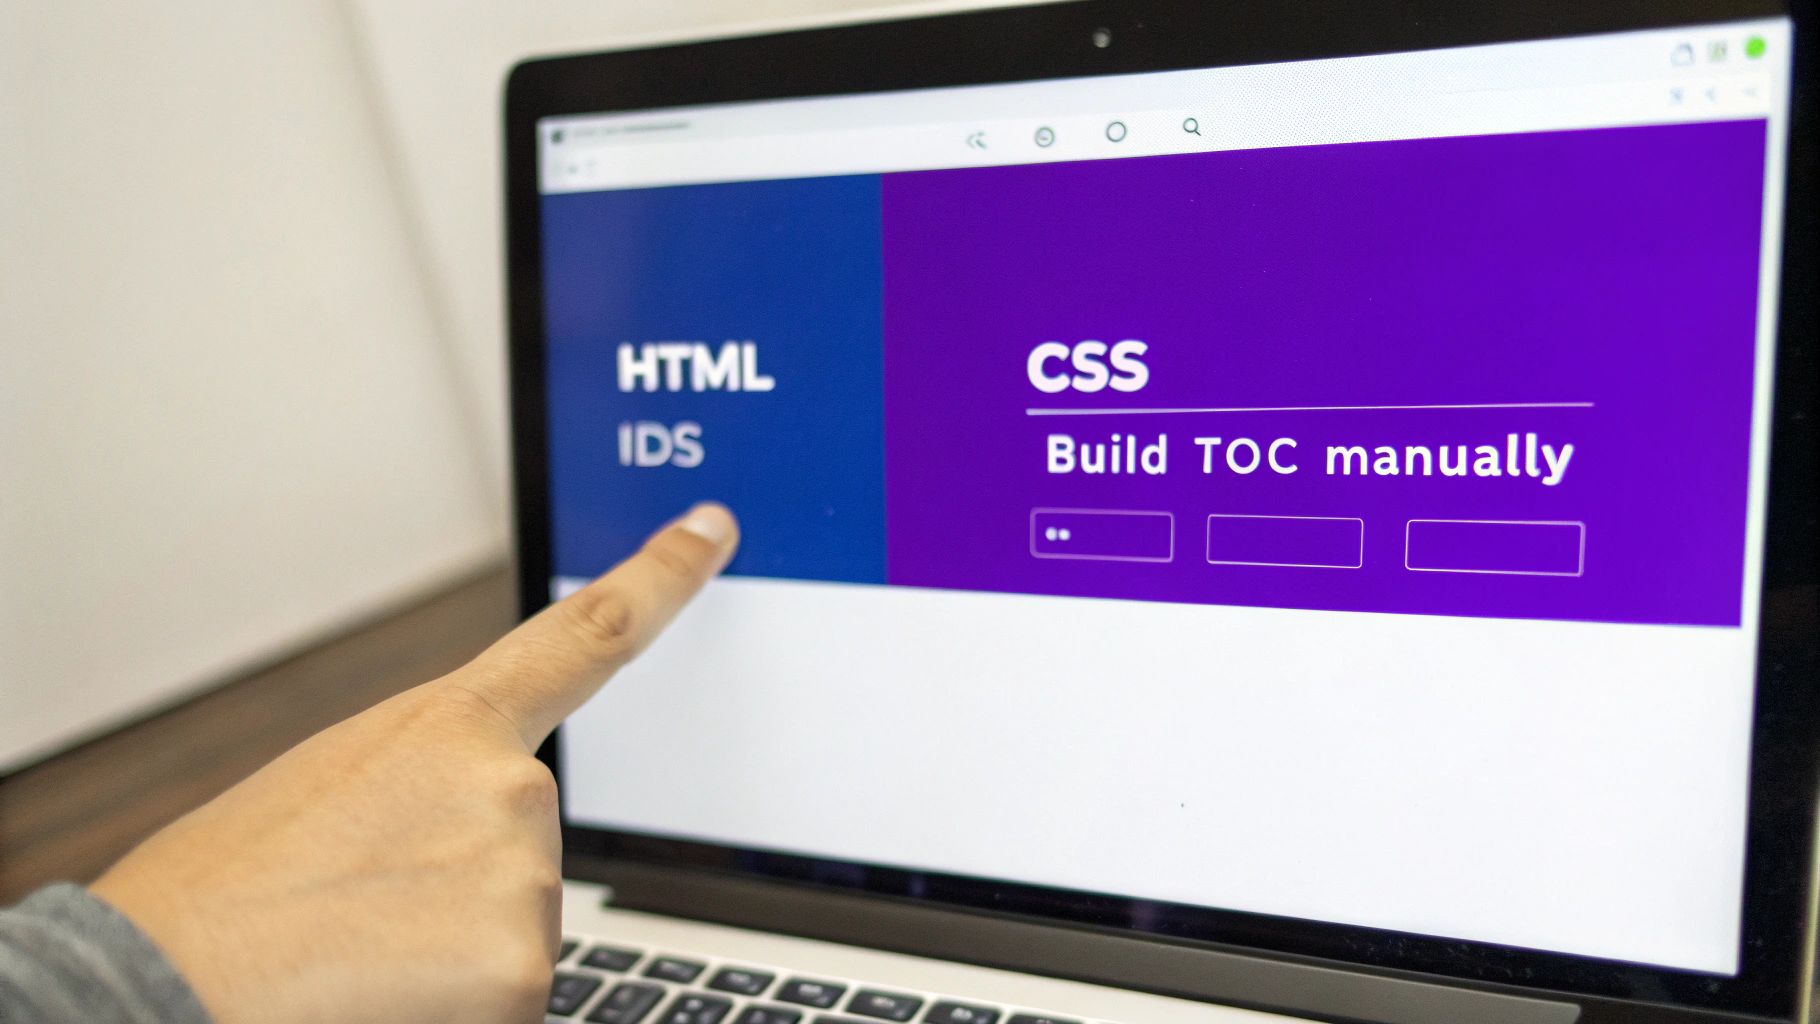
Creating a TOC Manually Without a Plugin
While plugins are incredibly convenient, they aren't the only game in town for building a WordPress table of contents. If you're someone who obsesses over site speed or just wants total, granular control over every element, rolling up your sleeves and building a TOC manually is a fantastic option.
This hands-on approach keeps your site lean by sidestepping the extra code plugins add. What you get is a completely custom, feather-light solution.
The whole process really just boils down to two things: setting up the destinations (we call these anchor points) and then building the links that jump to them. It might sound a bit technical, but you'll be surprised how straightforward it is once you see it in action. We'll be using a tiny bit of HTML, but it's nothing you can't handle right inside the WordPress block editor.
Best of all, this manual method ensures your table of contents has zero impact on your page load times. You're just adding a few simple lines of HTML. For performance purists, it's the ultimate choice.
Establishing Your Anchor Points
First things first: you need to give each heading in your article a unique identifier. In HTML-speak, this is called an HTML anchor or ID. Think of it like giving each section a unique street address so your TOC links know exactly where to go.
Thankfully, the Gutenberg block editor makes this dead simple.
Just click on any Heading block (an H2, H3, whatever you want to link to) in your content. Over in the block settings sidebar on the right, pop open the "Advanced" panel. You'll spot a field labeled "HTML anchor."
This is where you'll type in a unique ID. A solid best practice is to use the heading text itself, just in lowercase with hyphens instead of spaces.
- For a heading like: "Optimizing Your TOC for SEO"
- Your HTML Anchor would be:
optimizing-your-toc-for-seo
Go ahead and repeat this for every single heading you want to pop into your table of contents. Just remember, every ID on the page has to be unique!
Building Your Clickable List
With your anchors all set up, it's time to build the actual list of links.
Find the spot at the top of your post where you want the TOC to live and add a standard List block. Type out the text for each link, making sure it matches your heading titles.
Now, let's make them clickable. Highlight the text for your first heading in the list and click the little link icon in the toolbar. In the field that appears, type a hashtag (#) followed by the exact HTML anchor you created earlier.
So, for our example, the link would be #optimizing-your-toc-for-seo. That hashtag tells the browser to jump down to the element with that specific ID on the current page. Do this for every item on your list, and voilà—you've got a fully functional, hand-built TOC.
A crucial tip here is consistency. A single typo or even a case mismatch between your link and the heading's anchor ID will break the connection. I always double-check that they match perfectly.
Styling Your Manual TOC with CSS
A functional TOC is great, but let's make it look good, too. A few lines of custom CSS can transform your manual table of contents into something polished and professional. You can drop this code right into the WordPress Customizer under "Additional CSS."
To start, give your List block a custom CSS class so you can target it specifically. Click the list, go to its "Advanced" settings, and add a class like manual-toc. This way, your styles won't accidentally mess with other lists on your site.
Here's a basic CSS snippet to get you started. This code adds a nice border, some padding, and a clean background.
.manual-toc {
border: 1px solid #ddd;
padding: 20px;
background-color: #f9f9f9;
margin-bottom: 2em;
}
.manual-toc-title {
font-weight: bold;
font-size: 1.2em;
margin-bottom: 10px;
}
To add a title like "Table of Contents" above your list, just insert a Paragraph block, type your title, and give it the CSS class manual-toc-title.
One more pro-tip: you can add a smooth-scrolling effect so the jump isn't so jarring for the reader. Just add this simple rule to your site's CSS:
html {
scroll-behavior: smooth;
}
That one line tells the browser to animate the scroll to the anchor link, creating a much more pleasant user experience. It's a small touch that makes a manual WordPress table of contents feel every bit as refined as one from a plugin.
How to Integrate a TOC in the Divi Builder
Divi is much more than a theme; it's a full-blown website-building framework. That means you have some seriously powerful tools baked right in to create a polished WordPress table of contents without ever leaving the Divi Builder. This approach gives you pixel-perfect control over the design, ensuring your TOC matches your site's aesthetic down to the last detail.
The process feels a lot like the manual HTML method, but you get to do it all within Divi's visual interface. You'll assign unique IDs to your sections and then build a list of links that jump to them. The big win here is that Divi makes managing all of this incredibly intuitive.
Setting Up Anchor Links in Divi Sections
First things first, you need to give each key section of your article a unique address. In Divi, every Section, Row, or Module has a specific spot for a CSS ID. This is basically the Divi equivalent of an "HTML anchor" in the Gutenberg editor.
To set one up, just open the settings for the Section you want to link to. Pop over to the Advanced tab, and you'll see a field labeled "CSS ID & Classes." In that "CSS ID" box, type in a unique identifier.
I always recommend using a descriptive, lowercase name with hyphens for readability. For instance, a section titled "Optimizing Your TOC" could get a CSS ID like optimizing-your-toc. Just repeat this for every section you want in your TOC, and make sure every single ID is unique.
Building the TOC with a Text Module
With your sections properly tagged, it's time to build the clickable list. The simplest way to pull this off is with a standard Divi Text module.
Go ahead and add a Text module near the top of your post. Inside, create a simple unordered (bulleted) list. Type out the names for each section, making sure they match the actual heading text so everything is clear for your readers.
To make them work, highlight the text for your first list item and click the link icon in the toolbar. In the URL field, type a hashtag (#) followed by the exact CSS ID you assigned to that section. Using our earlier example, the link would be #optimizing-your-toc.
It's absolutely crucial that the CSS ID in the link perfectly matches the ID you set in the section's advanced settings. A single typo will break the link, so I always recommend copy-pasting the ID to avoid any mistakes.
Do this for every item on your list, save your work, and you've got a fully functional, custom-built table of contents made entirely with native Divi modules.
One little snag you might hit is the anchor link getting hidden behind Divi's sticky menu. If your fixed header is covering up the top of the section when a link is clicked, don't worry, it's a common problem with a simple fix. You can learn how to fix the anchor link target issue with Divi's sticky menu to keep the user experience smooth.
Advanced Divi TOC Strategies
Sure, building a manual TOC on every single page works, but the real magic of Divi is in the Theme Builder. This tool lets you create a universal blog post template and dynamically inject elements—like a TOC—into it.
Here are a few more advanced ways you can handle your WordPress table of contents in Divi:
- Theme Builder Injection: Instead of adding a TOC module to every new post, just add it once to your blog post template in the Theme Builder. This automatically places it on every article, saving you a massive amount of time and ensuring consistency.
- Sticky TOC in a Sidebar: For long-form content, a TOC that follows the reader down the page is a fantastic user experience. You can easily do this by placing your Text module inside a column, then heading into that column's Advanced settings and setting its Position to "Sticky."
- Popup TOC with Divi Areas Pro: If you're aiming for a super clean, modern look, you can put your TOC inside a popup. Using a tool like Divi Areas Pro, you could create a button that says "View Article Outline," which then triggers a sleek popup with all your navigation links.
This last method is especially great for decluttering the initial view of your post while still offering the full navigational power of a TOC. You could even trigger it from a floating icon that stays visible as the user scrolls.
By tapping into Divi's built-in modules and its powerful Theme Builder, you can go way beyond a simple list of links. You can create a navigational experience that's not just functional but deeply integrated into your site's design and user flow.
Make Your Table of Contents Work for SEO and Accessibility
A well-crafted table of contents does more than just guide readers; it’s a powerhouse for boosting your SEO and making your site accessible to everyone. When you think strategically about how you build it, you turn a simple navigation tool into a genuine asset for both Google and users with disabilities.
It all starts with your headings. These aren't just titles for your sections; they are crucial signposts for search engines. When you use clear, descriptive headings (H2s, H3s) that naturally include your keywords, you're essentially handing Google a perfect outline of your content. This clarity is often rewarded when Google pulls your TOC links directly into the search results as "jump to" sitelinks, making your listing far more clickable.

Semantic Structure: The Foundation for Search Engines and Screen Readers
Beyond just keywords, the underlying HTML of your TOC matters—a lot. Search engines and assistive technologies, like screen readers, rely on semantic HTML to understand the structure and hierarchy of your page. A proper WordPress table of contents needs to be built with the right tags to be effective.
In practice, this means your TOC should be an ordered (<ol>) or unordered (<ul>) list. This structure signals a clear relationship between the items, telling a screen reader, "Hey, this is a list of navigational links." Most quality TOC plugins handle this for you automatically. But if you're building one by hand, using a List block is the right way to go.
Think Mobile: Designing a Better Experience on Small Screens
With most web traffic now coming from mobile devices, a responsive TOC is non-negotiable. A table of contents that looks great on a desktop can quickly become a clunky, screen-hogging mess on a smartphone, pushing your actual content way down the page and sending users bouncing.
A fantastic solution here is to make your TOC collapsible. By default, it can show just a title like "In This Article," with a small icon or button that users can tap to expand the full list. This simple design choice saves precious screen real estate while keeping the full navigational power just a click away.
Your table of contents should enhance the user experience, not get in the way. On mobile, that often means making it collapsible to prioritize immediate access to the content itself.
The WordPress ecosystem is a content-producing machine. On average, WordPress sites publish roughly 27 posts every second, leading to a mind-boggling 711 million posts each year. This sheer volume highlights just how essential a WordPress table of contents is for keeping long-form articles organized and discoverable.
Supercharge Accessibility with ARIA
To take your accessibility game to the next level, consider ARIA (Accessible Rich Internet Applications) attributes. These are special HTML attributes that give screen readers extra context. While it can get a bit technical, a few key attributes can make a huge difference:
role="navigation": Applying this to your TOC's container tells assistive tech that this block of links is a primary navigation menu for the page.aria-label="Table of Contents": This provides a crystal-clear, audible label for the navigation section, leaving no doubt about its purpose.
When you're optimizing your table of contents, it's vital to think beyond just SEO and consider the full scope of what website accessibility entails to ensure everyone can navigate your content effectively.
Many modern TOC plugins are already built with these best practices in mind, but it never hurts to double-check. Implementing these small optimizations ensures your WordPress table of contents serves every single visitor, which is the ultimate goal of great web design. And while you're at it, you can dive deeper into our complete guide on website accessibility best practices to make sure your entire site is inclusive.
Got Questions About Your WordPress TOC?
Even with the best tools in your hands, you're bound to run into a few questions or hit a snag when setting up a WordPress table of contents. I've been there. This section is all about tackling those common issues head-on, giving you clear, straightforward answers to get you past any roadblocks.
We'll cover everything from site speed worries to SEO impact, so you can build a TOC that actually helps you hit your website's goals. Let's get into the questions I hear most often.
Will a Table of Contents Plugin Slow Down My Site?
This is probably the number one concern, and for good reason. Site speed is everything for user experience and SEO. The short answer? It really depends on the plugin. A modern, well-coded TOC plugin is built to be feather-light and will have a tiny, usually unnoticeable, impact on performance.
Of course, if you're chasing every last millisecond, the fastest way is to build the TOC by hand with HTML and CSS. That adds practically zero overhead. But for most people, the sheer convenience and automation of a good plugin is well worth the minuscule performance trade-off.
The real key here is to pick a reputable, lightweight plugin. Steer clear of tools that are bloated with a ton of features you'll never use. After you install any new plugin, it's always a good habit to run a quick page speed test just to be sure.
Can a Table of Contents Actually Hurt My SEO?
It's incredibly unlikely. In fact, a well-implemented table of contents almost always helps your SEO. It sends all the right signals to Google—like lower bounce rates and more time on page—by making your content a breeze to navigate.
Plus, a TOC can give you a direct boost in search visibility. Google often pulls these anchor links to create "jump to" links right in the search results. That can be a massive win for your click-through rate.
So, when could it cause a problem? Only if it's done poorly. For example:
- Your headings are vague and don't match the content.
- The layout is cluttered and just plain confusing for the reader.
- You've got broken links that go nowhere.
As long as your TOC is clear, functional, and genuinely helps your reader, it's going to be a net positive for your search rankings.
How Do I Get My TOC to Update Automatically?
If you want a "set it and forget it" table of contents, a plugin is your best friend. This is easily one of the biggest perks of using a dedicated TOC plugin instead of building one manually.
Most plugins work by dynamically generating the navigation list from your article's headings (H2s, H3s, etc.). That means whenever you add a new section, tweak a heading, or delete something, the plugin automatically rebuilds the TOC on the fly. No extra work for you.
On the flip side, if you build your TOC by hand, you're the one in charge of keeping it updated. Every time you change your article's structure, you'll have to go back and manually add, edit, or remove links. For long-form content that evolves over time, that can get tedious and is a recipe for broken links.
Why Is My Table of Contents Not Appearing?
It’s definitely frustrating when you’ve got everything set up, but your TOC is a no-show. This issue almost always boils down to one of a few usual suspects.
First, dive into your plugin's settings. A lot of plugins have a "minimum headings" rule and won't show the TOC unless your post hits that number (e.g., must have at least three H2 headings). While you're there, double-check that the plugin is actually enabled for the right post type, like "Posts" or "Pages."
If you used a shortcode to place the TOC, scrutinize it for typos. For manual TOCs, the problem is nearly always a mismatch between your anchor link ID and the href in your list. Remember, they have to match perfectly, and they're case-sensitive. Finally, a stubborn caching plugin can sometimes serve an old version of the page, so when in doubt, clear your website and browser cache.
Ready to create advanced, dynamic content experiences in Divi? At Divimode, we build powerful tools like Divi Areas Pro to help you craft engaging popups, fly-ins, and more. Take your Divi site to the next level by exploring our plugins and tutorials at https://divimode.com.
More Articles You Will Like