Ever made a quick update to a Divi layout or tweaked a WooCommerce price, only to stare at the screen wondering why the old version is still showing up? It's a maddeningly common experience, and nine times out of ten, a caching issue is the culprit.
Learning how to purge cache in WordPress is probably the single most useful troubleshooting skill you can have. It’s the go-to first step for fixing visual glitches and making sure your updates actually go live for everyone.
Why and When You Need to Purge Your WordPress Cache
Caching is your website's secret weapon for speed. It works by storing static, pre-built versions of your pages, so your server doesn't have to grind away building them from scratch for every single visitor. This slashes load times and makes for a much happier user experience.
But that strength turns into a weakness the moment that stored version—the "cache"—becomes outdated or "stale."
When you make changes to your site, whether it's updating a blog post or tweaking some CSS, you're changing the live version. If the cache isn't cleared, your server might just keep dishing out the old, saved copy. This creates a frustrating gap between what you see in the backend and what your visitors see on the frontend.
Common Scenarios Requiring a Cache Purge
You’ll find yourself needing to clear the cache more often than you think. Getting familiar with these situations will save you tons of time you might otherwise spend pulling your hair out.
- Design and Content Updates: Any little change you make with the Divi Builder, from altering a module's color to adjusting its spacing, might not appear until you hit that purge button.
- Plugin or Theme Changes: Activating a new plugin, deactivating an old one, or updating your theme can introduce new code that clashes with old cached files.
- WooCommerce Product Updates: Changed a product's price, description, or stock status? A stale cache could show customers incorrect info, which can directly torpedo a sale.
- Popup and Form Adjustments: If you modify a popup's trigger in a tool like Divi Areas Pro or change a form's fields, you'll often need a cache purge to get the new rules to apply. You can learn a lot more about the specific problems with cache and Divi to understand these quirks better.
This simple flowchart is a great mental model for when purging your cache should be your first move.
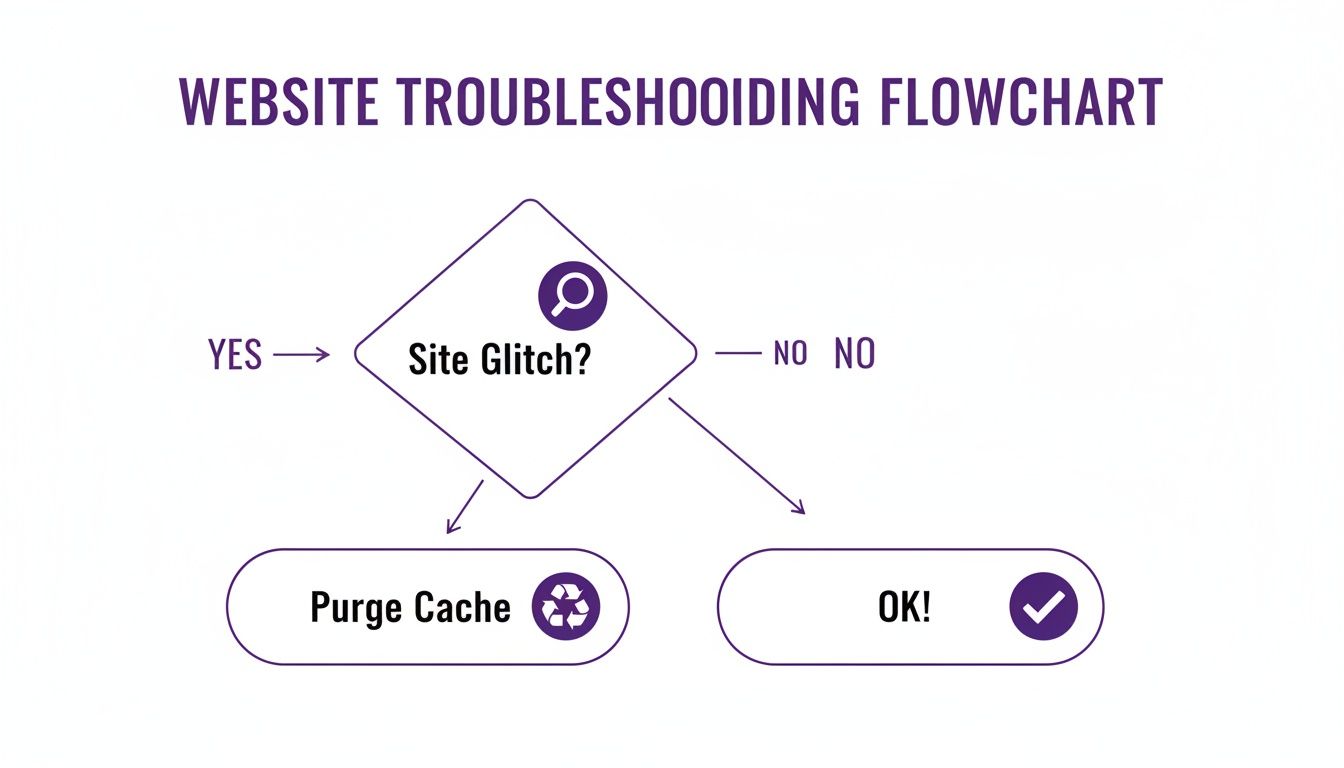
When your site isn't behaving as expected right after an update, clearing the cache should be your first reflex. Beyond just fixing display bugs, it's also a key part of good WordPress SEO optimisation, as it directly impacts site speed and user experience.
Purging Cache from Popular WordPress Plugins
When something looks off on your live site, your caching plugin is almost always the first place you should look. These plugins are the gatekeepers of your site's performance, but they can sometimes hold onto old content for a little too long. They need to be told when it's time to refresh.
Thankfully, most modern caching plugins add a handy shortcut right into your WordPress admin bar—that black menu running across the top of your screen. This means you can usually clear your entire site's cache with just one or two clicks, no matter where you are in the backend.
Clearing Cache with WP Rocket
WP Rocket is famous for being incredibly user-friendly, and its cache-clearing function is no exception. It’s built to be fast and intuitive, which is a big reason why it's a favorite for site owners who’d rather not get lost in a sea of complicated settings.
The quickest way to clear the cache is to just hover over the WP Rocket link in your top admin bar. In the dropdown menu that appears, click Clear cache. The page will reload, you'll get a quick confirmation message, and you're done. It's really that simple.
If you need a bit more control, you can head over to Settings > WP Rocket from your main dashboard. On the dashboard tab, you'll see the same "Clear cache" button. You’ll also find an option to preload the cache, which proactively rebuilds the saved pages for your visitors.
Pro Tip: WP Rocket also adds a "Clear this URL" option to the admin bar. This is a lifesaver when you've only updated a single page or post. It lets you refresh just that one URL without flushing your entire site's cache, which can temporarily slow things down for everyone else.
Purging All Caches in W3 Total Cache
W3 Total Cache is a much more powerful and complex beast, offering a huge array of settings for advanced users. Its interface can feel a bit intimidating at first, but the basic task of clearing the cache is just as easy as with the others.
Your go-to method is the Performance tab in the admin bar. Hover over it, and a large menu will pop out. The very first option is Purge All Caches. Clicking this will immediately wipe every type of cache W3 Total Cache is managing—page cache, object cache, database cache, you name it.
Alternatively, you can navigate to Performance > Dashboard in your WordPress sidebar. Right at the top of this page is a big, prominent button labeled empty all caches. Both buttons do the exact same thing, giving you a straightforward way to reset your site's content. Trying out different popular caching plugins is the best way to see which interface and feature set really clicks for you.
Deleting Cache with LiteSpeed Cache
LiteSpeed Cache is a seriously powerful server-level solution that often comes pre-installed on hosts using LiteSpeed web servers. The plugin is your control panel, letting you manage this powerful engine right from your WordPress dashboard.
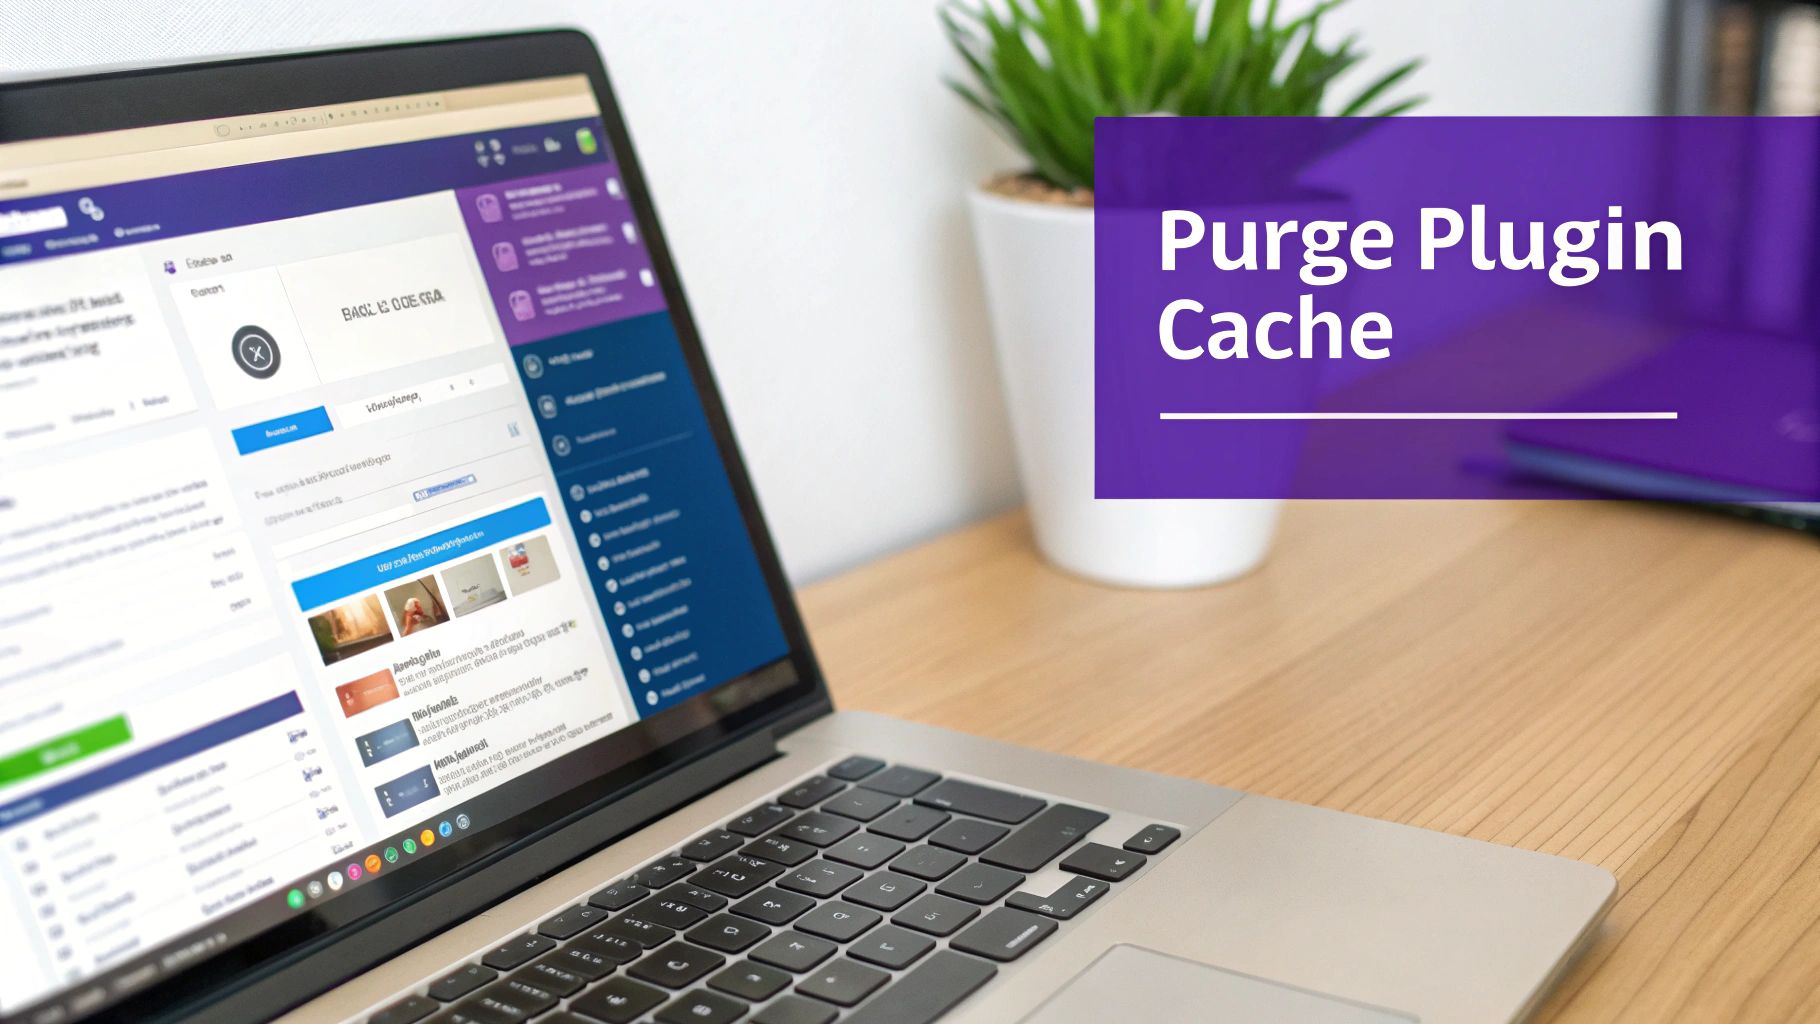
This screenshot shows the WP Rocket dashboard, highlighting the clear and simple options available for cache management. The interface is designed for clarity, placing critical actions like "Clear Cache" in easily accessible locations.
Just like the others, LiteSpeed adds its own icon—a diamond shape—to the admin bar. Hover over it, and you'll see a menu with several purge options. To wipe everything at once, just click Purge All.
Where LiteSpeed really shines, though, is in its more specific purging tools. These are incredibly helpful for targeted fixes:
- Purge Critical CSS: Perfect for when you've made style changes that just refuse to show up.
- Purge All – LSCache: This clears out the dynamic page cache specifically.
- Purge All – CSS/JS Cache: Use this to target minified and combined script files.
Having these granular controls means you can fix specific problems without nuking the entire site cache. For high-traffic websites where every millisecond of performance counts, that's a fantastic feature.
Clearing Server-Side and Hosting Caches
So you’ve cleared your plugin’s cache, hit refresh, and… nothing. Your changes still aren't showing up. Don't pull your hair out just yet. There's another layer to check, and it's often the culprit: your hosting environment.
Many managed hosts—think Kinsta, SiteGround, and WP Engine—build their own powerful caching systems right into their platforms. This is a big reason they can deliver such fantastic speeds. They optimize performance at the server level, but it also means there's one more cache you need to clear. Understanding your specific WordPress website hosting options is key here, as every provider handles this a little differently.
Finding the Purge Button in Your Hosting Dashboard
Thankfully, most managed hosts make this pretty painless. They usually add a "Purge Cache" or "Clear Cache" button somewhere easy to find, either in their custom hosting dashboard or via a helper plugin they automatically install on your WordPress site.
A few examples I run into all the time:
- WP Engine: In the WordPress admin menu, you'll find a "WP Engine" item. Inside, there's a "Caching" tab with a big "Clear All Caches" button. This zaps their proprietary EverCache system.
- Kinsta: They make it incredibly simple. Their Kinsta MU plugin adds a "Clear Caches" button right in the top WordPress admin bar. One click and you're done.
- SiteGround: Their SiteGround Optimizer plugin also adds a "Purge SG Cache" button to the admin bar for a quick, one-click clear.
For stubborn display issues, finding this button is often that "aha!" moment. If a plugin-level purge didn't do the trick, this is your next move.
What Is This Varnish Cache I Keep Hearing About?
If you're on a more advanced or custom hosting setup, you might come across another layer called Varnish cache. Varnish is a different beast altogether. It's a reverse proxy that sits in front of your web server, intercepting requests and serving cached pages at incredible speeds before they even get a chance to bother WordPress.
Because it's so aggressive, clearing Varnish is typically handled through your host's control panel or a specialized plugin. The official Proxy Cache Purge plugin, for example, is smart about it—it only clears the cache for pages that have actually been changed. That selective approach is a lifesaver on big, high-traffic sites, where nuking the entire cache every time you fix a typo could easily overwhelm the server.
Key Takeaway: Server-side caching is a completely separate layer from your WordPress caching plugin. If clearing the plugin's cache doesn't work, your very next step should be to find the "Purge Cache" function from your hosting provider. It's the only way to be sure visitors are seeing your latest and greatest updates.
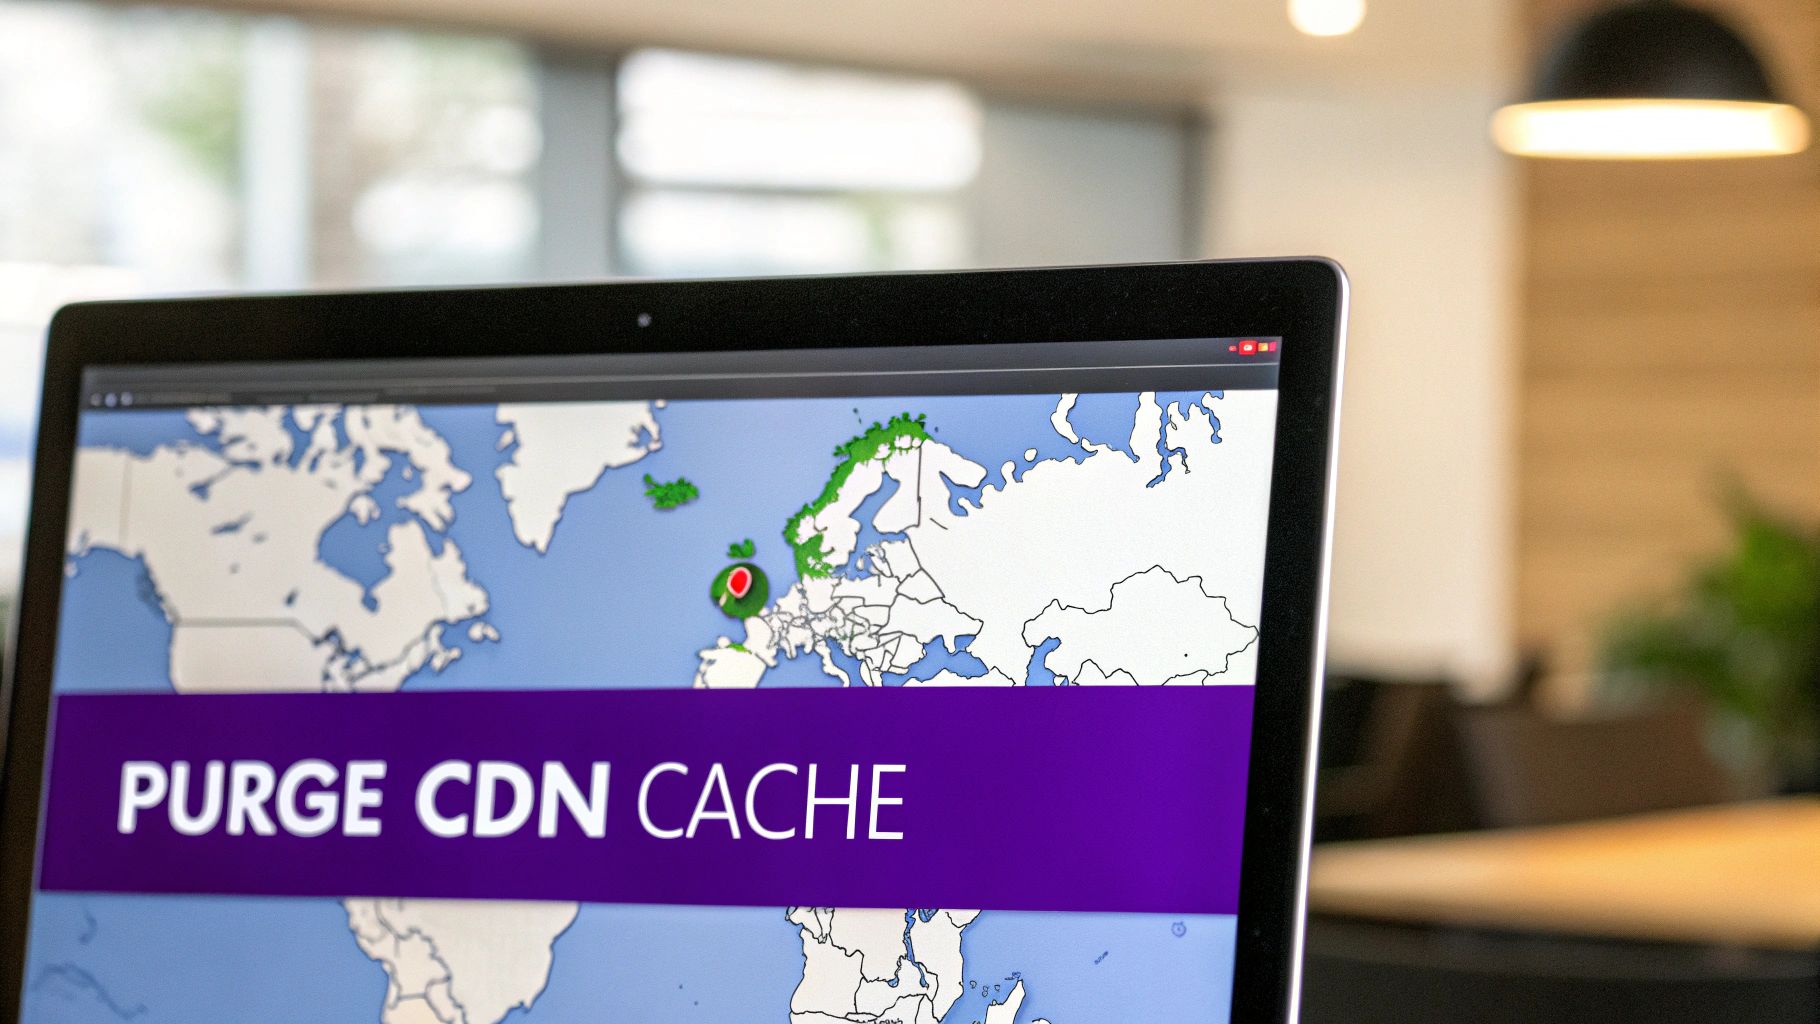
Managing CDN and Third-Party Service Caches
When you’ve cleared every cache you can find on your own server and things still aren’t updating, it’s time to look outward. For any website with a global audience, a Content Delivery Network (CDN) is another critical caching layer that can sometimes get stuck.
A CDN, like Cloudflare or Sucuri, works by storing copies of your site's static assets—think images, CSS, and JavaScript—on servers strategically placed all over the world. This is a game-changer for performance. When someone from Tokyo visits your site, they get served files from a nearby server in Asia, not one all the way in Ohio. The result is a much faster experience for your international visitors.
The catch? These global servers are yet another cache you have to manage. If you've just updated your company logo but the old one is still showing for users in Europe, it's almost certainly because a CDN server over there is stubbornly holding onto an outdated copy.
Purging Your CDN Cache
To get things unstuck, you'll need to log directly into your CDN provider's dashboard. The process is pretty similar across most services, even if the terminology changes slightly.
Inside your Cloudflare account, for instance, you would head over to the Caching section and then click on Configuration. From there, you’ll find two main options:
- Custom Purge: This is your precision tool. It lets you clear the cache for specific files or URLs, which is perfect if you’ve only changed one image or a single CSS file.
- Purge Everything: This is the big red button. It wipes the cache across every single one of their global data centers, forcing them all to fetch the newest version of your site. Use this after making significant, site-wide changes.
Knowing how to purge cache wordpress at the CDN level is non-negotiable for ensuring a consistent experience for every visitor, no matter where they are.
Expert Tip: Don't get trigger-happy with the "Purge Everything" button on your CDN. While it's necessary after big updates, doing it too often can temporarily slow your site down for international users as every server has to rebuild its cache from scratch.
A Quick Word on Object Caching
Beyond CDNs, you might also hear about advanced backend systems like Redis or Memcached. These are forms of object caching, which speed up your site in a totally different way. Instead of caching entire pages, they store the results of complex and time-consuming database queries.
Here's an analogy: if your homepage needs to ask the database for your 10 latest blog posts every single time it loads, object caching saves that answer. The next visitor gets the pre-saved result instantly, which drastically reduces the load on your database.
For most people on managed WordPress hosting, you don't really need to worry about clearing this manually. Your hosting provider typically handles it, and it's often tied into their main server-level "Purge Cache" button. It’s just good to be aware that this layer exists, as it plays a huge role in making the backend of your site feel fast and responsive.
Solving Caching Headaches in Divi and WooCommerce
Specialized platforms like Divi and WooCommerce bring their own unique caching quirks to the table. These aren't just generic caching issues—they're specific challenges that can directly impact user experience and even your bottom line, requiring a targeted approach to solve.
For designers using Divi, the most common frustration comes from its Static CSS File Generation. This is a fantastic performance feature, compiling your design styles into a single, optimized file. The problem? After you make a design tweak in the Divi Builder, the old CSS file can remain cached, making it seem like your changes didn't save. Purging the cache is the final, essential step to force Divi to regenerate this file with your latest updates.
Keeping Your WooCommerce Store Accurate
In the world of e-commerce, a stale cache is more than a minor annoyance—it’s a potential revenue killer.
Imagine you update a product's price, change its stock status, or adjust shipping rules. If an outdated cache continues showing old information to customers, it can lead to confusion, abandoned carts, and support nightmares. This is where a reliable workflow becomes crucial.
After any change to your products, checkout process, or store settings, you must purge your caches. This isn't just a suggestion; it's a mandatory step for running a smooth online store.
Learning when and how to clear your WordPress cache is vital for performance, but it directly impacts revenue for WooCommerce sites. Benchmarks show that a one-second delay in page load time can slash conversions by 7–20%. A solid workflow involves purging the cache immediately after price changes or checkout customizations so shoppers always see the most current offers.
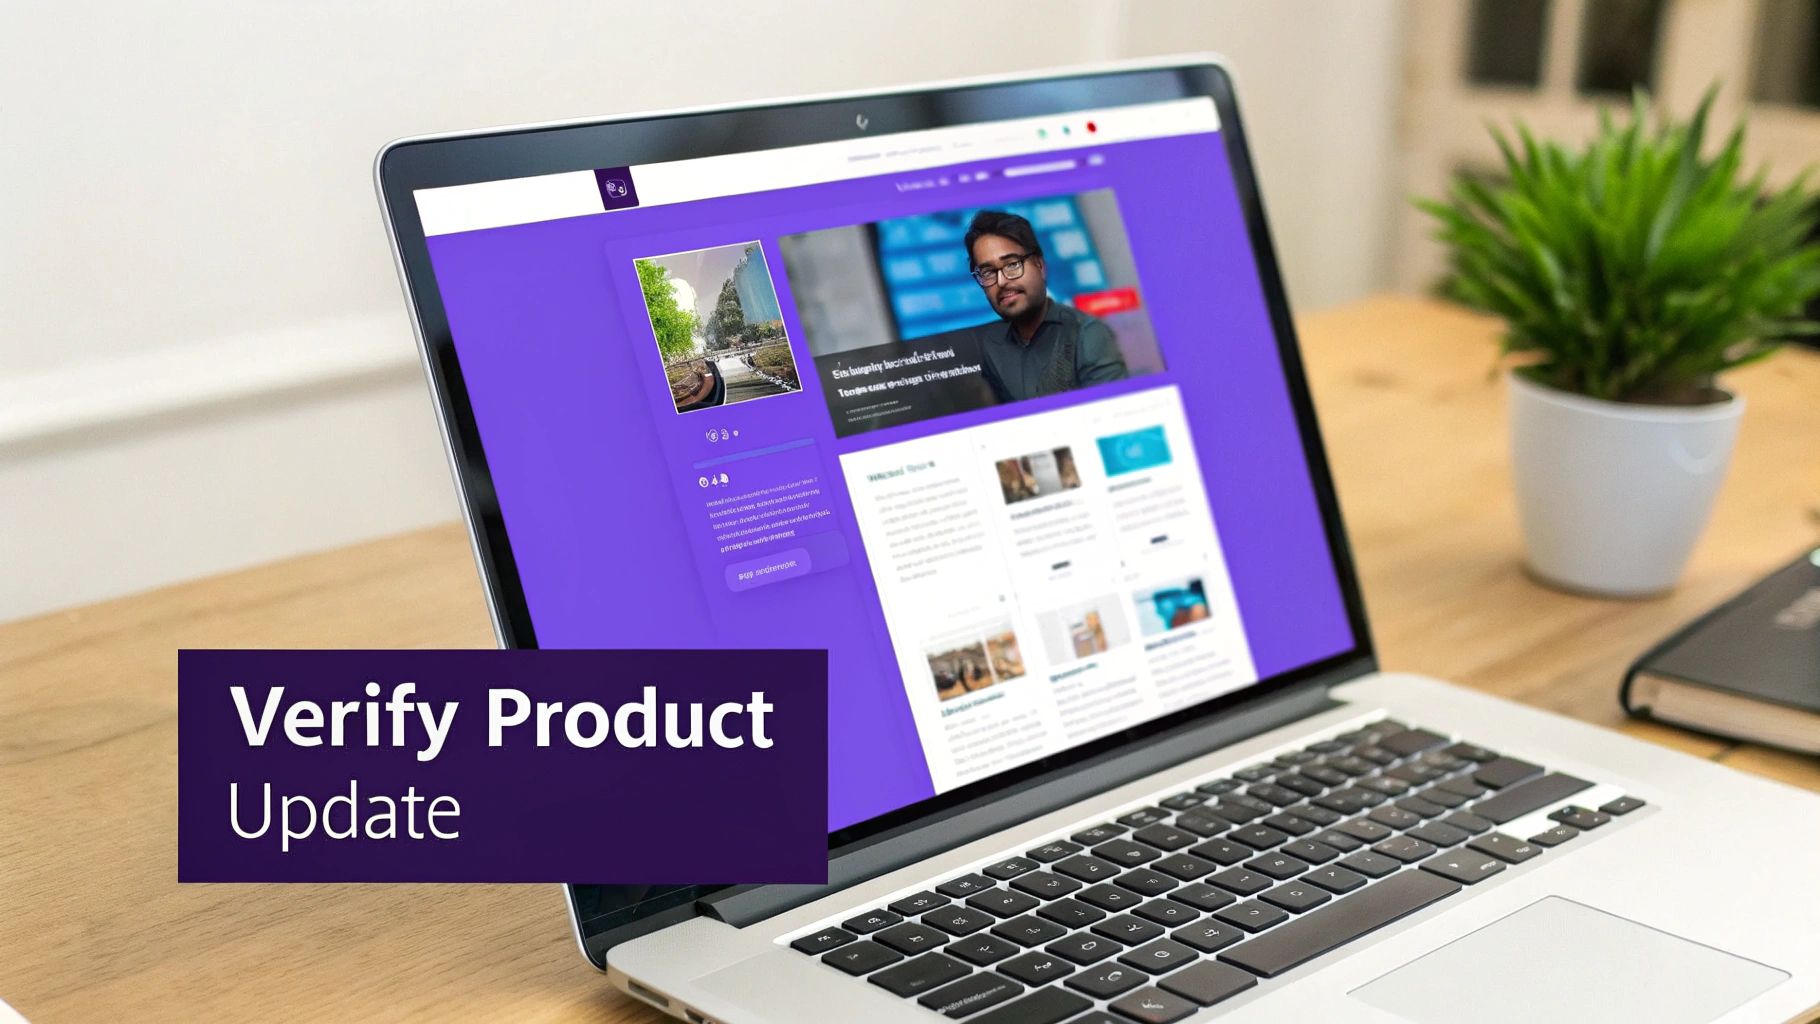
The Verification Workflow: The best way to confirm your changes are live is to follow this simple three-part process:
- Make your update in Divi or WooCommerce.
- Purge your cache at every level: plugin, server/hosting, and CDN.
- Open a new incognito or private browser window to view the page. This ensures you’re seeing the site as a brand-new visitor would, without any lingering browser cache getting in the way.
By making this process a habit, you can confidently manage your site, knowing that your updates are correctly displayed every single time. For those looking to dive deeper into performance, we have a complete guide on Divi performance and how to optimize for peak uptime that covers these topics in much greater detail.
Frequently Asked Questions About Purging WordPress Cache
Diving into the world of WordPress caching can feel a bit confusing at first. Even after you nail down the basics, some specific questions always seem to pop up, especially when you're trying to fix a stubborn issue. Let's tackle some of those common head-scratchers with quick, practical answers.
One of the first questions people ask is, "How often should I really be clearing my cache?" Honestly, there’s no single right answer. If you run a simple brochure site that hardly ever changes, you might go months without thinking about it. But for an active blog, a bustling e-commerce store, or any site with frequent updates, you'll find yourself clearing the cache after almost every change.
A good rule of thumb is to purge the cache whenever you make a change that you want visitors to see immediately. This includes everything from simple design tweaks and price updates to publishing a brand-new blog post.
What Is the Difference Between Browser and Site Cache?
Getting this distinction right is the key to solving most caching mysteries. I like to think of it this way:
Site Cache (or Server-Side Cache): This is the cache created on your server, usually by a plugin like WP Rocket or by your hosting provider (think Kinsta or WP Engine). It stores pre-built, ready-to-go versions of your pages to deliver them lightning-fast to all your visitors.
Browser Cache: This cache lives on a visitor's own computer. Their browser saves files like images, scripts, and stylesheets from sites they've visited before. The goal is to make return trips feel instantaneous because half the site is already loaded.
So, if you purge your site cache but a regular visitor swears they're still seeing an old version, their browser cache is almost certainly the culprit. This is exactly why testing changes in an incognito or private browser window is so effective—it completely sidesteps the local browser cache.
Can Clearing My Cache Break My Website?
It's extremely unlikely. In all my years of working with WordPress, I've never seen a site break from a cache purge.
When you clear the cache, you're just deleting stored static files. It doesn't touch your database, your theme files, or the core WordPress installation. The absolute worst thing that typically happens is a brief, temporary slowdown.
After a full purge, the server has to rebuild all those cached files from scratch as visitors start requesting pages. This means the very first person to visit a page might experience a slightly slower load time. But as soon as they do, the cache is rebuilt, and performance snaps right back to normal.
Learning how to purge cache wordpress is a completely safe and essential maintenance skill. It's your go-to tool for ensuring your site always shows the most current content to every single visitor.
At Divimode, we build powerful tools like Divi Areas Pro to help you create dynamic, high-performing websites. Take control of your popups, mega menus, and conditional content with ease. Learn more about Divimode.
More Articles You Will Like