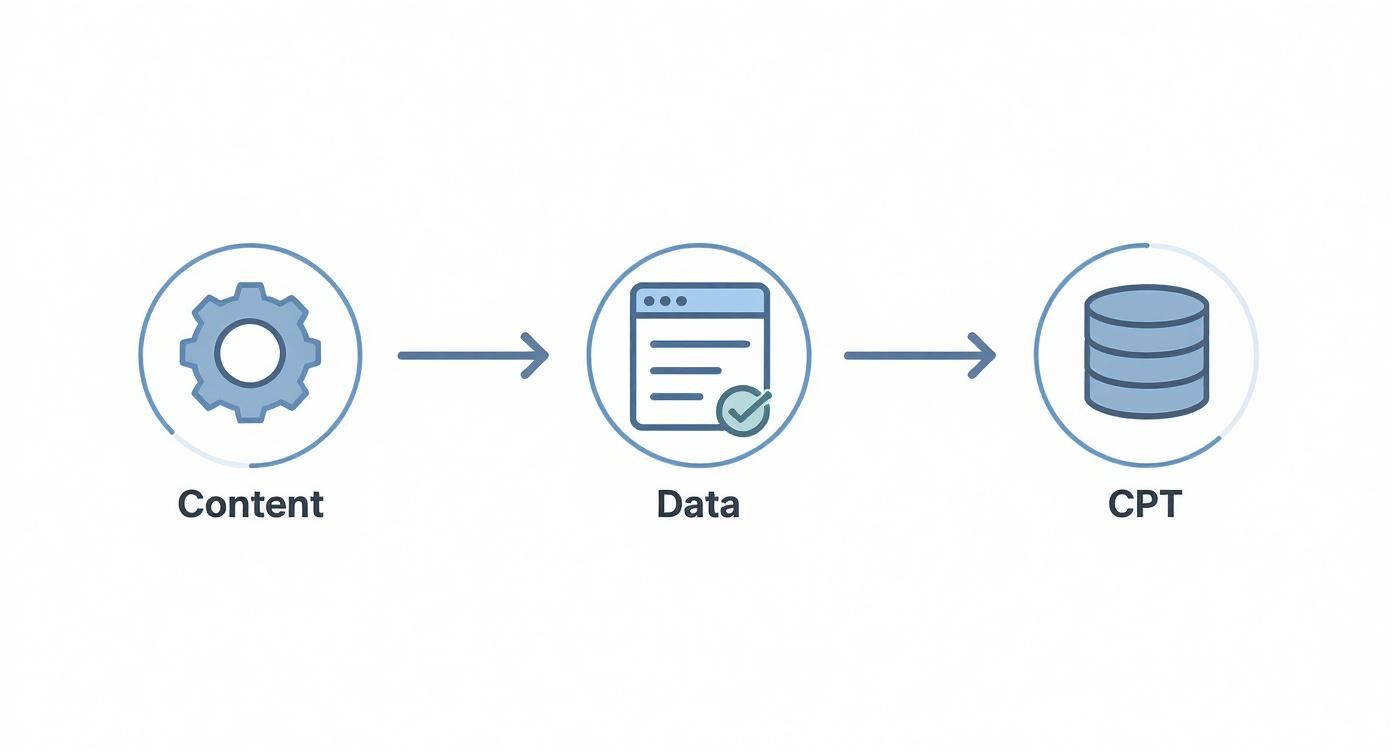
At their core, custom post types are a way to create new kinds of content in WordPress, moving you beyond the standard "Posts" and "Pages." Think of them as custom-labeled folders for specific information, like 'Team Members,' 'Portfolio Projects,' or 'Real Estate Listings.'
This simple concept is what transforms WordPress from a blogging platform into a seriously powerful and organized content management system.
Unlocking WordPress Beyond Posts and Pages

If you've ever felt boxed in by the default WordPress structure, you're not alone. Trying to manage something unique like testimonials or upcoming events using generic Posts can quickly turn into a mess. Your backend becomes disorganized, and the front-end experience for your visitors gets confusing.
This is exactly where the true power of custom post types (or CPTs, as you'll often see them called) comes into play.
Let's use an analogy. Imagine your website's content library is a filing cabinet. Out of the box, WordPress gives you two main drawers: "Posts" for your time-sensitive articles and "Pages" for your static, evergreen content. It's a decent start, but the system breaks down the minute you need to file something different.
What if you're building a movie review site? You can't just stuff a review into a "Post" and call it a day—you need specific fields like "Director," "Genre," and "Star Rating." Creating a "Movie Reviews" CPT is like adding a brand-new, perfectly labeled drawer to your filing cabinet, built just for that purpose.
Default WordPress Post Types vs Custom Post Types
To make this crystal clear, let's break down the key differences in a quick comparison.
| Attribute | Default Post Types (Posts & Pages) | Custom Post Types (CPTs) |
|---|---|---|
| Purpose | General-purpose blogging and static site content. | Specialized content like portfolios, products, testimonials, or events. |
| Structure | Standard fields: title, content, featured image, categories, tags. | Fully customizable fields (meta fields) tailored to the content type. |
| Organization | Mixed in with all other posts or pages in the main admin lists. | Segregated into its own dedicated menu item in the WordPress admin. |
| URL Structure | Typically /blog/post-name/ or /page-name/. |
Custom permalink structure, like /portfolio/project-name/. |
| Template Files | Uses standard single.php and page.php theme files. |
Can use custom template files like single-portfolio.php for unique layouts. |
This table shows how CPTs give you the control to build a much more organized, scalable, and user-friendly site architecture.
Why This Matters for Your Website
This organizational shift is way more than a simple backend cleanup; it fundamentally changes how you build and manage your website. Using CPTs lays a scalable and logical foundation for all your content.
Before you start creating CPTs, it's a smart move to understand how to plan your website structure effectively. A well-planned approach gives you some major advantages:
- Improved Organization: It keeps your main blog feed clean. No more portfolio items or team member profiles cluttering up your articles.
- Enhanced User Experience: You can design custom templates and layouts specifically for each content type, making information much easier for visitors to find and consume.
- Better Scalability: As your site grows, having a clearly defined structure makes content management far more efficient and sustainable in the long run.
WordPress powers a massive chunk of the web, and its incredible flexibility is a huge reason why. By 2025, it's projected to run around 43.5% of all websites—that's over 522 million sites. The ability to create custom post types is a key driver of this adaptability, letting developers and site owners build truly bespoke digital experiences.
Trying to decide between creating a custom post type or just sticking with a simple category can feel a bit fuzzy at first. But there's a really simple question you can ask that cuts right through the confusion: "Does this new type of content need its own unique data fields and a totally different design?"
If the answer is a resounding "yes," then you've got a perfect use case for a custom post types WordPress setup.
Think about a standard blog category, something like "Marketing Tips." Every article you file under that category is still fundamentally a blog post. It has a title, the main body of content, and maybe a featured image. You're really just grouping similar topics together. For that, a category or tag works perfectly.
But now, imagine you want to add "Recipes" to your site. A recipe isn't just a big block of text. To be genuinely useful, it needs specific, structured information that a regular post just doesn't have.
- Prep Time: A specific field for minutes.
- Cook Time: Another dedicated spot for the cooking duration.
- Ingredients: A list of items that you can easily add to or reorder.
- Difficulty Level: Maybe a simple dropdown menu with options like "Easy," "Medium," or "Hard."
Trying to shoehorn all that structured info into a standard blog post would be a clunky, disorganized mess. This is exactly where a "Recipes" CPT shines.
Identifying the Need for a CPT
The line in the sand is drawn the moment your content needs more than just a title and the main text editor. If you find yourself manually adding the same kind of structured information to a group of posts over and over again, that's your cue. A CPT is calling your name.
This separation does more than just clean things up. It gives your "Recipes" its own dedicated spot in the WordPress dashboard, completely separate from your regular blog. No more digging through a sea of blog posts to find that one chicken parmesan recipe.
This structured approach keeps you from falling into the trap of managing completely different types of content in the same bucket. It’s the key to building a website that's easy to manage and can grow without becoming a complete nightmare.
A custom post type is for content that has a different purpose and structure. A category is for content that has a different topic but the same structure. This distinction is the key to a well-organized WordPress site.
The Benefits of Choosing a CPT Over a Category
Going with a custom post type brings some serious advantages that go way beyond just keeping your backend tidy. It has a direct, positive impact on your site's user experience, design flexibility, and even how well you rank on Google.
Key Advantages:
- Superior Organization: Your "Portfolio" projects, "Team Members," or "Upcoming Events" each get their own home in the WordPress admin. This cleans up your main
Postsarea and makes finding and updating content way faster and more intuitive for anyone working on the site. - Unique Frontend Designs: With a CPT, you can create specific template files (like
single-recipe.phporarchive-portfolio.php). This is a game-changer because it lets you design a completely unique layout for your recipes that looks nothing like your standard blog posts. The result? A much richer and more engaging experience for your visitors. - Enhanced SEO: Search engines absolutely love structured data. By creating a CPT with its own set of custom fields, you can feed Google highly specific information. This is what powers those "rich snippets" you see in search results—things like star ratings for reviews or cook times for recipes—which can make your listings stand out and seriously boost your click-through rates.
- Scalable Architecture: Building your site with a proper custom post types WordPress architecture from day one helps you avoid a very common mistake: overloading your standard posts with content they were never meant to handle. It sets a solid foundation, ensuring your site can grow logically without becoming a tangled mess down the road.
How to Create a Custom Post Type with Code
If you want ultimate control and a real peek under the hood of WordPress, diving into code to create your custom post types is the way to go. Instead of clicking around in a plugin's interface, you get to define every single aspect of your new content type yourself. This method is perfect for developers who want a lean, powerful solution without adding the overhead of another plugin.
At the center of it all is a single, mighty WordPress function: register_post_type. Think of this function as a blueprint. You hand it a set of instructions (we call these "arguments"), and it builds a brand new content section for you, complete with its own menu right in the WordPress admin.
The whole process is pretty logical. You start by identifying a content need, figure out the data structure it requires, and then build the CPT to hold it all together.
This really drives home the point that a CPT is what you need when your content demands its own unique structure, moving it beyond what simple posts and pages can handle.
Understanding the register_post_type Function
To get this function working, you'll typically add your code to your theme's functions.php file. But the pro move is to create a small, custom plugin for it. Why? This keeps your CPT registration separate from your theme, so if you ever decide to switch designs, your custom content doesn't vanish. For a deep dive into this professional approach, check out our guide on custom WordPress plugin development.
Let's say we're building a website for a film festival and need a "Movies" custom post type. A basic snippet to get that started would look like this:
function dm_register_movie_post_type() {
register_post_type( 'movie',
array(
'labels' => array(
'name' => __( 'Movies', 'divimode' ),
'singular_name' => __( 'Movie', 'divimode' ),
),
'public' => true,
'has_archive' => true,
)
);
}
add_action( 'init', 'dm_register_movie_post_type' );
This simple block of code tells WordPress, "Hey, when you're starting up, create a new post type called movie for me." It's a basic foundation, but it's the perfect starting point to build upon with more powerful arguments.
Breaking Down the Key Arguments
The real magic of register_post_type is in the array of arguments you can pass to it. Each one controls a different piece of how your CPT looks and behaves.
labels: This is an array that defines all the text WordPress uses in the admin area for your CPT. We're talking everything from "Add New Movie" to "Search Movies." Filling this out properly makes the backend so much more intuitive for whoever is adding content.public: Think of this as the master on/off switch. Setting it totruemakes your post type visible on the front end of your site and in the admin dashboard. It’s actually a shortcut that toggles several other settings at once.has_archive: When you set this totrue, WordPress automatically creates an archive page for your CPT. For our "Movies" example, this would generate a page atyourwebsite.com/moviesthat lists all the movie entries. Simple as that.supports: This one is critical. Thesupportsargument tells WordPress which editor features to turn on. You can enable things like the title, main content editor, featured images, excerpts, and custom fields.
By carefully configuring the
supportsarray, you can tailor the editing screen to exactly what your content needs. For a "Testimonials" CPT, you might only need the title, content, and a featured image. This creates a super clean and focused interface for your client, with no confusing extra fields.
Enabling REST API Access and Taxonomies
To make your CPT truly flexible for modern development, you'll want to connect it to taxonomies and make it available through the WordPress REST API. This is absolutely essential for things like headless WordPress setups or if you need to integrate your content with other apps.
You can do this by adding show_in_rest => true to your arguments. To hook up a taxonomy, like "Genre" for our movies, you first register that taxonomy using the register_taxonomy function and then link it in your CPT arguments.
Here’s a more complete example putting it all together:
function dm_register_movie_post_type() {
$args = array(
'labels' => array(
'name' => __( 'Movies', 'divimode' ),
'singular_name' => __( 'Movie', 'divimode' ),
),
'public' => true,
'has_archive' => true,
'rewrite' => array( 'slug' => 'movies' ), // Sets the URL slug
'show_in_rest'=> true, // Makes it available in the REST API
'supports' => array( 'title', 'editor', 'thumbnail', 'excerpt' ),
'taxonomies' => array( 'genre' ), // Links to a 'genre' taxonomy
);
register_post_type( 'movie', $args );
}
add_action( 'init', 'dm_register_movie_post_type' );
This expanded code doesn't just create the CPT. It also sets a custom URL, turns on API access, and links it to our "Genre" taxonomy. This gives us a complete, structured content type that's ready for any project. This feature first landed with WordPress 3.0 back in June 2010, which was a huge step in its evolution from a simple blog platform to a full-blown CMS. Since that landmark update, WordPress has had over 760 total releases, with CPTs getting better all the time. You can find more cool stats about WordPress's history over on SearchLogistics.com.
Choosing The Right Plugin For Custom Post Types
While rolling up your sleeves and coding a custom post type from scratch gives you ultimate control, it's definitely not the only way to go. For a lot of us—developers and site owners alike—the speed and convenience of a good plugin is the smarter choice. These tools handle all the messy backend code for you, presenting a clean visual interface where you can focus purely on structuring your new content.
This approach massively lowers the barrier to entry. Suddenly, you can dream up and deploy complex content types without ever having to peek inside your theme's functions.php file. It's a game-changer if you're on a tight deadline or just aren't comfortable writing PHP. But picking the right tool is crucial, as each plugin strikes a different balance between simplicity and sheer power.
Comparing Top CPT Plugins
The WordPress plugin ecosystem is packed with options, but a handful of tools have rightfully become the go-to standards for CPTs. Let's break down four of the most popular choices: Custom Post Type UI (CPT UI), Advanced Custom Fields (ACF), Toolset, and Pods. Each one is built for slightly different needs and skill levels.
Custom Post Type UI (CPT UI): Think of this as the quintessential CPT registration tool. It's incredibly lightweight and does one job exceptionally well: creating post types and their associated taxonomies. CPT UI doesn't mess with custom fields or templating; it just gets the core structure registered so other tools can take over. It’s perfect when you need a no-fuss way to get the basics in place.
Advanced Custom Fields (ACF): While its claim to fame is its ridiculously powerful custom fields engine, ACF Pro also lets you register your own custom post types and taxonomies right from its UI. This makes it a fantastic all-in-one solution for building both the content container (the CPT) and all the data fields that live inside it. If you're already planning to use ACF for fields, this keeps your toolkit lean and perfectly integrated.
Toolset: This isn't just a CPT plugin; it's a full-blown custom development suite for WordPress. Toolset goes way beyond registration, offering tools to build custom fields, design templates visually, create custom search filters, and even manage user access. It’s a comprehensive framework for anyone looking to build complex, data-driven sites without touching a line of code.
Pods: A remarkably versatile and free framework, Pods bundles CPTs, taxonomies, and custom fields into a single, powerful package. It's well-known for its flexibility, even allowing you to extend existing content types like Users and Media. Pods strikes a fantastic balance of features, making it a strong contender for projects that need more than CPT UI but maybe not the entire commercial suite that is Toolset.
Key Takeaway: Your choice really hinges on your project's scope. For straightforward CPT registration, CPT UI is a winner. For a tightly integrated field-and-CPT workflow, ACF Pro is a no-brainer. To build an entire custom application without code, Toolset is the powerhouse. And Pods? It's the robust, free alternative that sits comfortably in the middle.
Making a Strategic Choice for Your Project
So, how do you actually decide? The choice usually comes down to weighing ease of use against the sheer depth of features you need. If you're building a simple portfolio, pairing CPT UI with the native block editor might be everything you require.
But for a more ambitious project, like a real estate listings site, you'll need a ton of custom fields for things like price, square footage, and location. In that scenario, a unified tool like ACF Pro or Pods makes a lot more sense. These tools are also fantastic for building dynamic layouts. You could, for example, learn about using Divi Areas Pro to design dynamic content that pulls data directly from the custom fields you've created.
When making your selection, it's also smart to think about integrations. Does your CPT plugin play nicely with the best SEO plugins for WordPress? A little foresight here ensures your custom content will be fully optimized for search engines right out of the gate. A well-chosen plugin doesn't just make development faster; it ensures your site stays scalable, performant, and easy to manage for years to come.
How to Display Custom Post Types on Your Website
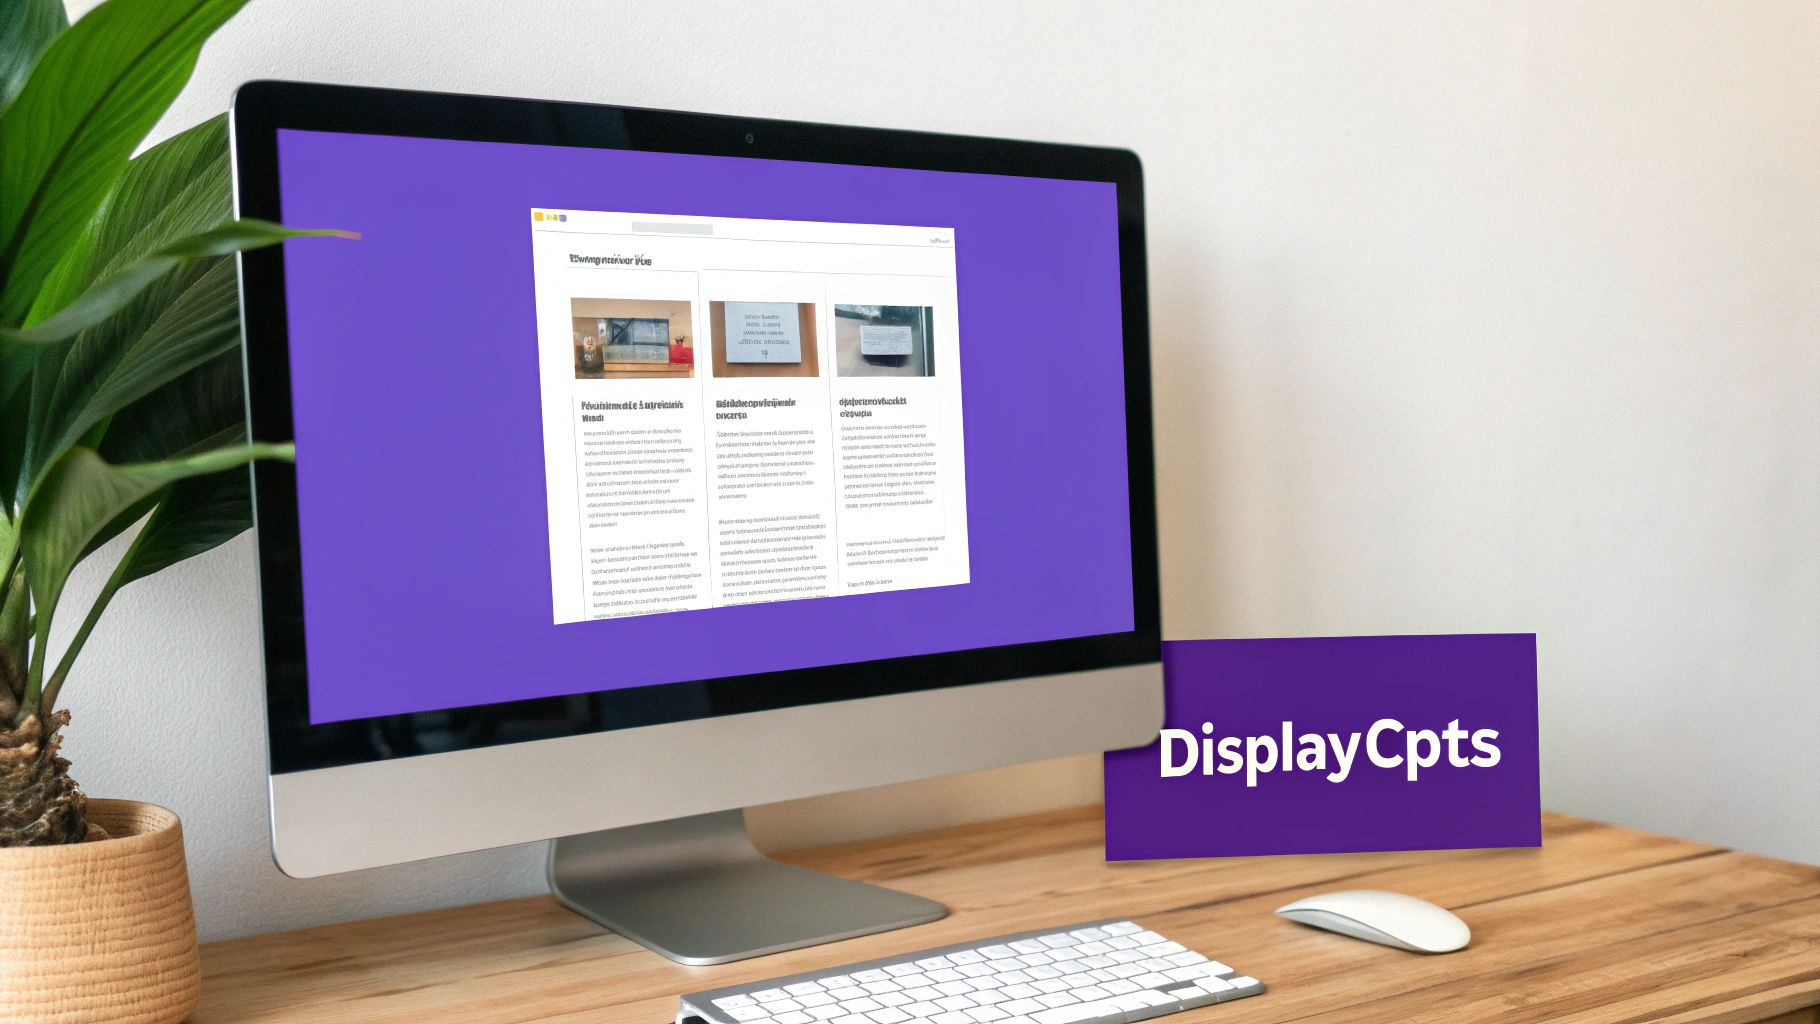
Alright, so you've registered your custom post types wordpress—that’s a huge milestone, but it's really only half the journey. Right now, all that beautifully structured content is just sitting in your database, completely invisible to your website visitors.
The next critical step is bringing it to life on the front end. This is where you get to give your custom content the unique design and layout it deserves.
If you skip this part, WordPress will probably just try to display your new entries using your theme's default blog post template. More often than not, this looks awkward and completely fails to showcase the unique custom fields you worked so hard to create.
Thankfully, WordPress has a powerful and logical system for this, known as the template hierarchy. Once you get the hang of it, you'll have pixel-perfect control over your site's design.
Harnessing the WordPress Template Hierarchy
Think of the WordPress template hierarchy as a decision-making flowchart. When someone visits a URL on your site, WordPress scans your theme's folder for the most specific template file to display that content. If it can't find a specific one, it simply falls back to a more generic file.
For our custom post types, two template files are especially important:
archive-{post_type}.php: This file controls the main listing page for all entries of your CPT. For a "Movies" CPT, the file would bearchive-movie.php, and it would handle the entire layout of theyoursite.com/movies/page.single-{post_type}.php: This one dictates the layout for a single entry. Sticking with our example,single-movie.phpwould control the design when a visitor clicks through to view one specific movie's details.
Creating these files is surprisingly simple. A great starting point is to copy the code from your theme's existing archive.php and single.php files. From there, you can start customizing them to pull in your custom field data and build out a totally unique layout.
Building Custom Loops with WP_Query
But what if you want to display your CPT entries somewhere else, like on your homepage or in a sidebar? You don't need a dedicated template file for that. Instead, you can use a custom WP_Query.
A WP_Query is a PHP class that lets you create custom database queries to fetch exactly the posts you need, right where you need them. It's incredibly flexible, giving you the power to build highly specific content loops anywhere on your site.
Let's say you want to feature the three most recent "Portfolio" items on your homepage. You could drop a code snippet like this into your front-page.php template:
‘, ‘
‘); the_post_thumbnail(); endwhile; wp_reset_postdata(); endif; ?>This little block of code tells WordPress to fetch three posts of the 'portfolio' type, order them by the most recent date, and then loop through them to display their titles and featured images. Easy enough, right?
Pro Tip: Always, always use
wp_reset_postdata()after a customWP_Queryloop. This important function restores the main query, which prevents all sorts of unexpected behavior and conflicts with other content on the page.
Integrating with Page Builders Like Divi
If you're using a powerful page builder like Divi, displaying your custom post types wordpress becomes even easier—often without touching a single line of code. Modern page builders are built to recognize and work seamlessly with CPTs and their custom fields.
With Divi's Theme Builder, for instance, you can visually design your single-{post_type}.php and archive-{post_type}.php templates. You just create a new template, assign it to your CPT, and then use Divi's modules to pull in all your dynamic content.
Here's a common workflow:
- Create a Theme Builder Template: Head over to the Divi Theme Builder and create a new template. You can assign it to your "Portfolio" archive page or your single portfolio item pages.
- Use Dynamic Content: When you add a Text or Image module, instead of typing in static content, click the dynamic content icon. This lets you pull data directly from your CPT's fields—the title, featured image, or any custom field you created with a plugin like ACF.
- Build Custom Grids: On your archive template, you can use Divi's Blog module, which can be configured to display any post type. This lets you create a beautiful custom grid of your portfolio items, giving you full control over everything from column count to the info displayed for each entry.
This visual approach is a game-changer. For a deeper dive into what’s possible, check out our complete guide on Divi dynamic content—it's the key to unlocking truly bespoke layouts for your CPTs.
Once you’ve got the basics of creating a custom post type down, the real fun begins. This is where you move from just making things work to building professional, bulletproof WordPress sites that can handle anything you throw at them. Getting your CPTs right from the start saves you from a world of hurt down the road with performance bottlenecks, security holes, and scaling nightmares.
Let's dive into the strategies that separate the amateurs from the pros, starting with something that trips up almost everyone at some point: permalinks. A messy URL structure is more than just ugly; it confuses visitors, tanks your SEO, and is a one-way ticket to frustrating 404 errors.
Structuring Permalinks for SEO and Usability
Your CPT's URL should tell a story. By default, WordPress gives you a decent starting point, like yoursite.com/portfolio/project-a. It’s clean, but we can do better.
Imagine adding a category to that URL, so it looks like yoursite.com/portfolio/web-design/project-a. Instantly, both your users and Google understand the context better. You can set this up using the rewrite argument when you register your post type, but just be careful not to create conflicts with existing pages.
Ever run into a mysterious 404 error after setting up a new CPT? Here’s a trick every WordPress dev knows: head over to Settings > Permalinks in your dashboard and just click "Save Changes." That's it. This one click flushes WordPress's rewrite rules and magically fixes the problem 9 times out of 10.
With your URLs looking sharp, the next big hurdle is making sure your site doesn't grind to a halt as you add more and more custom content.
Optimizing Performance and Writing Efficient Queries
Every time you show a list of your portfolio items, testimonials, or events, you're hitting the database with a query. Sloppy queries are a huge performance killer, especially on pages where you’re running multiple custom loops. Learning to write lean, mean WP_Query arguments is a non-negotiable skill.
Keep these performance tips in your back pocket:
- Get Specific: Never run a query without defining the
post_typeandposts_per_page. Don't ask the database for 500 posts when you only plan to show 10. - Go Easy on Meta Queries: Searching by custom fields (
meta_query) is incredibly powerful, but it can be notoriously slow if you're not careful. Use it when you have to, but don't overdo it. - Cache Your Queries: If you have a complex query that doesn’t change with every page load (like a "Featured Projects" list), cache the results. The WordPress Transients API is perfect for this. It stops your site from running the same heavy query over and over again.
- Trim the Fat: In your
register_post_typecode, only enable the features you actually need in thesupportsarray. If your "Events" CPT doesn't need comments or trackbacks, turn them off. Less baggage means less database overhead.
This approach to building your custom post types wordpress makes your site faster and ready to scale. Just as crucial as performance is making sure only the right people have the keys to your custom content.
Managing User Roles and Capabilities
Out of the box, a new CPT usually gets the same permissions as a standard Post. That means any user with the "Editor" role can suddenly edit, publish, and delete your brand-new "Team Members," which is probably not what you want. This is where you level up by defining custom capabilities.
Inside register_post_type, you can use the capability_type and capabilities arguments to create a completely custom set of permissions. For example, you could invent a new "Testimonial Manager" role who can edit_testimonials and publish_testimonials, but can't touch anything else. This kind of granular control is absolutely essential for keeping client sites secure and maintaining a clean workflow.
Mastering these practices is what elevates your work from building simple websites to engineering powerful, well-architected web applications.
Common Questions About Custom Post Types
When you first start wrangling custom post types in WordPress, a few questions tend to pop up again and again. Getting these sorted out early will save you a lot of headaches and help you build your site with confidence.
What Is the Difference Between a CPT and a Taxonomy?
Let's use a library analogy. Think of a custom post type (CPT) as a completely new type of publication you're adding to the library, something distinct like "Movie Scripts" or "Recipe Cards." They're not just regular books.
A custom taxonomy is how you organize them on the shelves. For your "Movie Scripts," you might use a "Genre" taxonomy (Action, Comedy, Drama). For "Recipe Cards," you might use a "Cuisine" taxonomy (Italian, Mexican, Thai). The CPT is the what, and the taxonomy is how you group it.
What Happens if I Deactivate the CPT Plugin?
This is a common fear, but don't worry. If you turn off the plugin or comment out the code that registers your CPT, all your content is perfectly safe in the database.
However, it will vanish from your website's front end and the WordPress admin area. Why? Because WordPress no longer knows what a "Movie Script" is or how to display it. To bring everything back, all you need to do is re-enable the plugin or code that registers the CPT with the exact same name.
Can I Convert Existing Posts to a CPT?
Yes, and it's a powerful way to reorganize a site that's outgrown its original structure. You can absolutely change a standard blog post into your new "Recipe" custom post type.
This is usually handled with a handy plugin like "Post Type Switcher." It adds a simple dropdown on the post edit screen, letting you re-assign content to its new home.
Always—and I mean always—take a full backup of your website before you start changing the post type of existing content. It's a simple step that ensures you can instantly roll back if anything unexpected happens.
Ready to build stunning popups and dynamic content for your new custom post types? Divimode gives you the tools to build interactive Divi websites that convert.
Discover how Divi Areas Pro can elevate your site today at divimode.com
More Articles You Will Like