In Divi, it’s straightforward to create a text block that uses some gradient color, or even use an image that gives your text some colours.
Even though there are several (premium) Divi extensions for this, you don’t need any of those to create amazing text effects. Today, we’ll look at creating the following effect using plain Divi, and without writing CSS.
Table of Contents
How To Add Gradient Color To Text


The third example uses a background image instead of a color gradient. And yes, you can even use Divis’ Parallax effect for that image, so the image moves up and down while you scroll the page!
The Concept
- We use a Text Module in Divi to create a headline with some text beneath it.
- The gradient is applied to the entire Row.
- The effect is applied by setting the Columns Blend Mode to “Screen”.
Step-by-Step Guide
Step 1
Start by creating the layout in Divi – for example, add a Row with two columns and insert Text Modules with the headline and content.

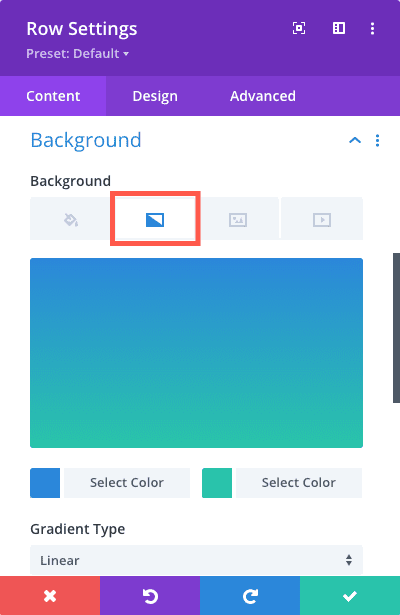
Step 2
Next, apply the gradient to the Row: Open the Row Settings and set a Background Color, a Background Gradient, or a Background Image to the entire Row.

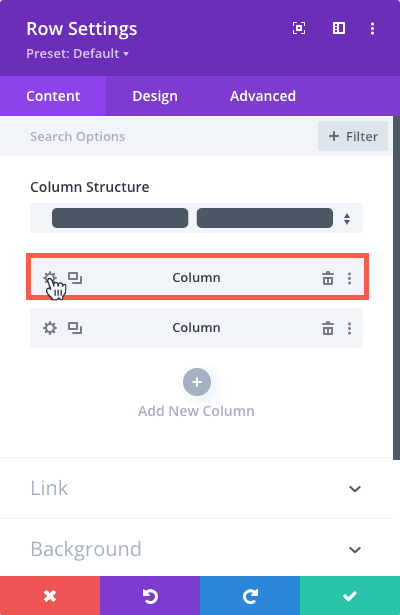
Step 3
The next step is the “magic ingredient” in the process. Edit the first Column Settings of the Row, and navigate to the section “Design > Filters > Blend Mode”. Set it to “Screen”.


What does this do?
The Blend Mode setting tells the browser how to blend the current element with the elements behind it. The default blend mode will only display the top-most element (i.e., show the text using the text color). Other blend modes perform some calculations to determine the color to display. The “Screen” mode makes black pixels transparent and keeps white pixels white. Anything in between is semi-transparent, as you can see in the screenshot above.
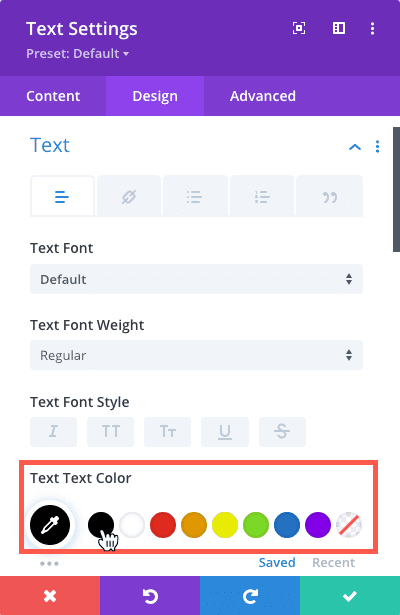
Step 4
To get the real effect of the blend mode, we have to make two changes: First, set the Column Background to #fff (solid white). Abd second, edit the Text Module and set the Text Color to #000 (black).


Step 5
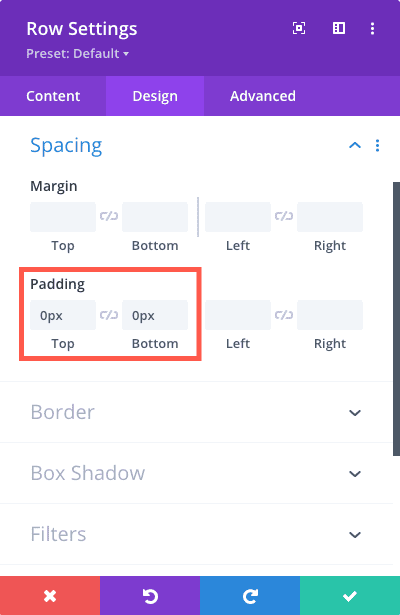
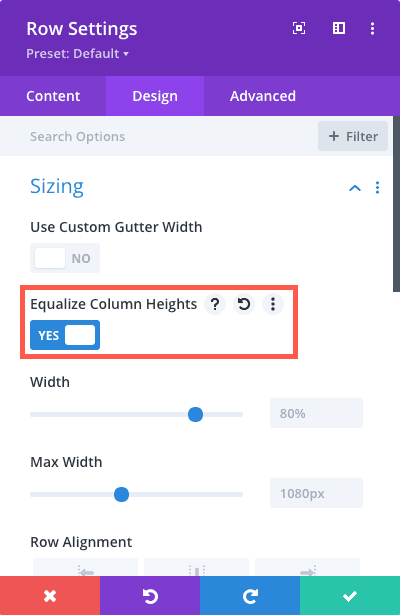
Next, we need to set the Rows top/bottom padding to 0px and also enable the option Equalize Column Height in the Rows “Design > Sizing” section.

Note: When your Row only has a single Column you’re done now. Otherwise, you need to complete one last step.
Step 6
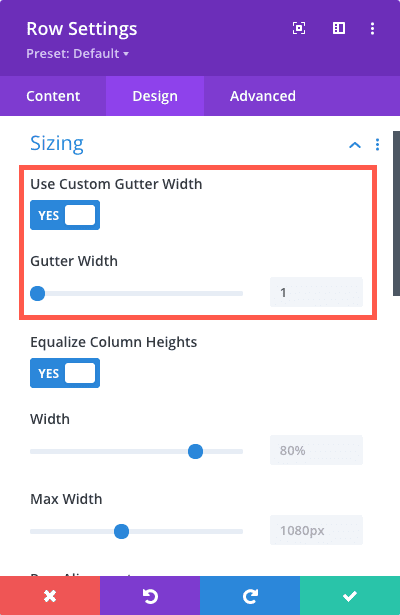
When you have multiple columns, you need to first set the Gutter Width of the Row to 1.
Then you can either (a) repeat Steps 3-4 to apply the same effect to other columns as well, or (b) only set the other columns’ background color to #fff (solid white) to display the contents without a gradient effect.

Download Sample

Ideas, Notes
- Experiment with the background settings of the Row: Use different colors, gradients, images, or even videos.
- Enable the parallax effect for background images.
- Add a different color or gradient for the hover state to change the text effect on mouse contact.
- This effect only works with solid white backgrounds.
Try Divi Areas Pro today
Sounds interesting? Learn more about Divi Areas Pro and download your copy now!
Many pre-designed layouts. Automated triggers. No coding.
Click here for more details
More Articles You Will Like